You are on Page 2. Click for Page 1
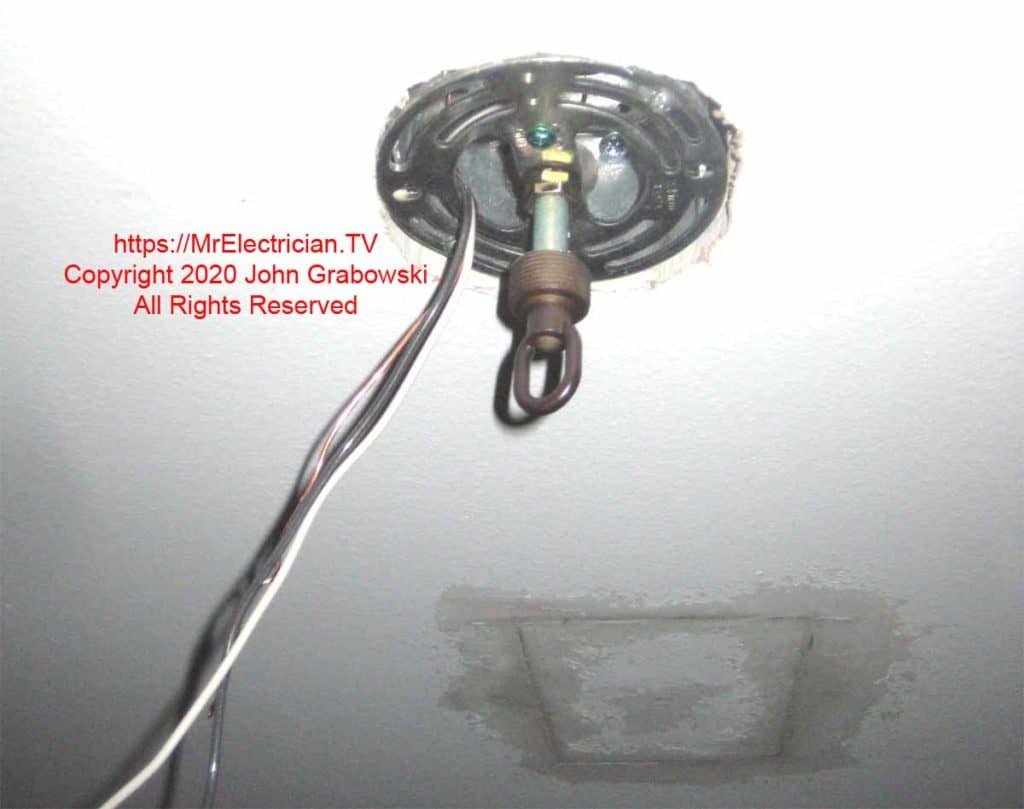
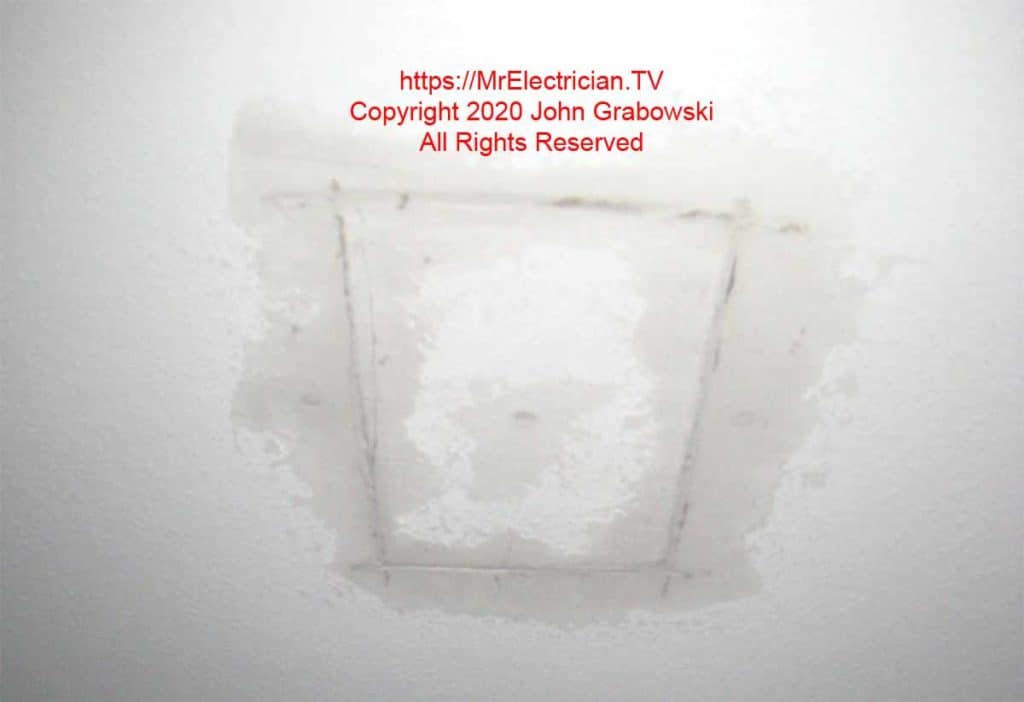
Patching the ceiling hole is easy. I put a piece of wood across the hole and screw drywall screws through the existing drywall to hold it in place. Then I butter the edges of the hole and the edges of the drywall piece that came out using joint compound and then push it into place. I use one or two drywall screws to hold it in place. I smooth out the edges with a wide spackling knife.
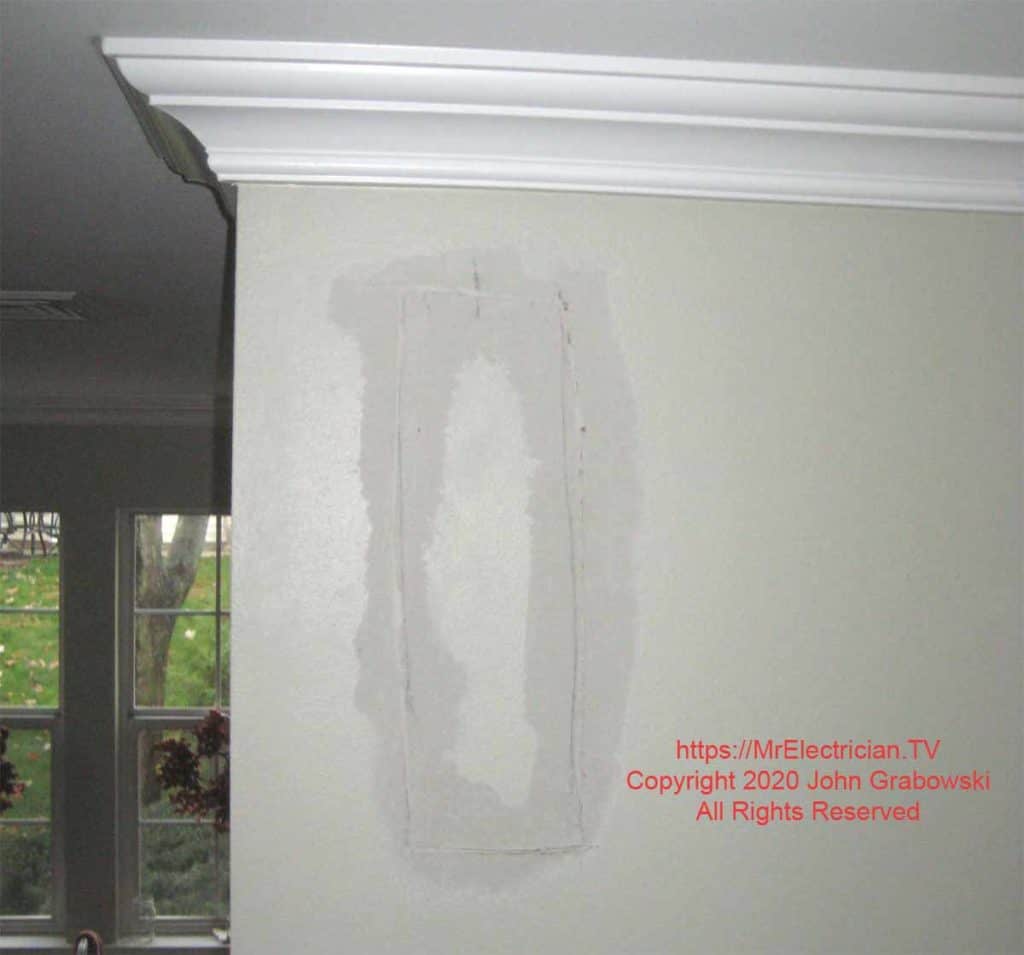
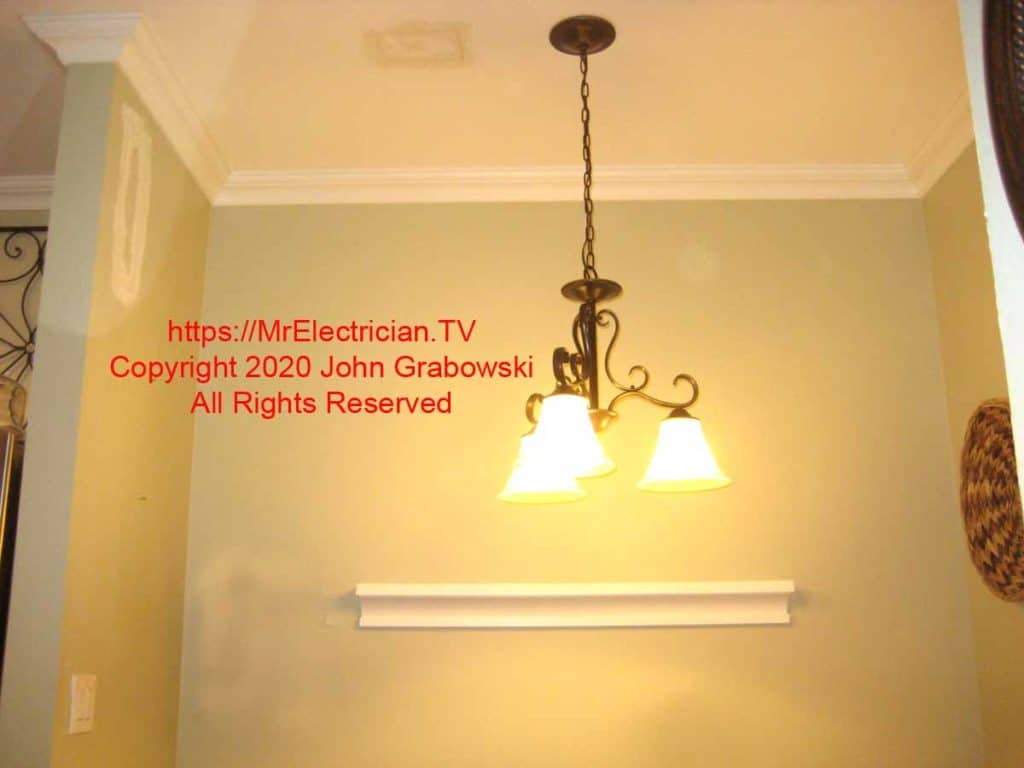
After that, the patch will need another coat of joint compound, sanding, and painting. I usually don’t come back to do the finished work. On this particular job, the owner planned to finish off the patched holes.
For patching small holes in the wall when the drywall is cut at a forty-five-degree angle, I usually don’t need to put a piece of wood in first. The joint compound holds it in place. If the drywall is cut straight, a piece of wood is needed inside the wall to hold the patch.
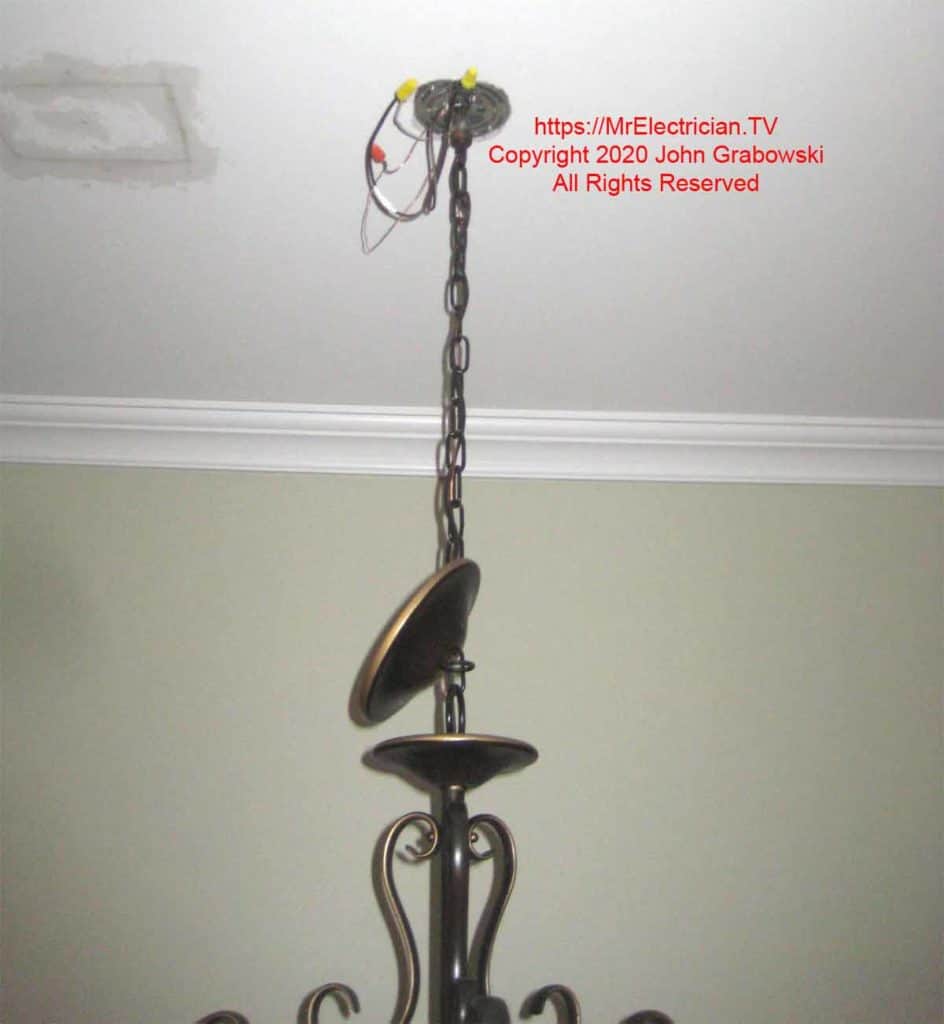
Many chain-hung ceiling light fixtures use the same type of mounting. A bracket with an eye hook is attached to the ceiling electrical box. A canopy cover and a locking ring are slid down over the chain before hanging.
An opened chain link connects to the eye hook. After the excess is cut off, the fixture wire is pushed through the center-threaded nipple into the ceiling electrical box.
I bend the end of the bare copper ground wire first and push that through. Then, I cut the end of the fixture wire to an arrowhead point to make it easier to push through. I usually grab the wire with my fingers or long nose pliers and pull upward as the wires are pushed into the threaded nipple.
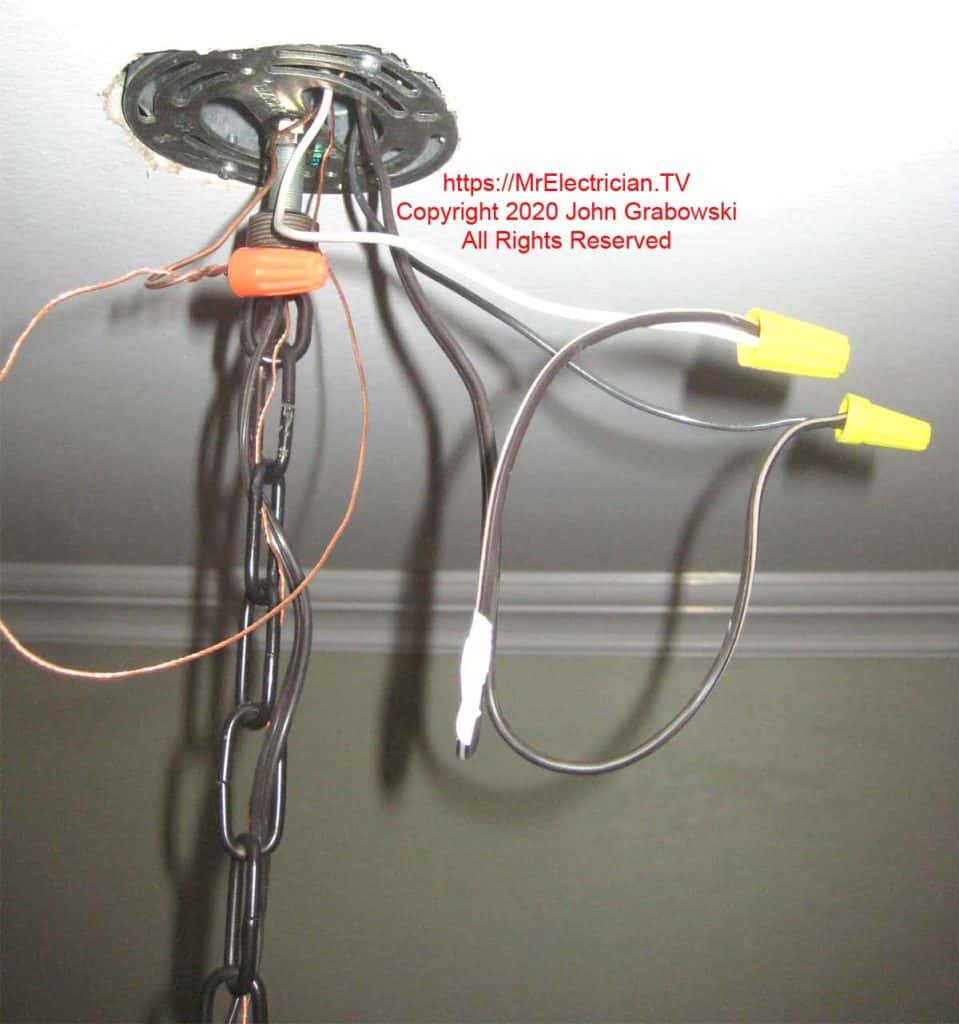
The deep octagon electrical box in the ceiling lets me tuck some extra chandelier wire slack up there. White electrical tape was put on the chandelier neutral conductor to make it easily identifiable. Typically, shallow ridges on one side of the fixture wire indicate the neutral.
Bringing all wires through the same hole on the fixture mounting bracket is best.
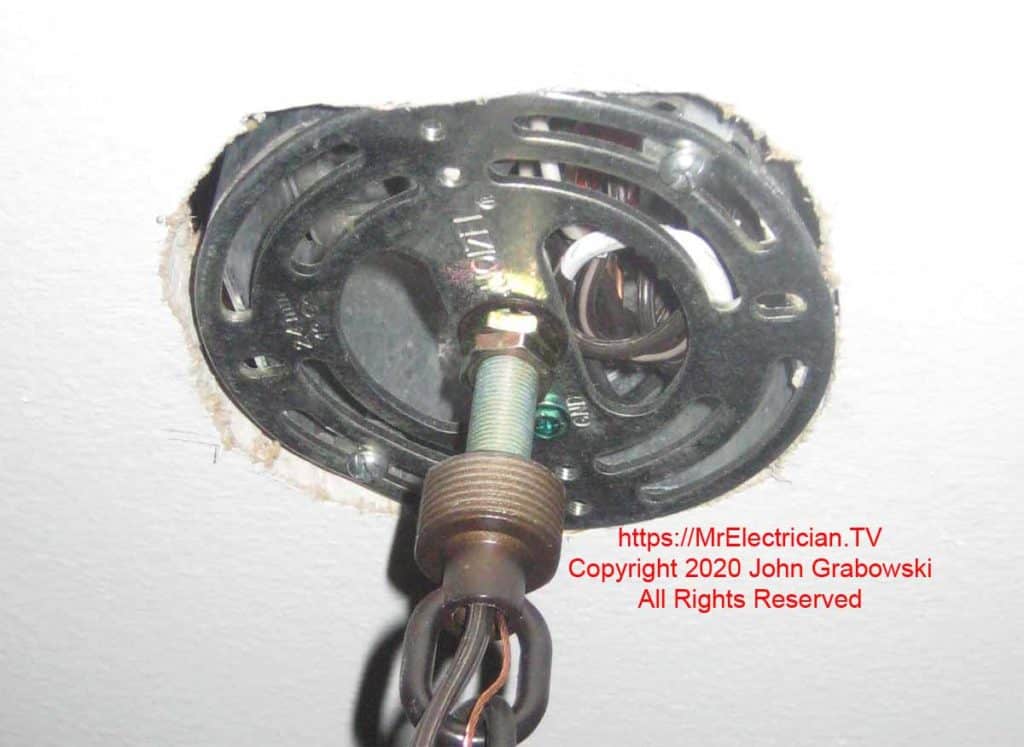
Once the splices are made and the wire is tucked inside the electrical box, the canopy can be pushed up and held in place by the locking ring.
INSTALLING A TWO-GANG SWITCH BOX
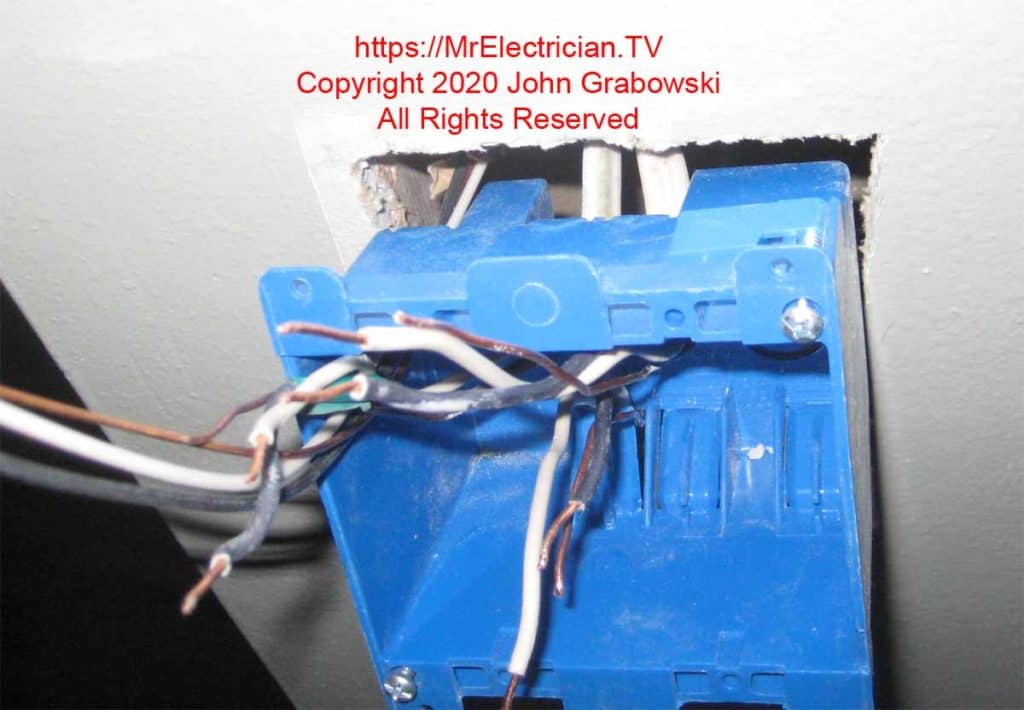
It is essential to identify the function of each wire before taking anything apart. You cannot always go by the color coding of the wires. In this example, I used colored electrical tape to identify the conductors so I would know how to assemble them back together again.
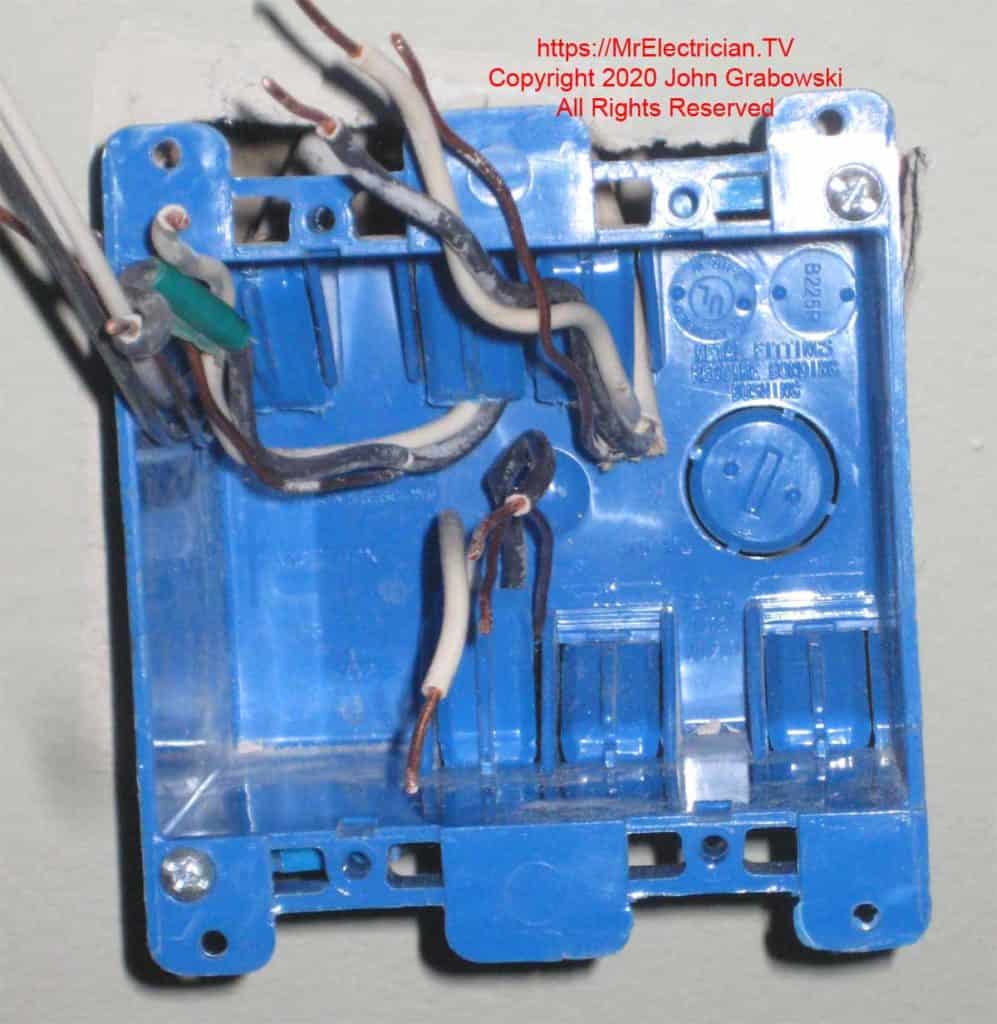
The black wire with the green tape is the switch leg for a light fixture in another room that was used before this work commenced. That will continue to operate that light.
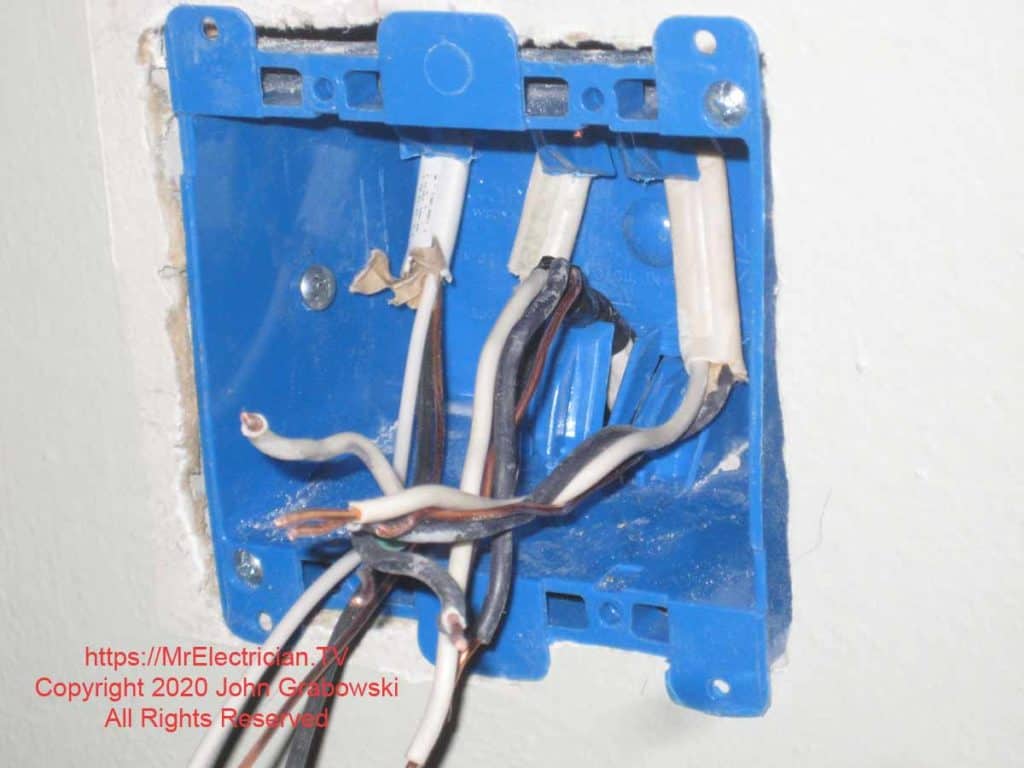
The wings on the box above will be pulled from behind against the wall and create a tight wedge. In addition, a #8 x 1 1/4″ sheet metal screw was driven through the box into the adjacent wall stud for additional bracing.
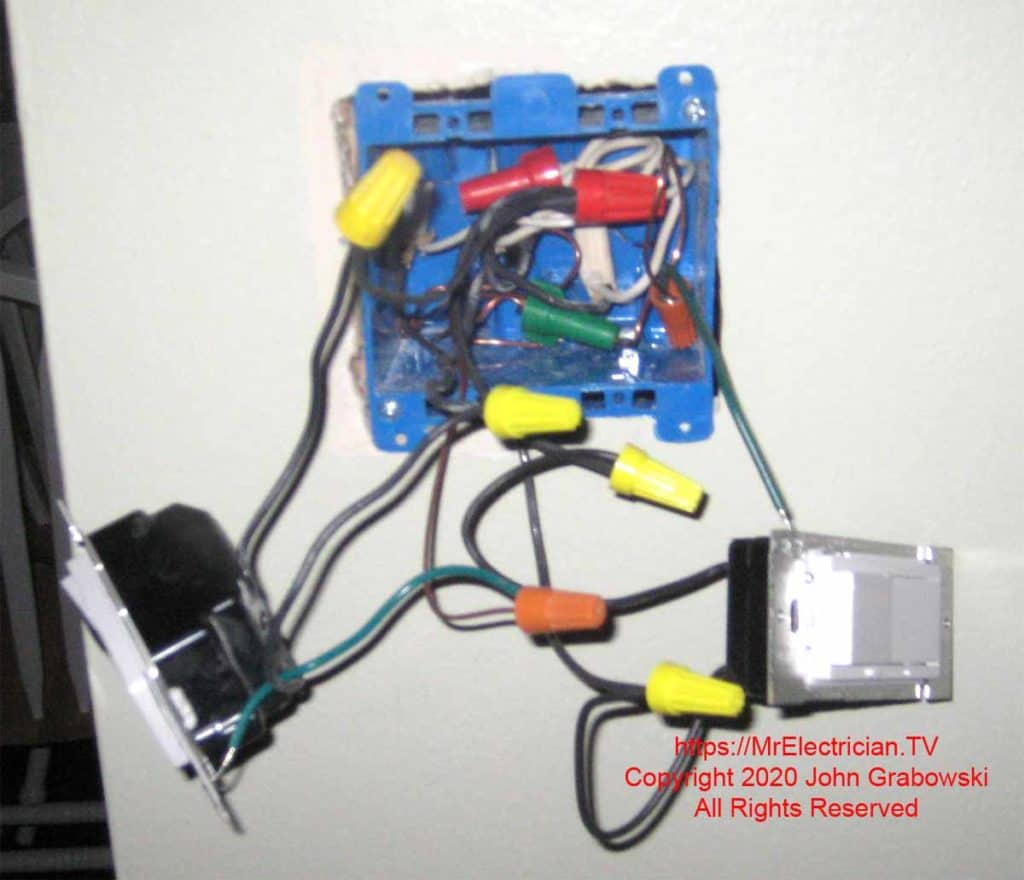
The wiring consists of one power feed cable, one cable that goes out to feed another switch, one cable that goes to the existing kitchen light, and the new cable that I installed to feed the new light fixture.
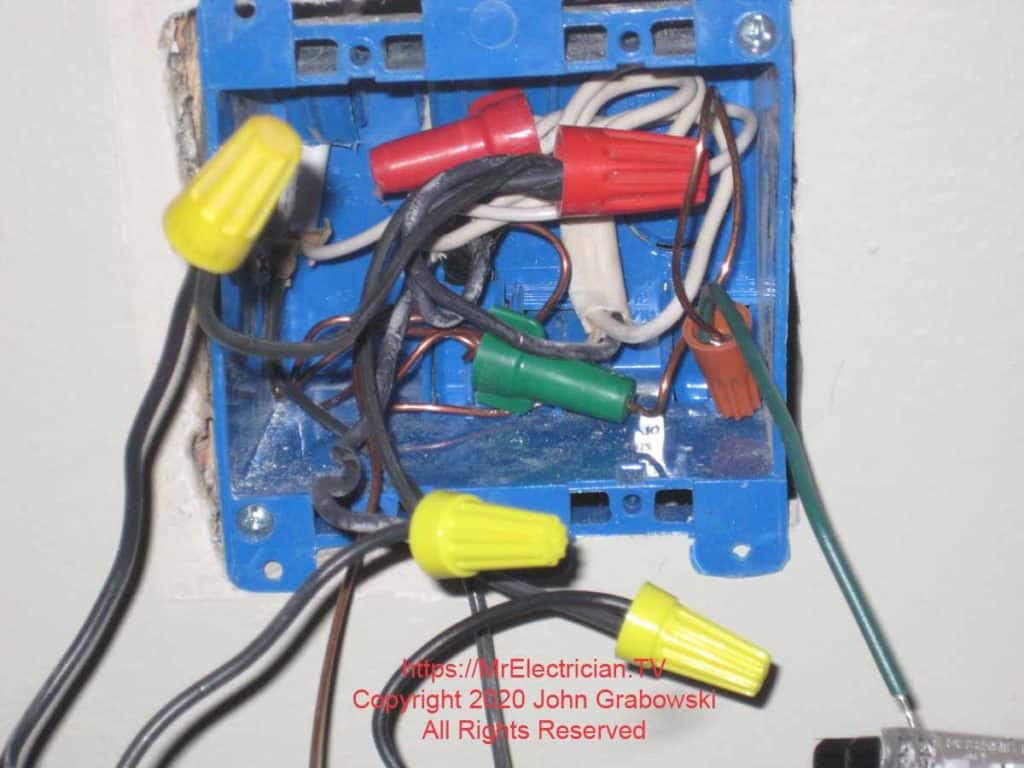
All ground wires are twisted together with two pigtails added. All white neutral wires are spliced together and pushed to the rear of the electrical box. The two hot wires are spliced together with two pigtails added. The two black wires that go to light fixtures will connect with the hot pigtails on a switch.
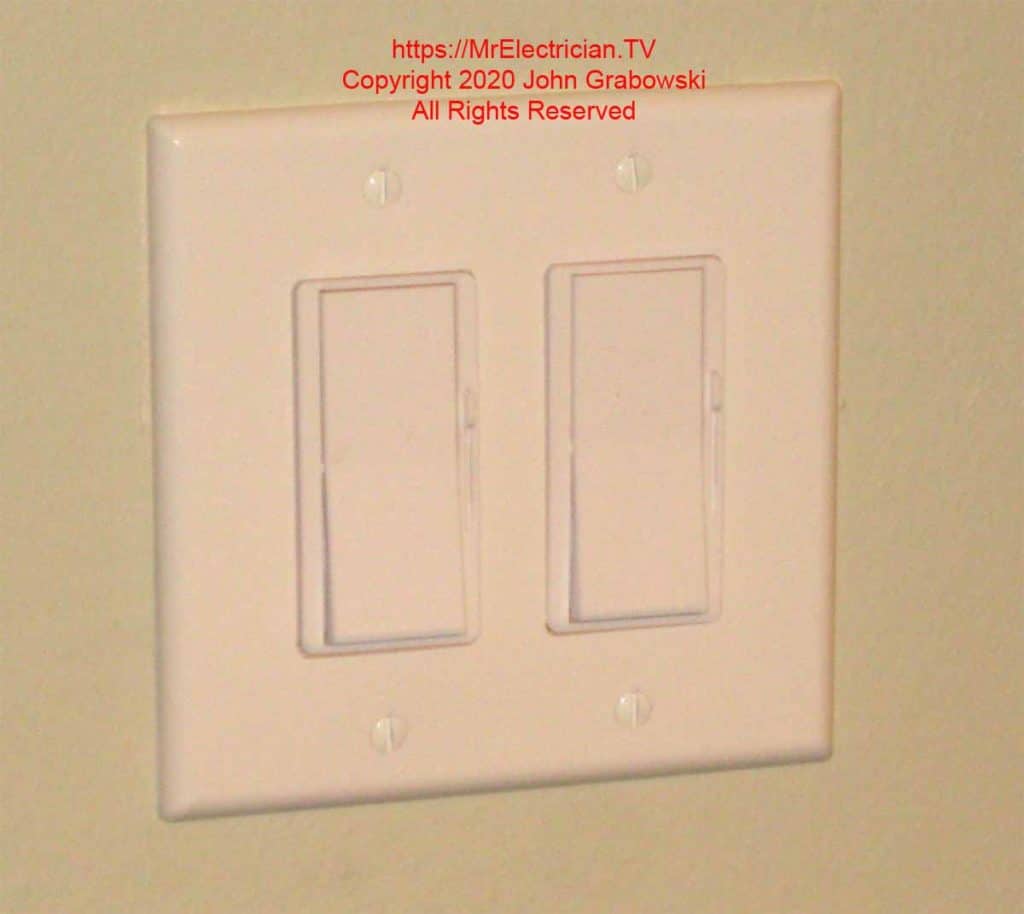
Lutron Diva dimmers take a standard Decora-style wall plate.
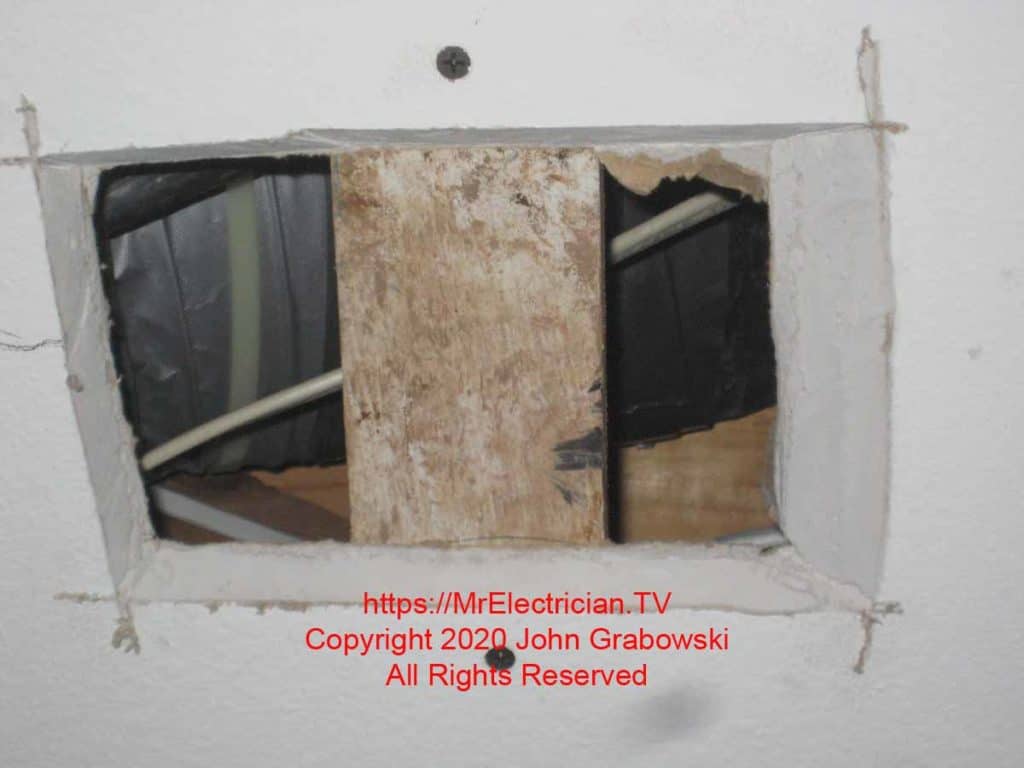
A small piece of wood was screwed in place so that the drywall would have something to attach to. This piece of drywall was cut out using “The Grabowski Method,” where the Compass Saw Blade is held at a 45-degree angle.
My posts about switches and switch boxes might be helpful to you.
To help keep this website free, please use this Amazon link for your purchases. As an Amazon Associate, I earn from qualifying purchases.
Click here for a FREE copy of my book “Almost Everything You Need To Know To Repair a Bathroom Exhaust Fan In Your Home.”
Get your required “Emergency Disconnect, Service Disconnect” labels and stickers to satisfy the 2023 National Electrical Code requirements in article 230.85(E)(1) and (2) by going to my Redbubble Shop here.
Visit my Link Tree for my social media connections and links to merchandise in my Redbubble Shop.
