Dear Mr. Electrician: How do I add an electrical outlet from the existing wall switch wiring?
NOTE: Some text links below go to applicable products on Amazon. As an Amazon Associate, I earn from qualifying purchases. Using my links helps to keep this website FREE.
Answer: Whether or not you can add an electrical outlet from your existing wall switch wiring depends on the wiring in the switch box.
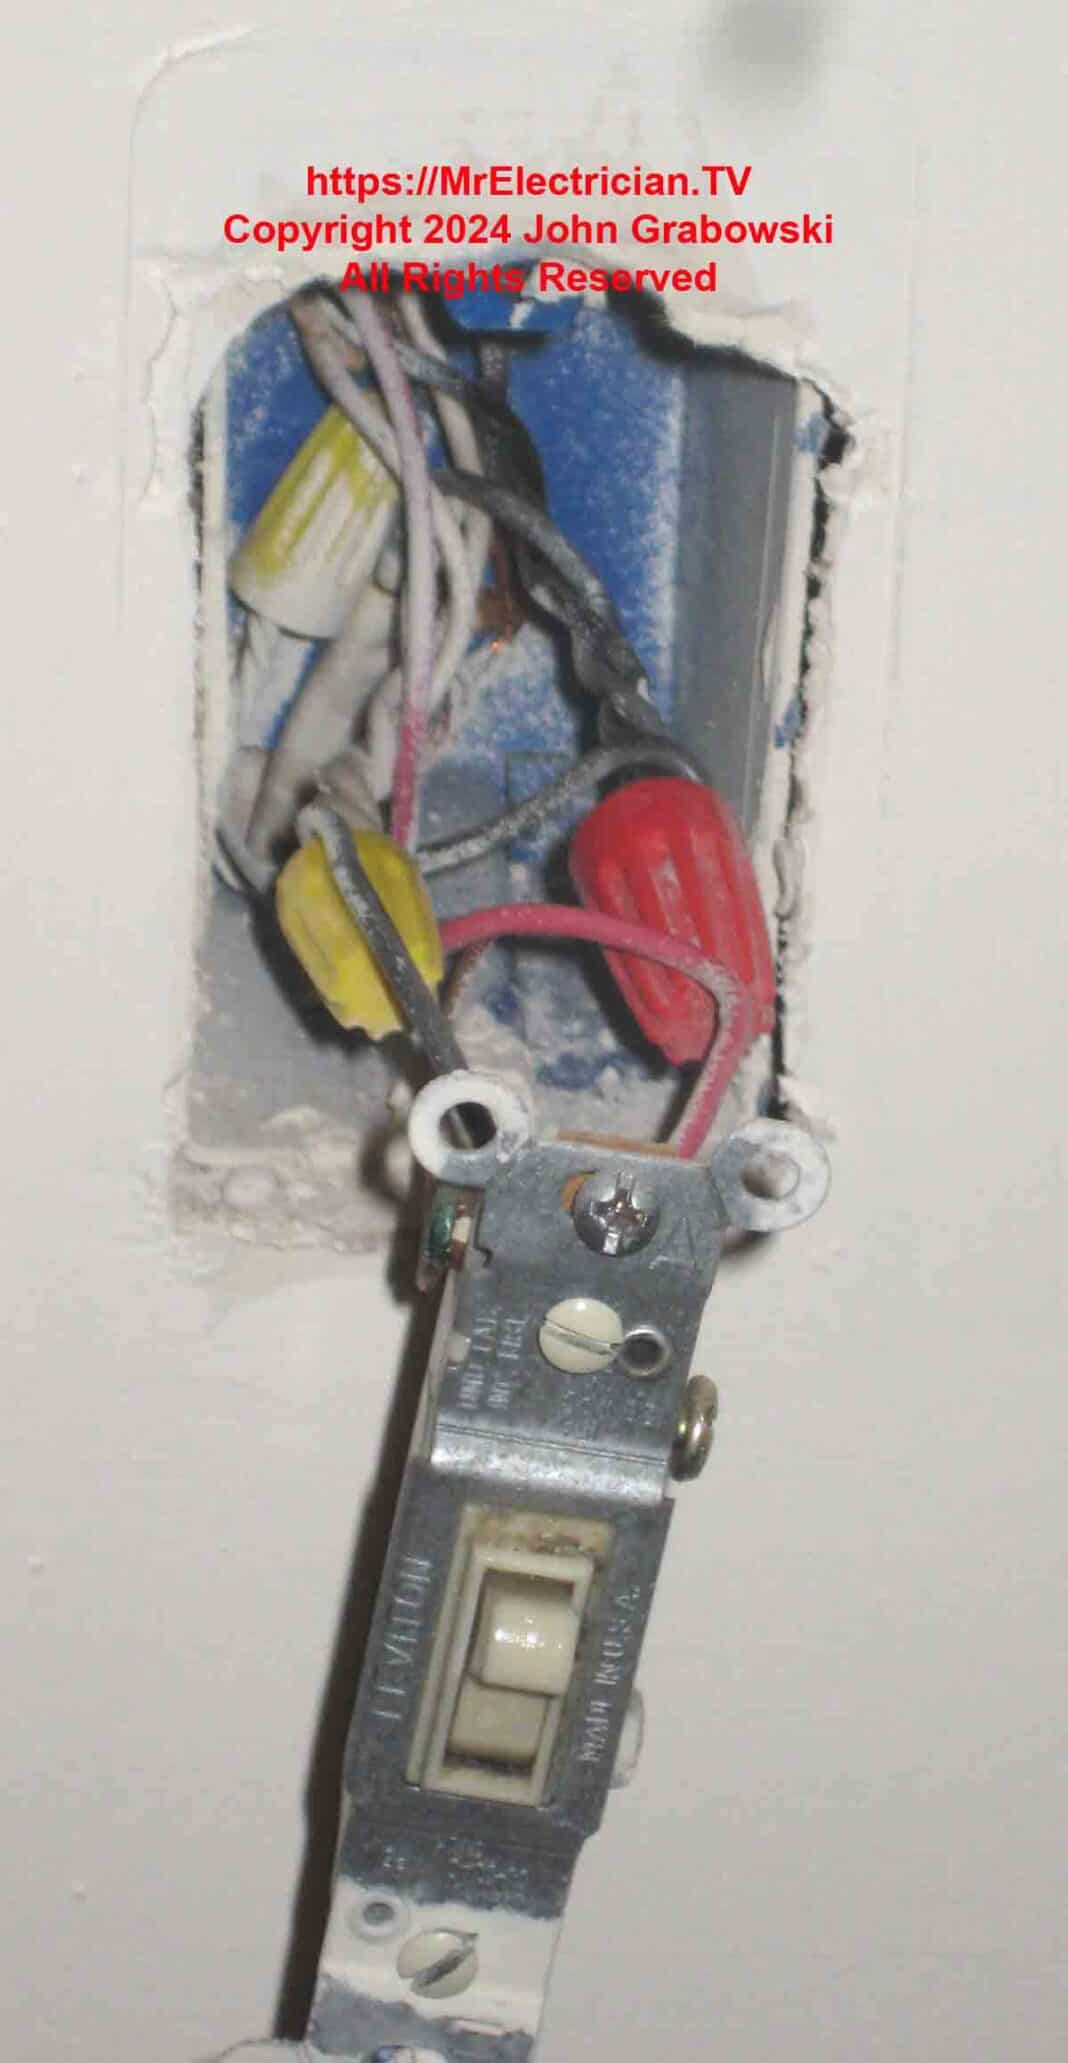
The photo at the top of this page shows a three-wire cable and a two-wire cable inside the electrical box. When I saw the wires I knew I had a LINE hot wire and a LINE neutral wire inside the existing switch box. Both of which are needed to provide power to an electrical receptacle outlet. I separated the wires and tested them with my Wiggy voltage tester.
ADD AN OUTLET FROM A SWITCH
The images below depict the installation of two electrical receptacle outlets that derive their power from an existing switch. One of the new outlets is switched while the other electrical outlet is always live.
After I removed the wall plate I used a short piece of fish tape to probe inside the wall. I slid the fish tape end into the wall between the box and the drywall and pushed it downwards to feel for blockages inside the wall. I also pushed the fish tape sideways to determine where the next wood stud was inside the wall.
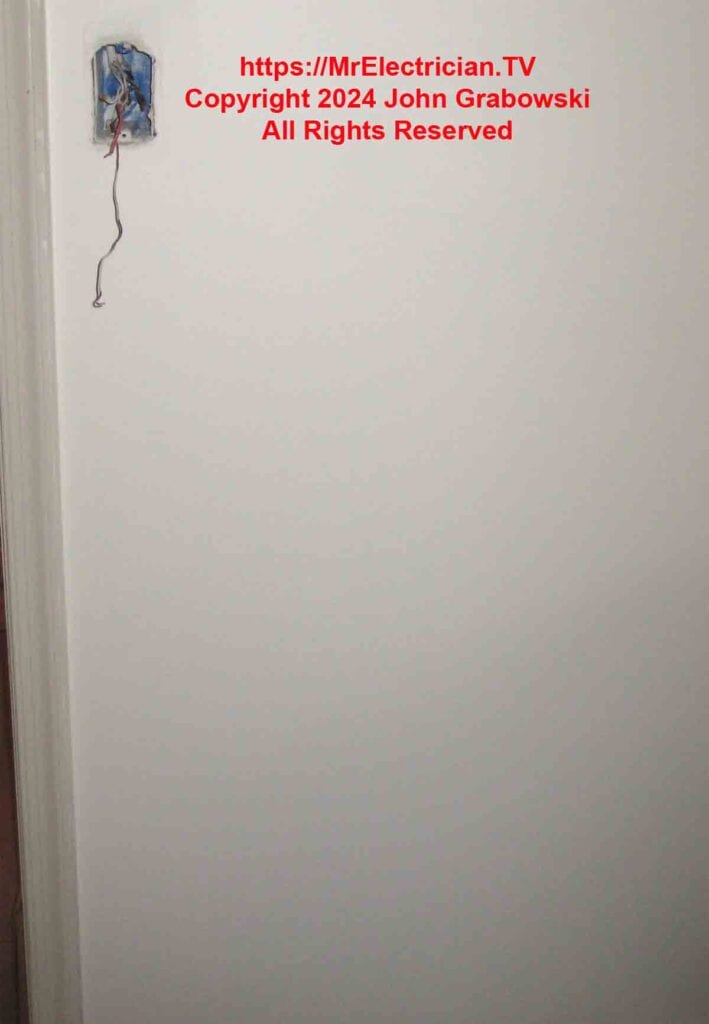
The above photo depicts an existing wall switch with a bare wall below it waiting for a new outlet to be installed. The wall space below and to the right is where the client wanted new outlets installed. The client preferred that the access hole I needed to cut be located down low so it would be hidden by furniture.
The existing switch was to remain to control a ceiling light. The new additional switch would control a new outlet installed on the wall below.
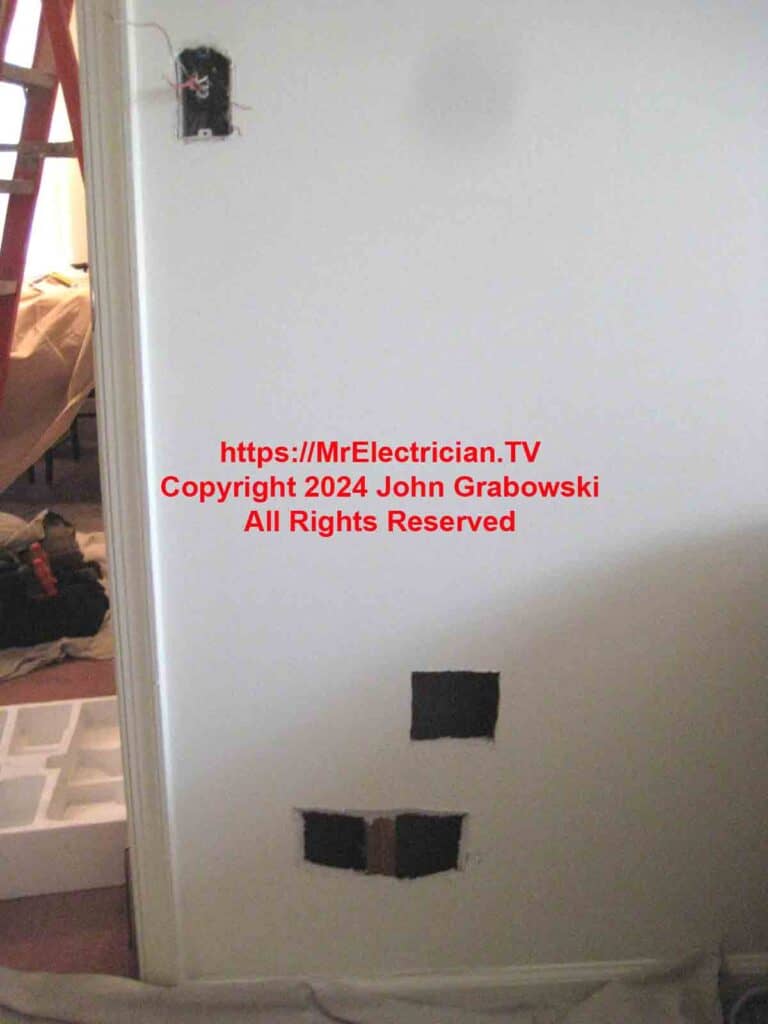
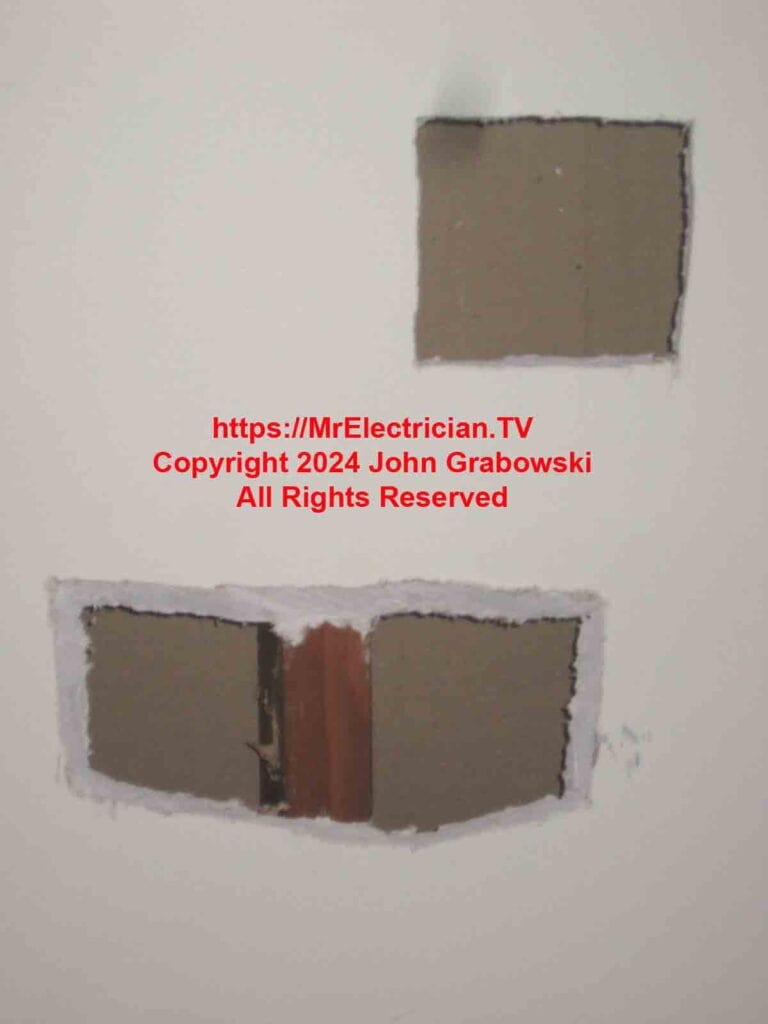
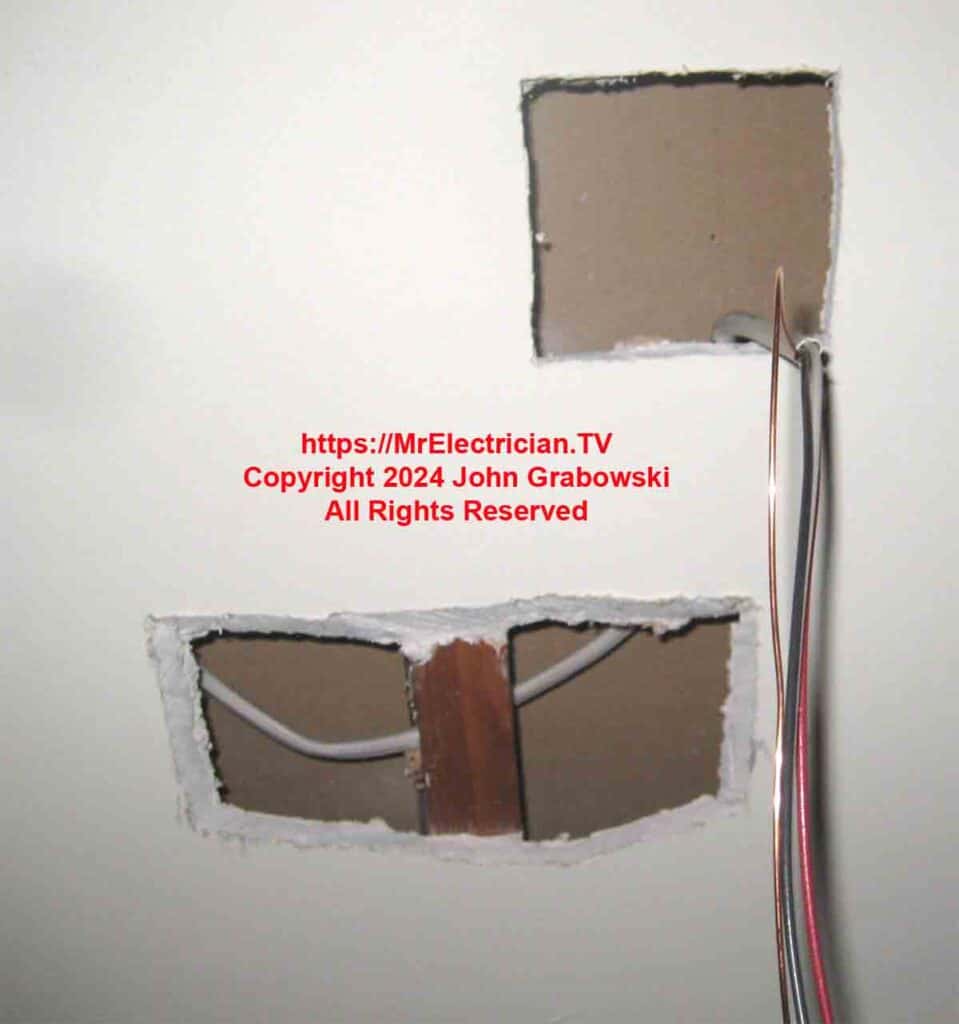
I cut the access hole by holding the compass saw at an angle so I could easily reuse the cutout piece for patching the hole.
I used my angle drill with an a short auger drill bit to drill a hole in the center of the wood stud inside the wall.
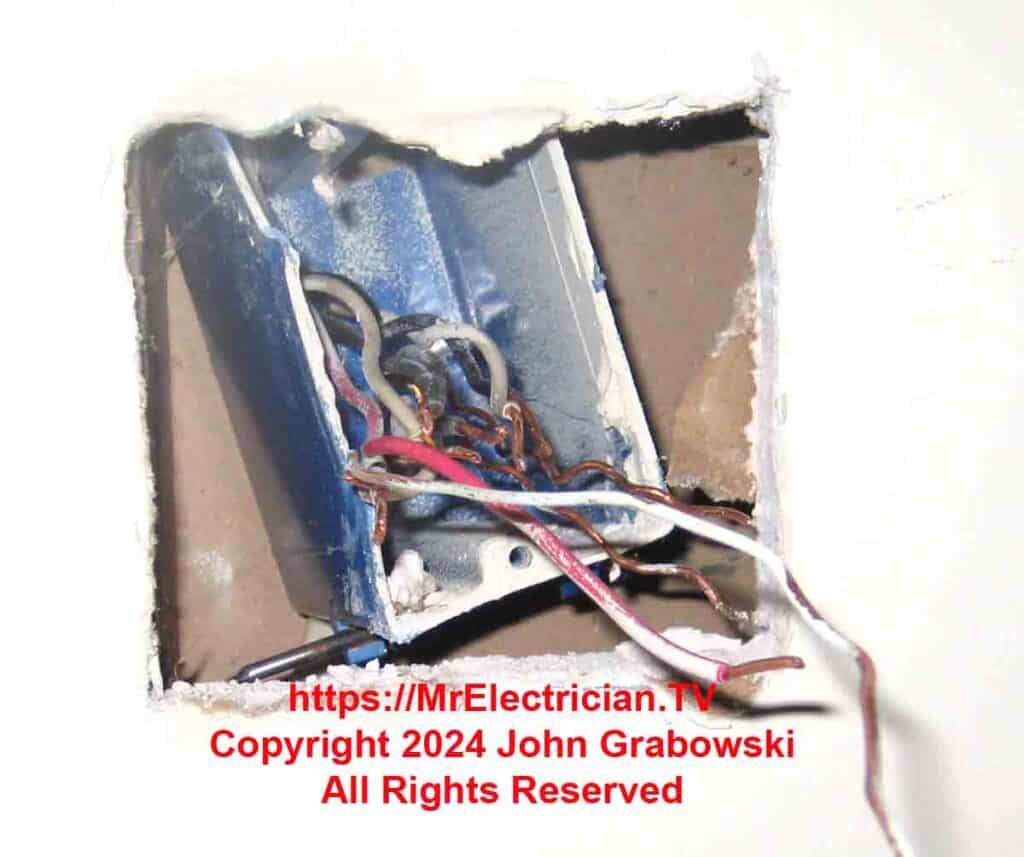
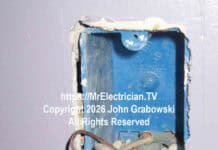
Removing an old plastic switch box is easy. The splices must be taken apart and the wires straightened. A large flat head screwdriver or a small pry bar is used to get between the box and the wood stud. Gentle prying gets the nails pulled out from the wood.
In the example above I cut the hole for the two-gang switch box first to make it easier to get the old one-gang box out.
With the big holes, I was able to drop the new 14/3 non-metallic cable down the wall from the switch and then push it through the drilled hole and up to the new outlet location.
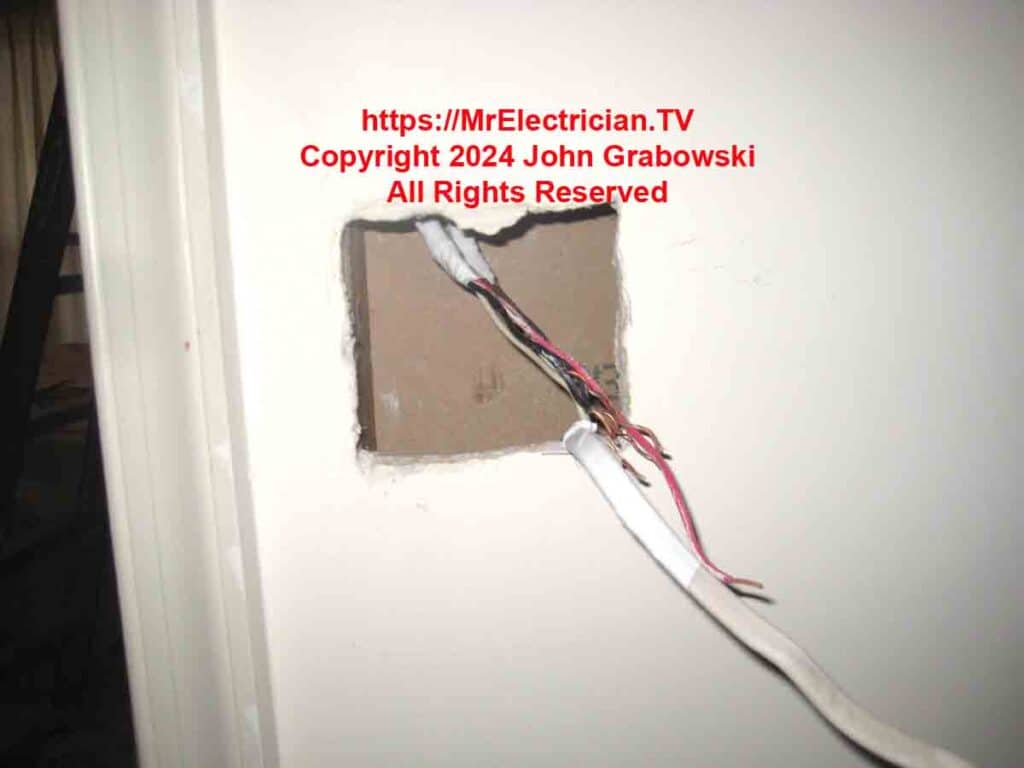
A 14/3 Romex cable was installed from the switch box to the new outlet box location. By using the three-conductor cable, I was able to make one outlet live at all times and the other outlet controlled by a new wall switch.
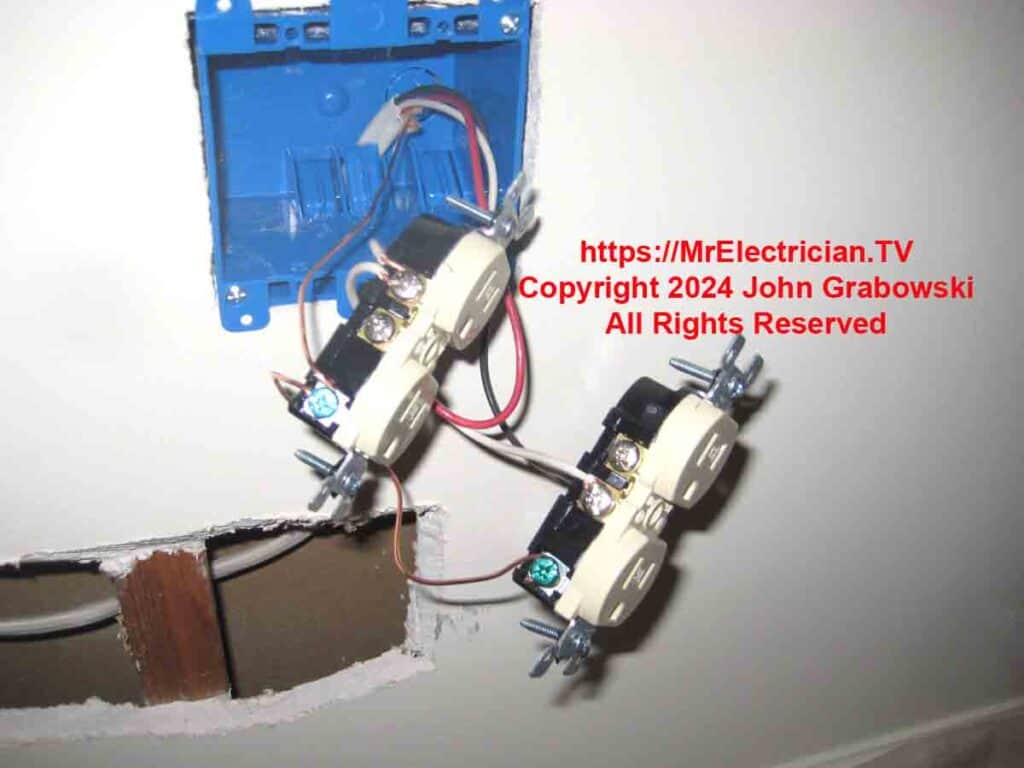
A two-gang old-work plastic electrical box was used to mount the new receptacles to. When an old work box is used, the ears on the outlets and switches should be removed so the devices sit better.
I prefer to install old-work electrical boxes next to wood studs so I can drive one sheet metal screw through the side to make the box more secure and less dependent on the plastic box tabs.
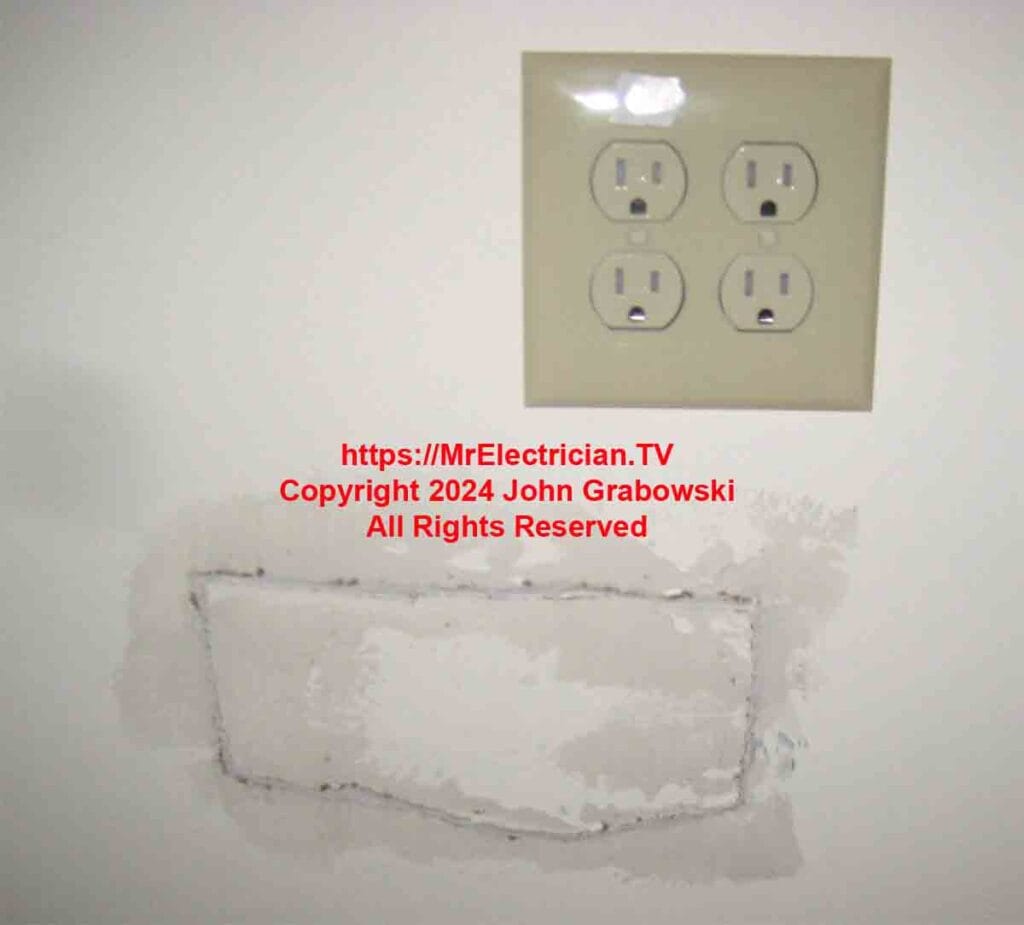
To patch the hole in the wall, I buttered the edge of the access hole with joint compound. I also buttered the edges of the cut-out piece of drywall. I pushed the cut-out piece into the access hole and the joint compound oozes out.
I used a wide taping knife to smooth the excess joint compound. It needs to dry overnight before a second coat of joint compound can be applied.
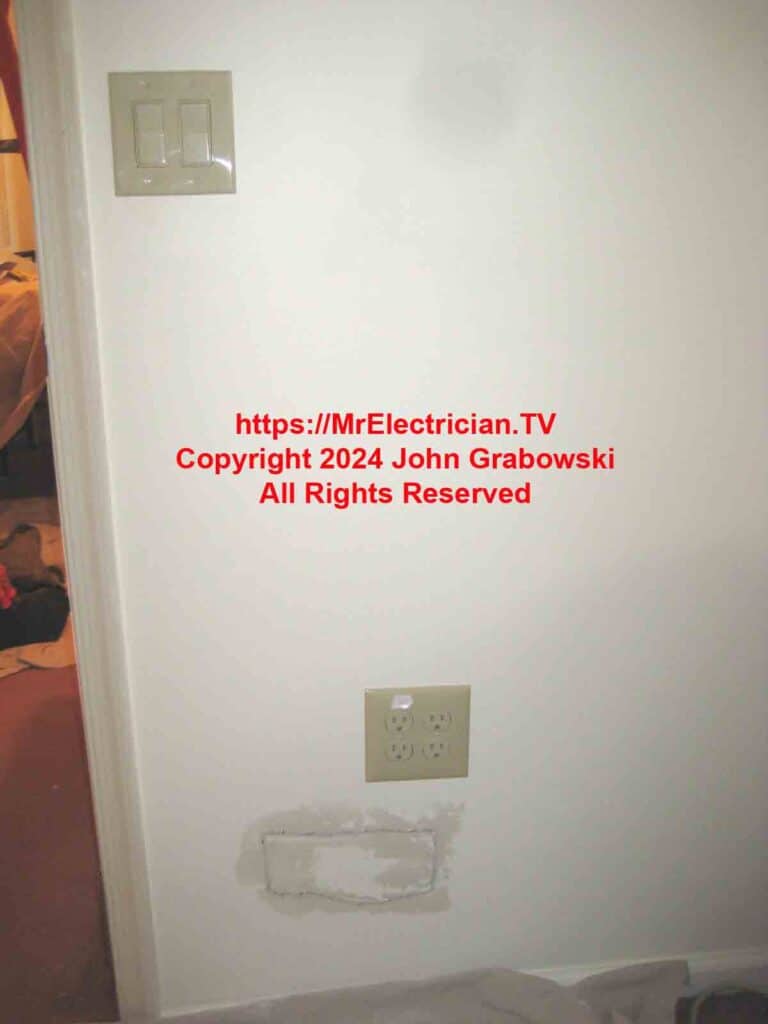
The client was planning to have the room painted sometime soon and the painter will put a finish coat on the hole. In the meantime, furniture hid the rough-patched access hole.
Click to see my light switch wiring diagrams.
This switch installation that I did may be helpful to you.
To help keep this website FREE, please use this Amazon link for all of your purchases.
Click for a FREE copy of my book “Almost Everything You Need To Know To Repair a Bathroom Exhaust Fan In Your Home.”
Get your required “Emergency Disconnect, Service Disconnect” labels and stickers to satisfy the 2023 National Electrical Code requirements in article 230.85(E)(1) by going to my Zazzle shop here.
Visit my Link Tree for social, stickers, and merchandise links.
