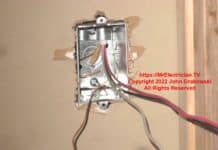
Dear Mr. Electrician: How do I add a light switch to an existing switch? I want to change from a one-gang light switch to a two-gang. The existing one-gang wall switch controls an outlet. I want to install a ceiling fan and have two wall switches to control the ceiling fan and also the light on the fan separately.
Answer: It is possible to add a light switch to the existing one and change a one-gang switch to two-gang or more. However, much of what you need to do will depend on the type of structure you are working in and what room.
NOTE: Some text links below go to applicable products on Amazon. As an Amazon Associate, I earn from qualifying purchases. Using my links helps to keep this website FREE.
Table of Contents:
- Before You Add A Light Switch To Existing
- How To Remove The Existing Switch Box
- How I Cut Access Holes
- How I Installed A Ceiling Fan Box
- How I Installed A Two-Gang Switch Box
A three-conductor cable with a ground wire must be installed from the ceiling fan to the wall switch location.
If you have an attic space above, adding a light switch to the existing electrical box can be done sometimes without damaging the walls. If you don’t have attic access or if there are obstacles inside the wall or ceiling, you will need to cut holes in the wall and ceiling.
Another possibility is to use a surface mount raceway such as Wiremold. An example of Wiremold can be seen in this article of mine.
Below is an example of how I added a second switch to an existing one that controlled an outlet. This is from a ceiling fan installation I did a few years ago for some homeowners who bought a single-family detached house initially built in the 1960s.
BEFORE ADDING A SWITCH
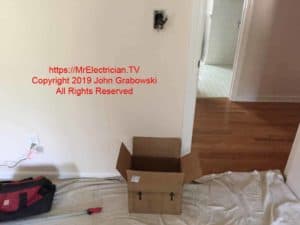
When working in an occupied house, it is necessary to keep the work area clean so that dust and debris do not travel throughout the home. I use drop cloths to protect floors and carpets.
I use a cardboard box to catch dust and debris as it falls from the wall and ceiling. It also helps speed up the cleaning process at the end of the job.
I used a short piece of metal fish tape to probe the left side of the existing metal switch box to determine if any obstacles, such as air ducts or pipes, would prevent the installation of a larger switch box.
I also confirmed the function of each wire in the switch. I had a hot and a neutral, which were my main concerns.
The electrical outlet to the lower left of the wall switch was a split, half-switched outlet. To feed power to that outlet, a three-conductor cable was used. The switch controlled the red wire while the black had power at all times and continued that constant power to the other electrical receptacle outlets in the room.
REMOVING THE EXISTING SWITCH BOX
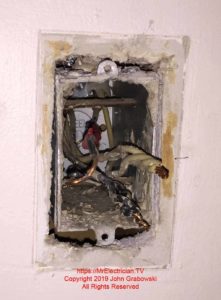
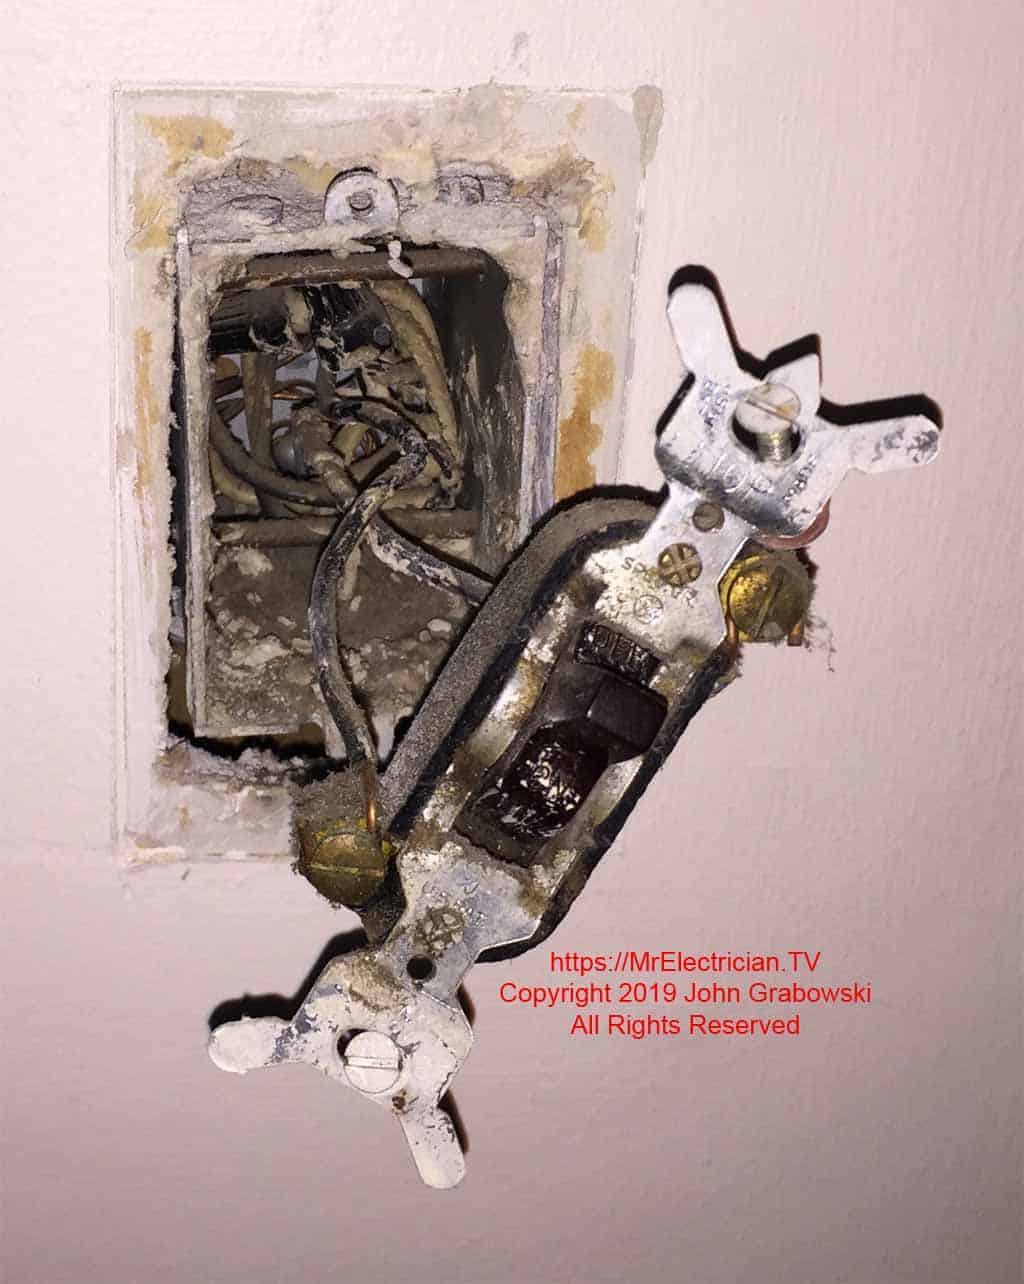
The photo above shows three two-conductor cables in the switch box initially installed by the builder. One cable is the power feed, while another feeds the bathroom. The third cable goes to the electrical receptacle outlet, controlled by the wall switch.
When we add a light switch to the existing one, the wiring will change so the outlet is always on, and two switches will be used to control a new ceiling fan and light.
The existing wall switch electrical box was mounted to the wood wall stud using two 16-penny nails. The nails pass through the box’s upper and lower parts.
I identified the wires and separated them. Tagging the wires helps with getting them back together correctly. I use colored electrical tape or homemade labels made from white electrical tape. In this particular switch, the white wires were all neutrals, the black wires were hot or LINE, and the red wire was the switch leg or LOAD wire that controlled the switched outlet.
Because there was already a hot and neutral switch in this switch box, I only needed to install a three-conductor cable with a bare ground wire up to the new ceiling fan location to add a light switch to the existing one.
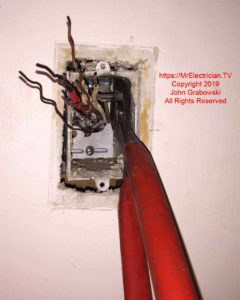
Instead of cutting the nails inside the box, I grabbed each one with my Knipex 10″ high-leverage diagonal pliers and, little by little, could remove the nails by leveraging my diagonal pliers against the box. When each nail came out of the wood, I pushed it through to the other side, where it fell into the hollow wall space.
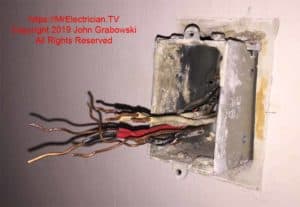
With the box loose, the wires separated, and the cable clamp removed, removing the old switch box from the wall is now possible.
It was necessary to remove the old switch box to add a light switch to the existing one because more cubic inches of space was needed for the additional fan switch wires.
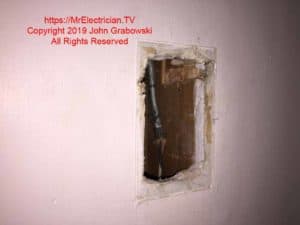
Because this already had a metal switch box in the wall, I planned to install a new two-gang metal switch box to add a light switch to the existing one.
A two-gang metal switch box consists of two single-gang boxes with one side removed and then connected. Just one way to add a light switch to an existing one.
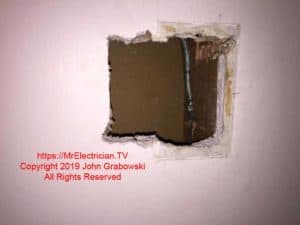
The existing hole is cut to the size of the new two-gang metal switch box.
CUTTING AN ACCESS HOLE
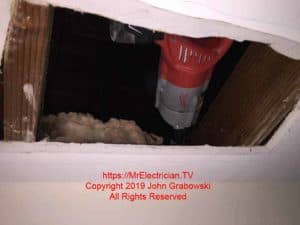
I had to cut an access hole into the attic space because this house had no attic access via a door or a ceiling hatch. I made the access hole big enough to fit my angle drill up in the attic so that I could drill down into the wall.
It is difficult to see, but I cut the hole in the ceiling drywall with my saw at a 45-degree angle with the blade’s tip pointed inward towards the center. This is a technique that I developed many years ago. It makes it easier to patch the hole using the same piece of drywall that was cut out.
To patch the hole, I butter the edges of the ceiling hole and the cut-out drywall piece with joint compound. Then, I push the piece into place until it is even with the existing ceiling. Much of the joint compound will ooze out, but that is okay as it gets smoothed over with a wide putty knife.
This method is so excellent that no taping is needed over the joint. The joint compound fills in all of the gaps, and the 45-degree angle prevents cracking from showing up. On most jobs, I do a rough finish and let the client handle the fine finish and painting, as the joint compound needs 24 hours to dry.
I use some drywall screws on ceilings to keep the piece from falling. However, on walls with smaller holes, I have found that the joint compound is enough to hold the piece in place. When there is no wood to screw into, I add small pieces in the corners above the ceiling and screw through the drywall ceiling to hold them in place.
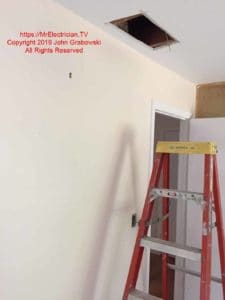
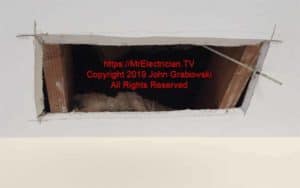
Using the access hole that I made caused the job to go a lot quicker as I could fish my wire across the ceiling and down the wall with little effort. I was lucky because the owners planned to repaint the room after I finished. They had no problem with me cutting holes to add a light switch to the existing one.
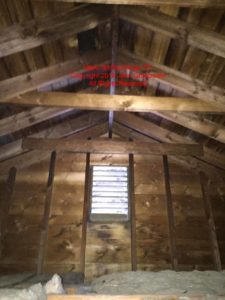
This attic space was revealed after I cut the access hole to add a light switch to the existing one. I let the homeowner climb up my ladder to see how much attic space there was.
INSTALLING A CEILING FAN ELECTRICAL BOX

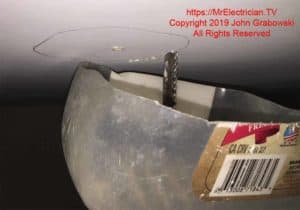
I made a dust catcher for my compass saw out of the sawed-off bottom of a juice container. I cut a slot in the bottom for the saw blade to fit through. It doesn’t catch 100% of the dust but collects a lot. The slower I cut, the more dust I keep in the bottle bottom.
Before I cut the electrical box opening to add a light switch to the existing one, I made a small hole in the center and pushed a long, thin screwdriver up to probe for obstructions. I then pushed a fish tape up to do more probing. I also feel around with a wire coat hanger bent into an L shape to detect things against the ceiling surface, such as furring strips or resilient channel.

With the open attic space, it was straightforward for me to use my fiberglass pull rods to fish a 14/3 Romex cable from the switch to the ceiling fan in the middle of the room to add a light switch to the existing one.
I forgot to get a picture, but after I finished using the access hole, I patched it up using joint compound and the drywall piece that was cut out, as I explained above.
The rest of this ceiling fan and switch installation can be seen on page 2.
