
Dear Mr. Electrician: How do I install a steel side-mount ceiling fan box to replace an existing plastic side-mounted electrical box in my ceiling?
NOTE: Some links below go to applicable products on Amazon. As an Amazon Associate, I earn from qualifying purchases. Using my links helps to keep this website FREE.
Answer: A side-mount ceiling fan box can be easily installed after removing the existing plastic side-mounted electrical box.
Table of Contents:
REMOVE THE EXISTING CEILING BOX
Turn the power off for the circuit that the existing ceiling wiring or light is connected to at the circuit breaker panel. If there isn’t any existing light fixture to indicate that the power is off or on, I will attach a pigtail light bulb socket onto the wires. A voltage tester can also be used for testing the wires.
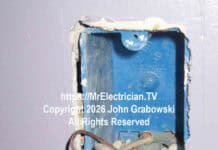
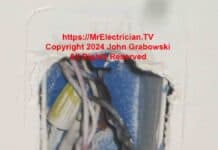
An existing plastic ceiling electrical box must be removed carefully to not damage the wires inside or outside the box. You also do not want to damage the ceiling. Do not cut any wires. Straighten the wires so they are not blocking each other and take a picture before taking anything apart.
If there are multiple wires in the box, label them with numbers or colors so that you know how to reconnect them together. Remove the wire connectors. Separate and untwist the wires and then straighten them. Tape the bare ends with electrical tape.
If applicable, try to cut out the internal cable clamps on the plastic ceiling box to make it easier to remove the wires. Some plastic boxes break apart more easily than others. I use my Knipex 10″ high leverage diagonal pliers for cutting PVC plastic boxes.
I have found that the brown-colored plastic electrical boxes break apart easily when pliers or Channellocks are applied. Just grab the end of the box with pliers and break off a piece. The blue, and the gray PVC plastic boxes take more time to remove because the PVC plastic doesn’t snap apart, it must be cut.
I can also use my Knipex diagonals to cut the nails that fasten the existing ceiling box to the side of the ceiling joist. I also have small pry bars and large flat head screwdrivers to pry electrical boxes away from their mounting surface.
Once the old ceiling electrical box is out, I check the slack on the existing electrical cable inside the ceiling. Most of the time, the cable is not very long. However, I can usually gain a few extra inches by removing the nearest cable staple inside the ceiling.
Knipex diagonal pliers work well for staple removal by grabbing the edge of the staple and leveraging it out. Cutting the staple is also an option, but you must be careful not to nick the electrical cable.
INSTALLING A SIDE MOUNT FAN BOX
When the old plastic ceiling electrical box is out of the ceiling, a new side-mount fan box can be installed. Wash your hands after removing the old box. You don’t want to stain the ceiling while working.
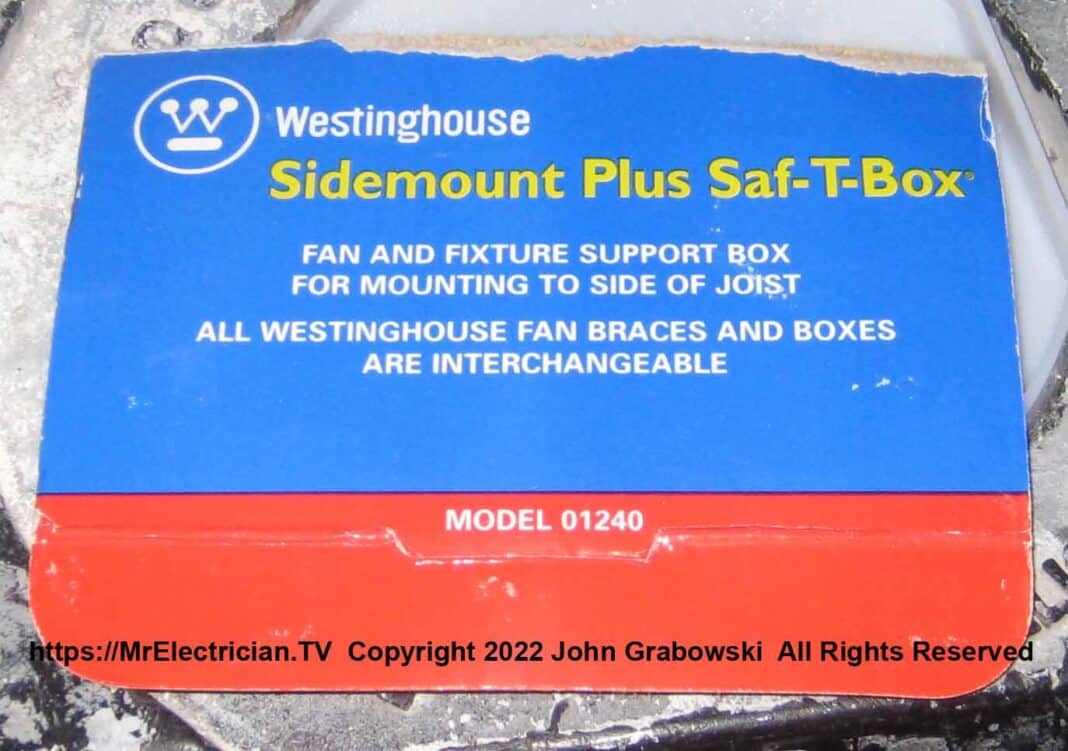
The Westinghouse model 01240 side mount fan box consists of two parts. One part is a bracket that gets attached to the side of the ceiling joist. The other is the fan-rated electrical box that attaches to the bracket using some included anti-vibration nuts. The fan box package also includes screws for attaching the bracket to a wood ceiling joist.
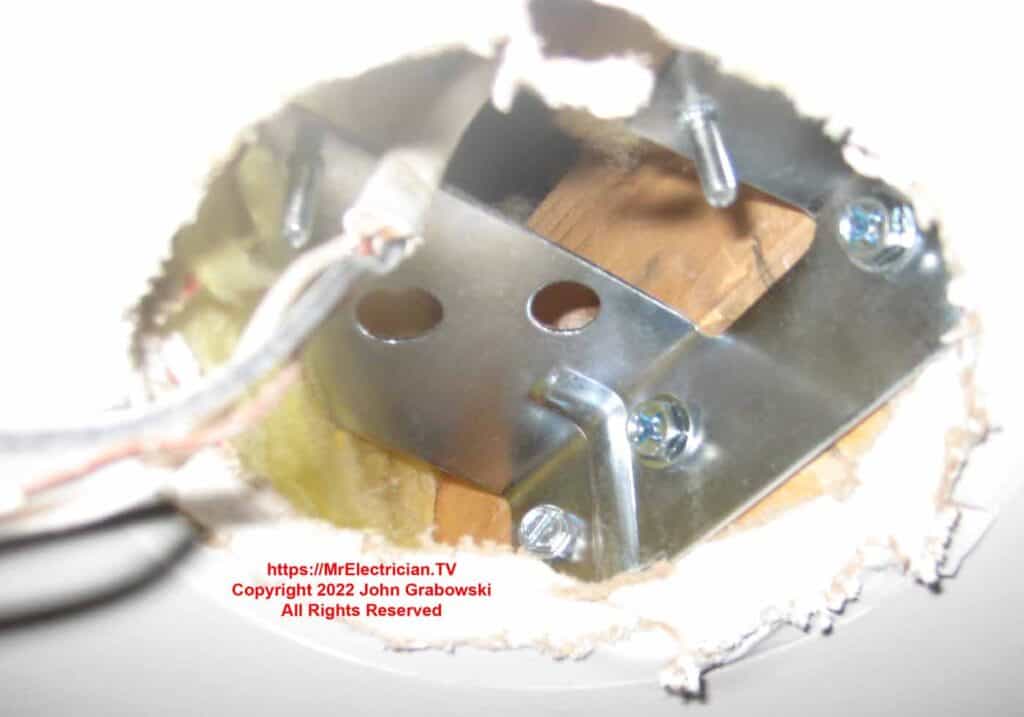
The bracket is installed first after separation from the ceiling fan box in the factory packaging. I put the bracket in the ceiling and marked the holes with a pencil. Then I use my awl to start the holes for the screws at the best angle for screwing from below the ceiling.
In some older homes with old-growth wood construction, I have had to drill tiny pilot holes for the screws after using my awl.
An impact driver or a drill, with a hex or Philips bit and a bit extension holder, is used to drive the screws into the wood joist. The screws are too long to be driven in by hand.
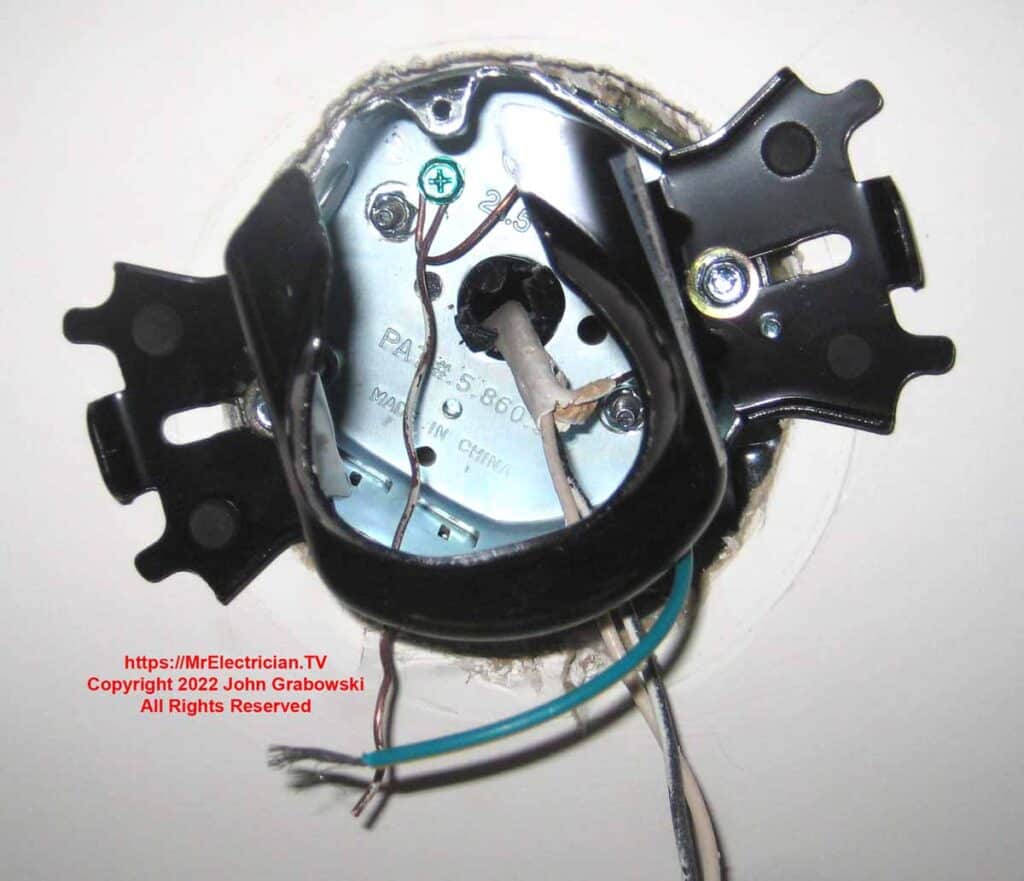
With the plastic cable connector installed in the fan box, the wires can be brought into the box as positioned. I use a nut driver to tighten the nylon insert anti-vibration nuts onto the bracket attached to the side of the joist.
UPDATE: The bare copper grounding conductor above is connected to the metal electrical box with a green 10/32 screw. The National Electrical Code no longer permits this grounding method. A separate grounding pigtail must be connected to the box, and that gets spliced together with the grounding conductor from the Romex feed cable.
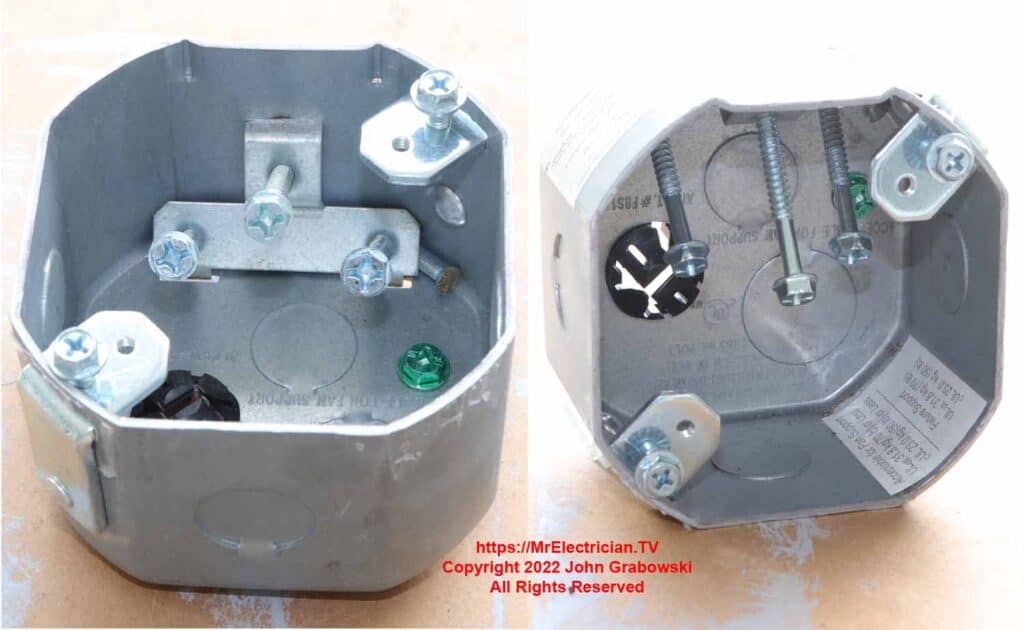
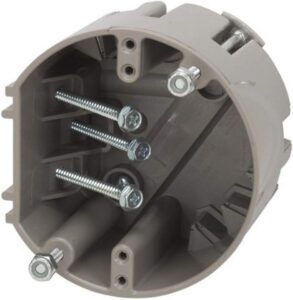
There are also PVC plastic ceiling fan side mount boxes that are good for retrofitting. They do not have the same weight load ratings as some metal boxes.
TOOLS FOR FAN BOX INSTALLATION
Lineman pliers
High leverage diagonal pliers
Wire strippers
Razor knife
Philips screwdriver
Flat head screwdriver
Channellock adjustable pliers
Voltage tester
Pigtail light bulb socket and bulb
Impact driver
Pistol drill
#14 or #12 Gauge Extension Cord
Screwdriver and nut driver bits for impact driver or drill
Hex bit extension holder
Drill bit index
Nut drivers
Awl
Small pry bars
Ladder
Portable GFCI Electrical Outlet or Cord
Dust mask
Eye protection
Work gloves
Headlamp
SAFETY
Always use a ladder when working on a ceiling or high up on a wall. Do not stand on a chair, a bucket, a step stool, milk crates, a table or anything else not rated for climbing and standing on.
Always wear shoes when doing physical work around your home. Steel toe safety shoes would be best. Never work barefoot.
Wear eye protection because it is easy for some dust to come down on your face while looking up when working on the ceiling fan box. A dust mask or respirator is good to use also.
A pair of work gloves will protect your hands when putting them inside the ceiling.
If you have long hair, I recommend tying it up to prevent it from getting caught on something. Covering your hair will keep some of the dust out.
It’s not likely that you will subjected to falling objects in your own home (Usually), so a hard hat or helmet is not always necessary. However, a bump cap would be good when working around your home.

Click to see my photos and details of a retrofit fan brace installation.
Click here to see all of my ceiling fan-related articles and photos.
See my article on Special Electrician Tools.
To help keep this website FREE, please use this Amazon link for all of your purchases.
Click for a FREE copy of my book “Almost Everything You Need To Know To Repair a Bathroom Exhaust Fan In Your Home.”
Get your required “Emergency Disconnect, Service Disconnect” labels and stickers to satisfy the 2023 National Electrical Code requirements in article 230.85(E)(1) and (2) by going to my Zazzle Shop here.
Visit my Link Tree for social, stickers, and merchandise links.