Dear Mr. Electrician: How do I install new wiring for an old exterior light fixture?
Answer: Installing new wiring for an old exterior light fixture will vary according to the structure.
NOTE: Some text links below go to applicable products on Amazon. As an Amazon Associate, I earn from qualifying purchases. Using my links helps to keep this website FREE.
The original wiring was probably installed when the building was constructed, and the walls were open. It may be possible to install new wiring in the walls without causing too much damage to the existing walls and ceilings. I have fish tapes and fiberglass rods for wire pulling.
A new cable can be fished by drilling a hole up or down into the wall when a basement is below the exterior light or an attic is above. Measurements must be taken to locate the exact spot in the basement or attic that coincides with the existing old exterior light fixture.
Below is a simple example of a job where I could easily install a new Romex cable to a light fixture that was missing for a long time.
OLD EXTERIOR LIGHT FIXTURE WIRING
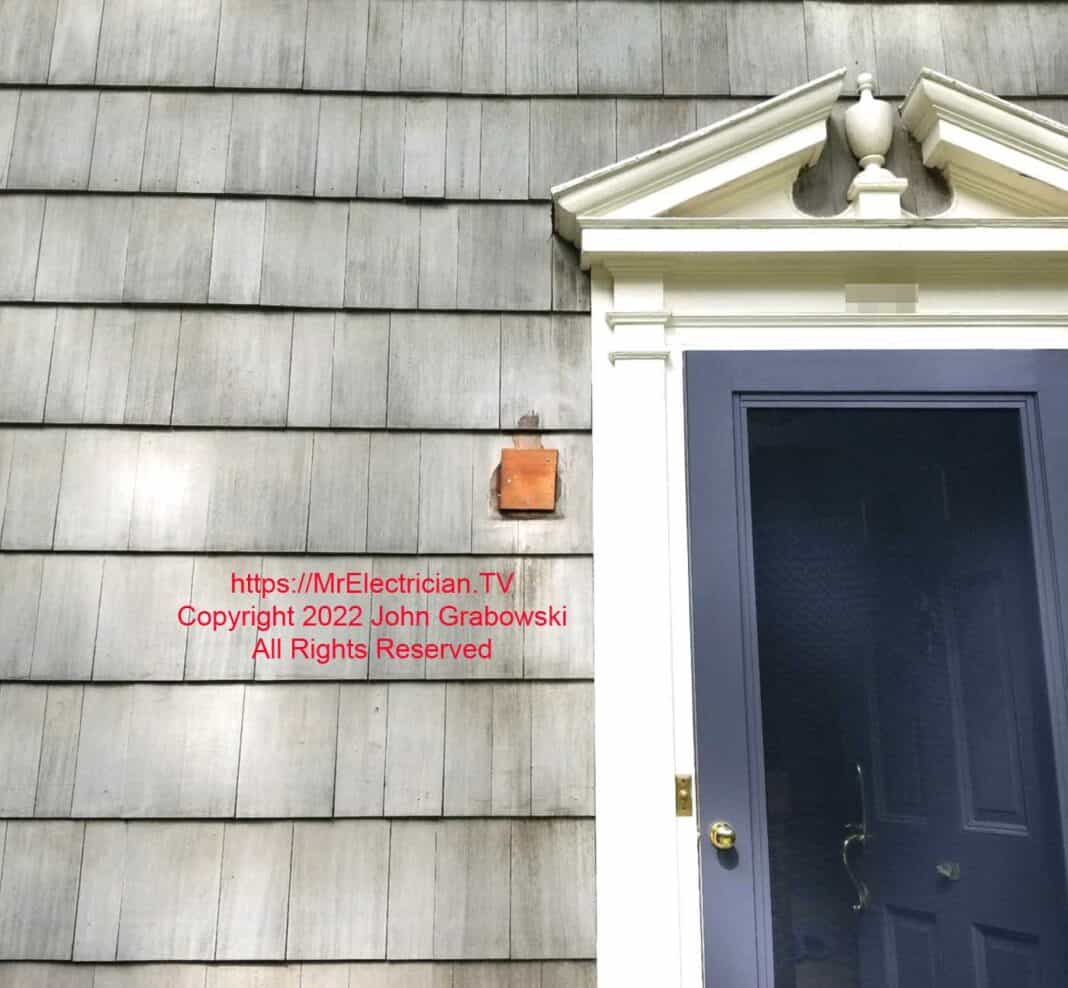
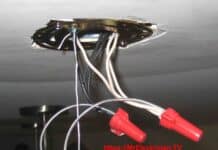
I was called to install an exterior light fixture next to the front door. Below is what I found when I arrived.
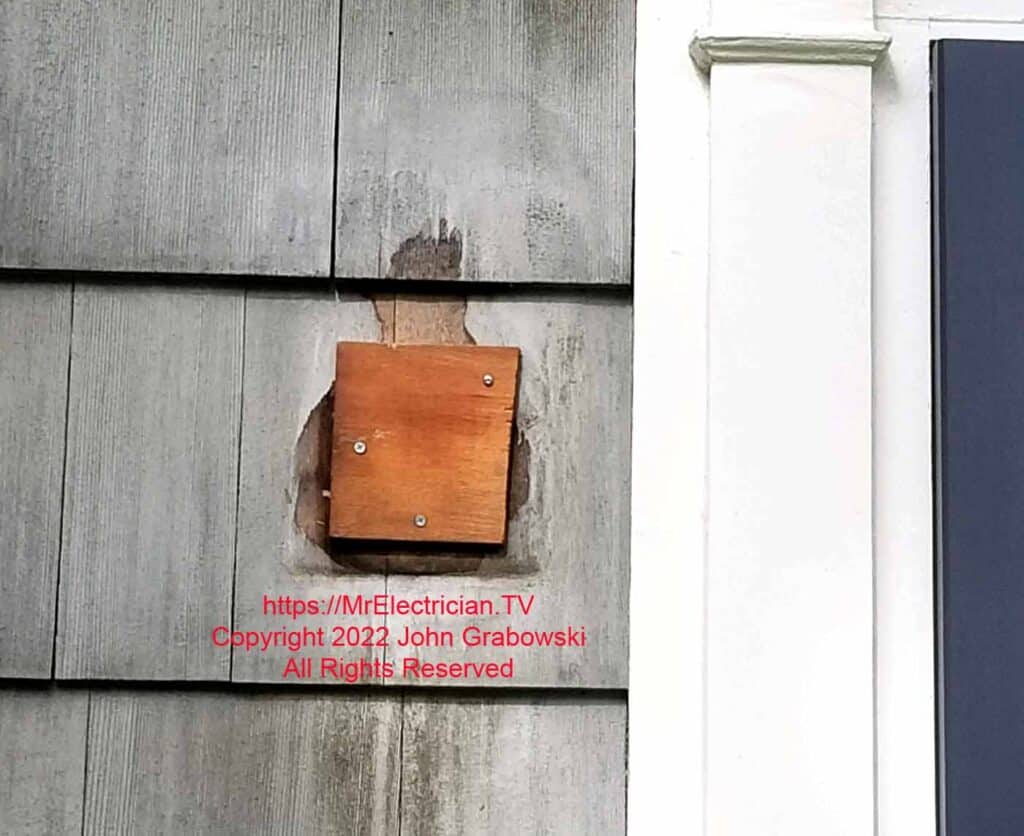
The client had no idea how long the old exterior light fixture wiring had been like that, but they wanted the new light fixture to be controlled by the wall switch inside.
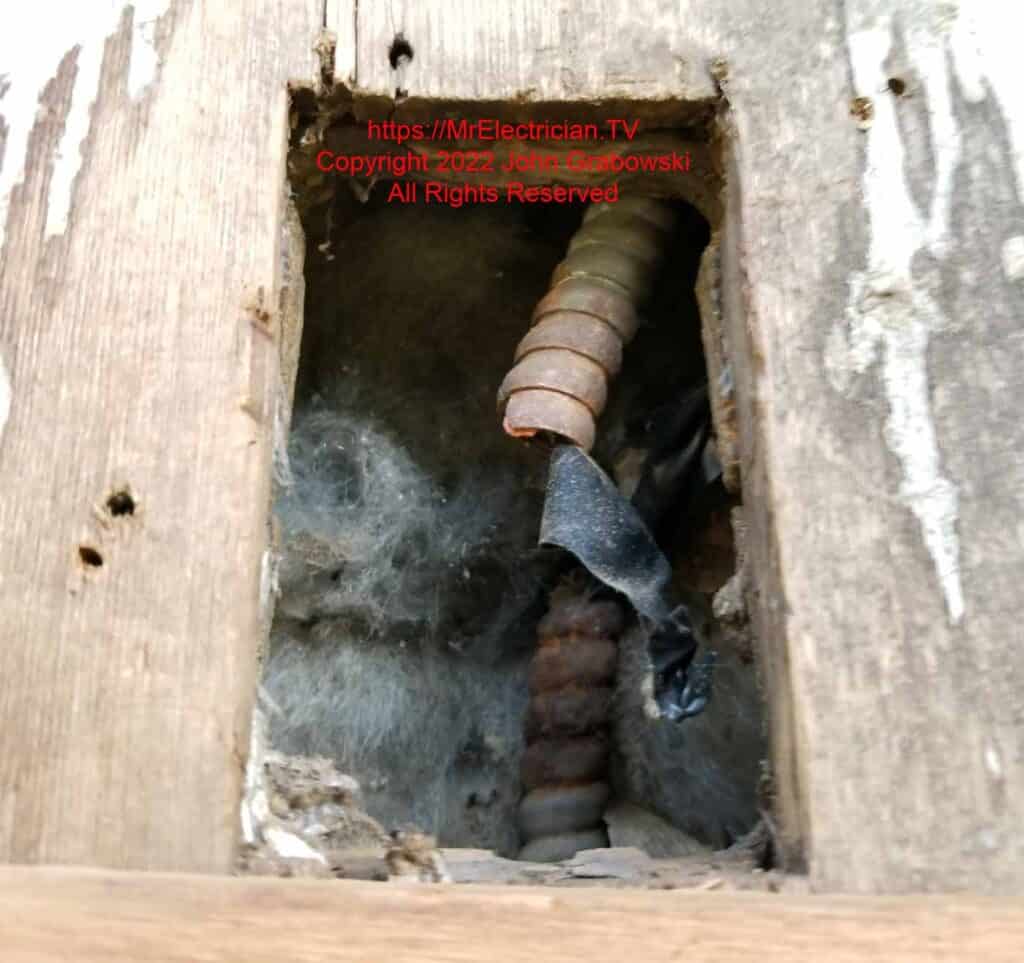
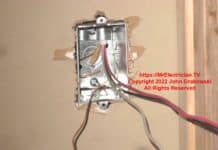
The existing switch box for this light was located behind it and down approximately three feet inside the house. I could not pull out the old BX cable, but I could fish a new cable into the switch box.
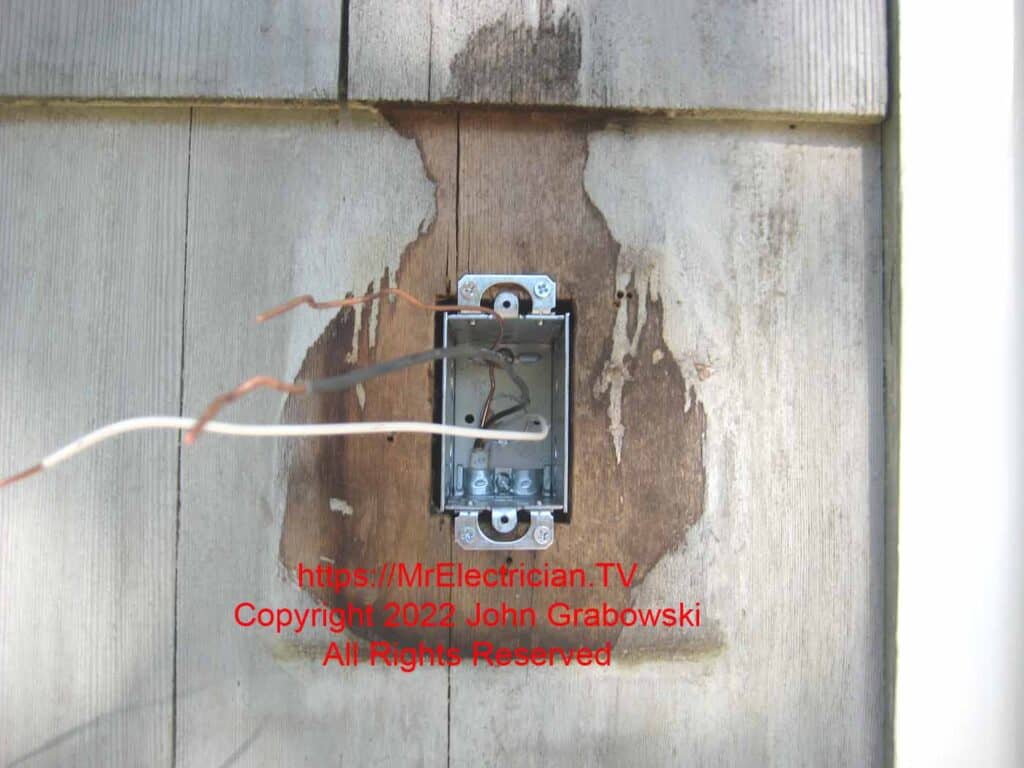
A new metal switch and receptacle box fit perfectly in the hole, and I was able to screw it to the wood using #6 wood screws.
I grounded the new electrical box using the grounding conductor in the Romex cable; however, the National Electrical Code no longer permits this. A separate grounding pigtail for the box must be installed.
See my blog post about grounding switches and outlets for more details about metal box grounding.
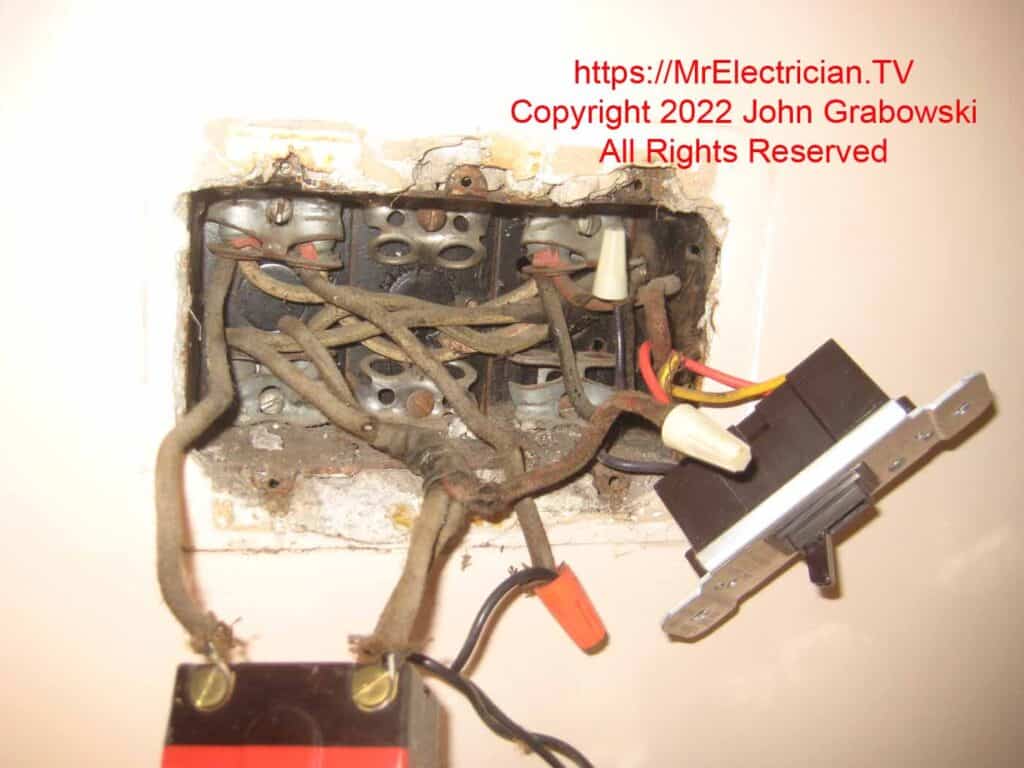
The existing three-gang switch box had some old wiring in it that was in good condition. The original installer did not remove the unused cable clamps inside the electrical box.
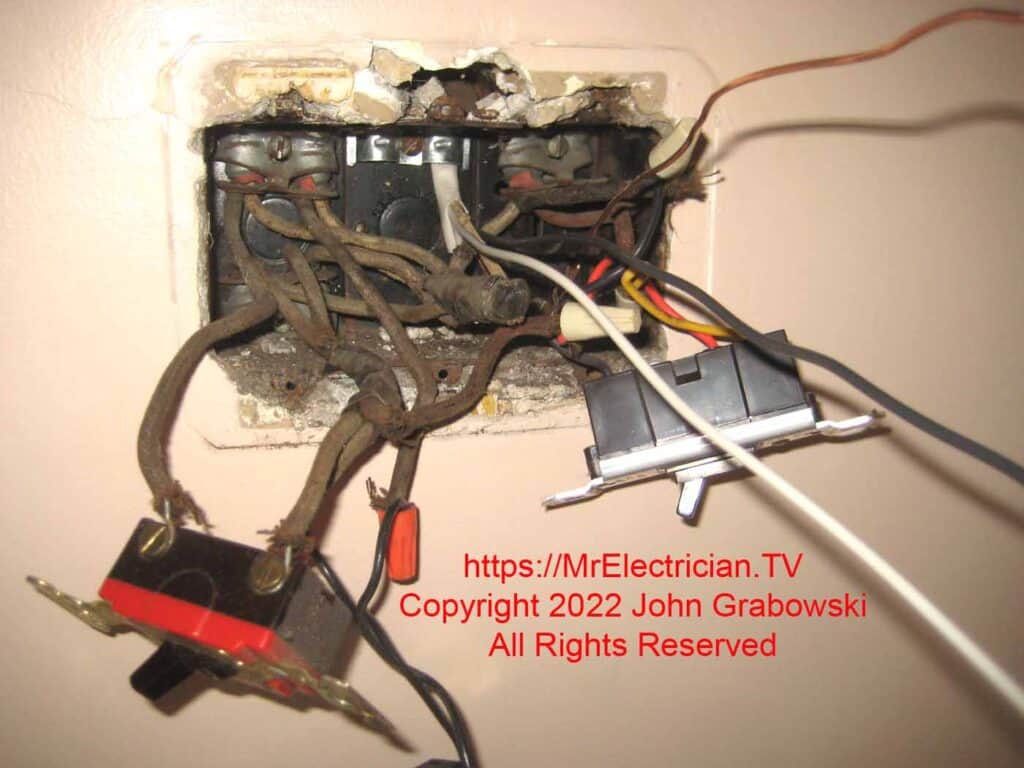
An old three-gang switch box with the new Romex cable that I installed for the new old exterior light fixture. I could easily fish a wire down after pushing my fish tape up through a knockout in the electrical box. I used a Romex clamp to secure it.
I snipped the old wires that went to the light fixture so they would never be used again and to give me room.
The three-gang box was grounded through the BX cable armor, an approved grounding conductor. I used a machine screw, grounded the Romex ground to the box, and left a pigtail to connect to the new switch. As I mentioned previously, this grounding method is no longer approved. A separate grounding pigtail is required just for the box.
The most challenging task for this old exterior light fixture installation was separating the bundle of neutral wires soldered and taped. I used a razor knife and kept slicing away until I could remove all the old friction tape.
I then held the twisted wires with my Channellock pliers and used my pliers to untwist them. The solder was soft, so it was easy to separate the wires gently.
I then had to tape some of the neutral wires with white electrical tape before splicing them back together minus the old neutral wire and using the new neutral wire. A large wirenut was used to join the white wires.
I used the existing switch feed to power the new wall switch.
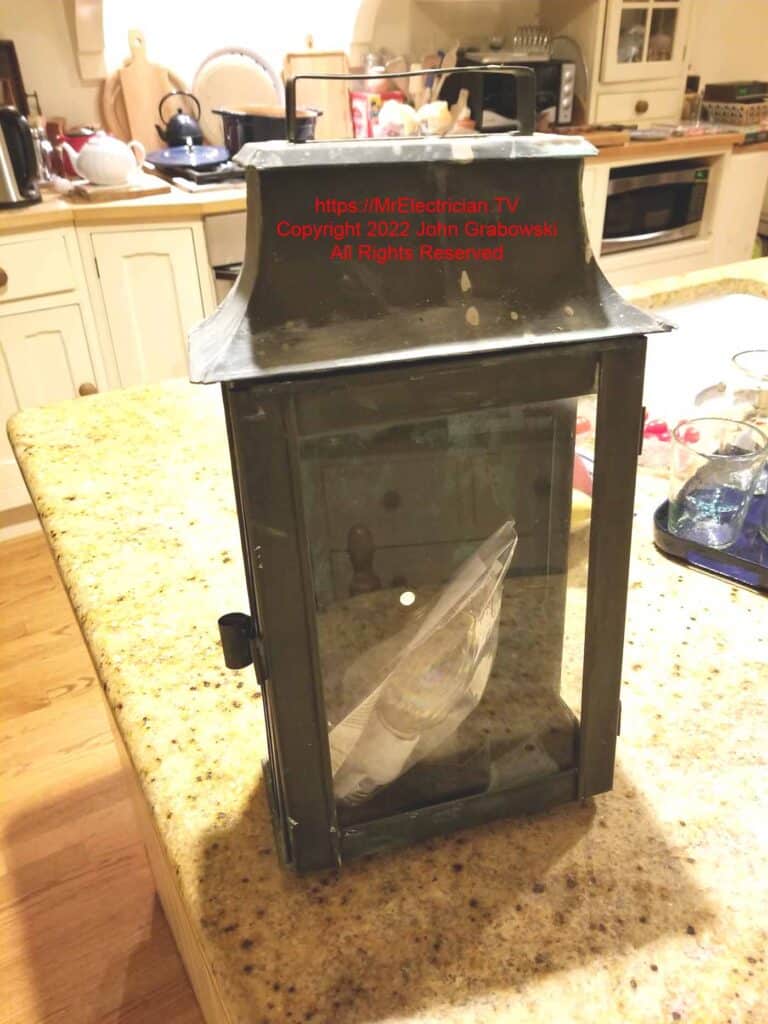
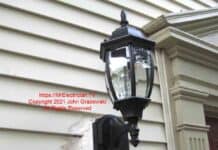
The new old exterior light fixture to be installed next to the front door was not completely assembled. The light fixture came with some parts, and I had to add some of my own to get it to mount onto the electrical box.
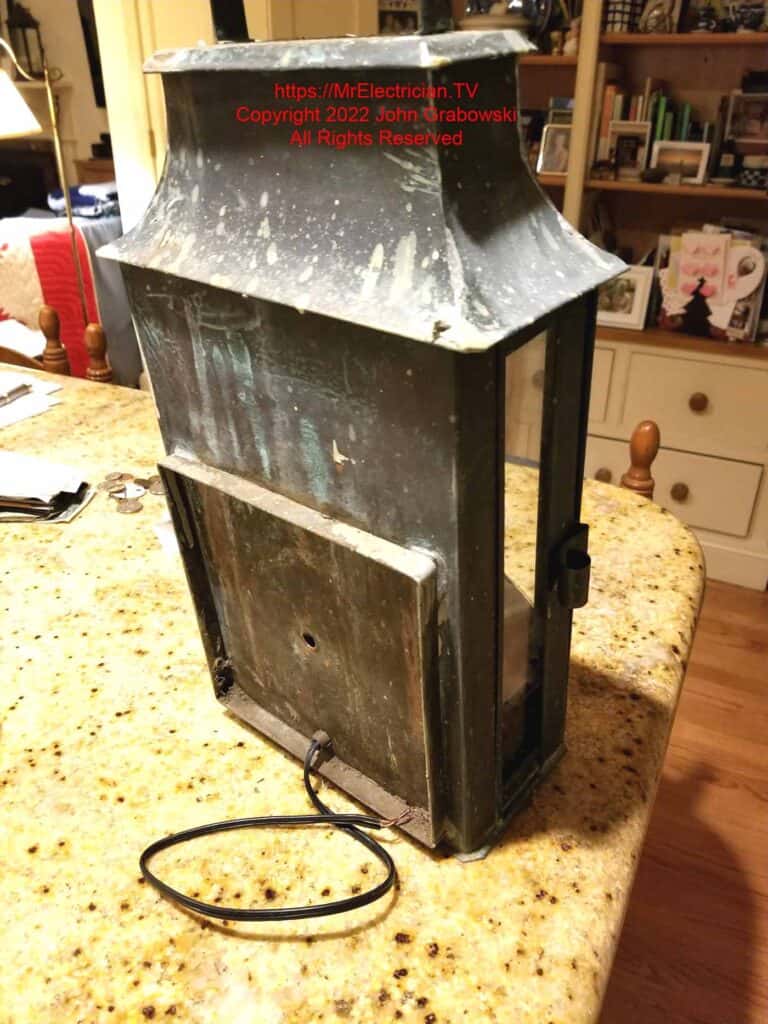
Fortunately, I had a box of old parts on my truck for occasions like this when some parts were missing. The light socket and wire were new, but the old exterior light fixture lacked a mounting bracket for the electrical box. I had several types.

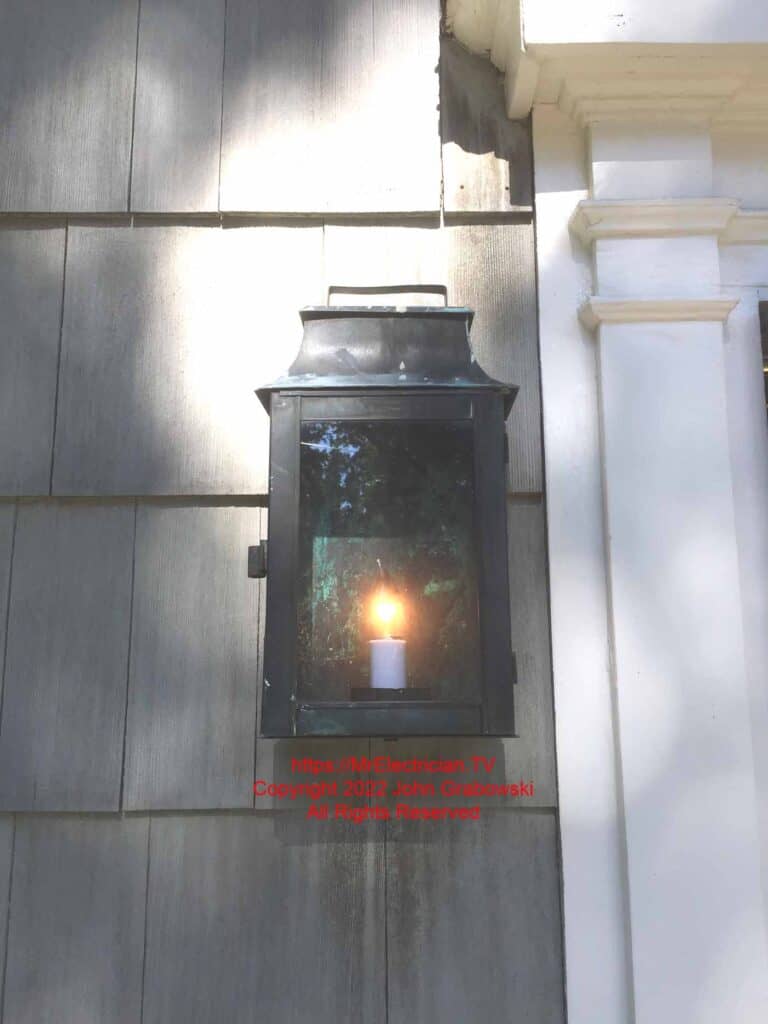
After some time figuring out what parts to use, I was able to mount the old exterior light fixture onto the new electrical box.
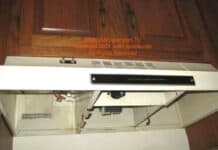
You can see another example of an exterior light fixture repair by visiting my blog post here.
Progress Lighting has some nice-looking exterior light fixtures.
To help keep this website FREE, please use this Amazon link for your purchases. As an Amazon Associate, I earn from qualifying purchases.
Click for a FREE copy of my book “Almost Everything You Need To Know To Repair a Bathroom Exhaust Fan In Your Home.”
Get your required “Emergency Disconnect, Service Disconnect” labels and stickers to satisfy the 2023 National Electrical Code requirements in article 230.85(E)(1) and (2) by going to my Redbubble Shop here.
Visit my Link Tree home page for my social media connections and other links.
