Dear Mr. Electrician: How do I install an electrical box in a narrow space?
Answer: One method I have used to install an electrical box in a narrow space is to mount the box on a short piece of wood.
NOTE: Text links below go to applicable products on Amazon. As an Amazon Associate, I earn from qualifying purchases. Using my links helps to keep this website FREE.
INSTALL AN ELECTRICAL BOX IN A NARROW SPACE
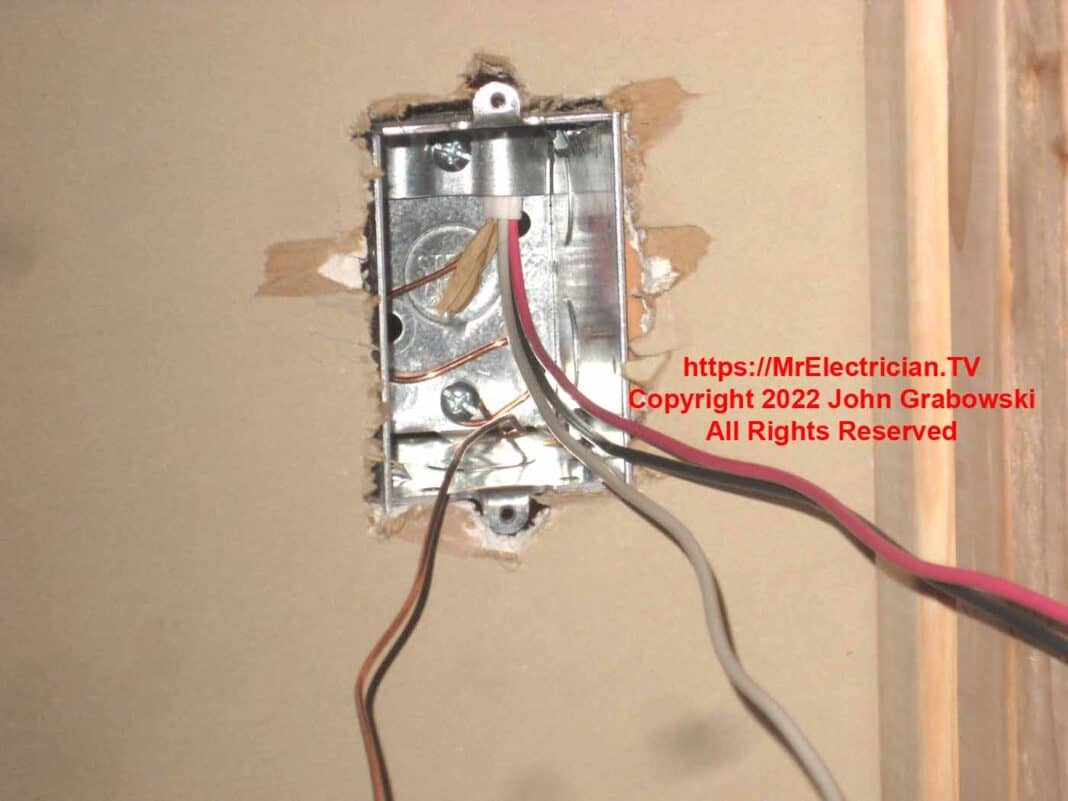
The photos below show how to install an electrical box mounted in a narrow wall cavity.
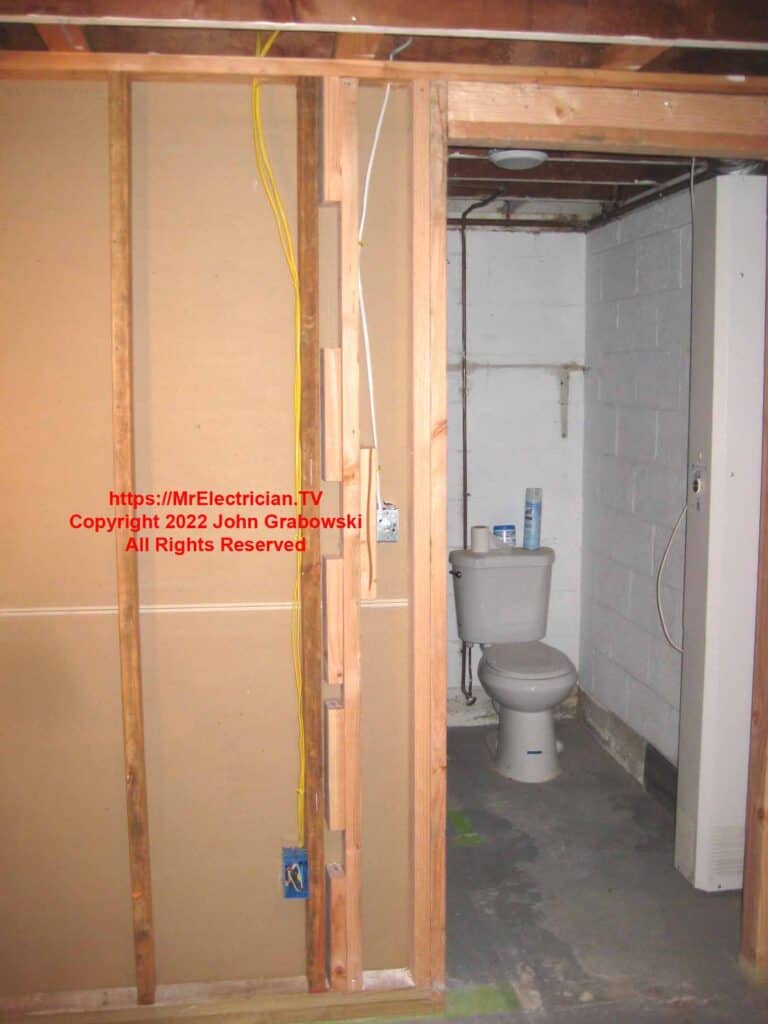
The photo above depicts the finished rough-in wiring work after the one gang metal switch box was mounted and the wiring was installed.
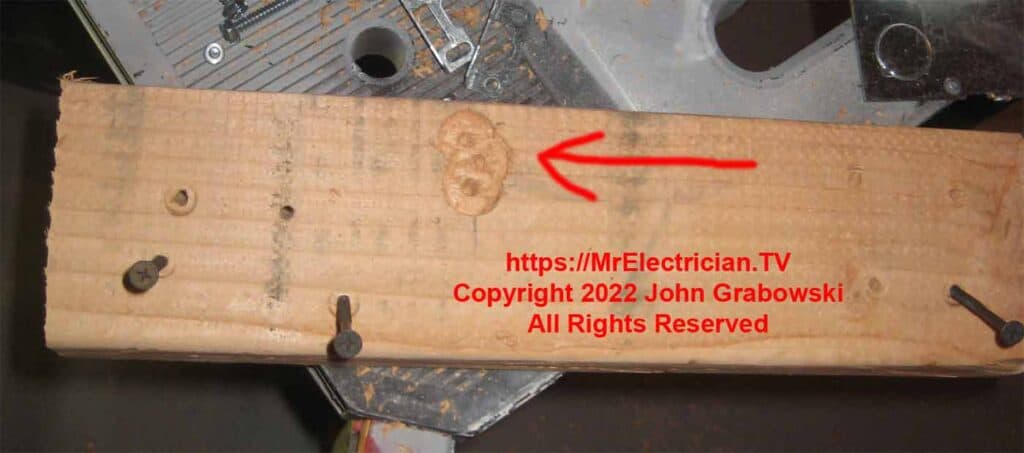
The red arrow above points to where I used a drill with a spade wood bit to make an indentation in the wood stud so that the one gang metal box would lay flat to the stud. Gangable metal electrical switch and outlet boxes have a small protrusion on each side, preventing them from sitting flat.
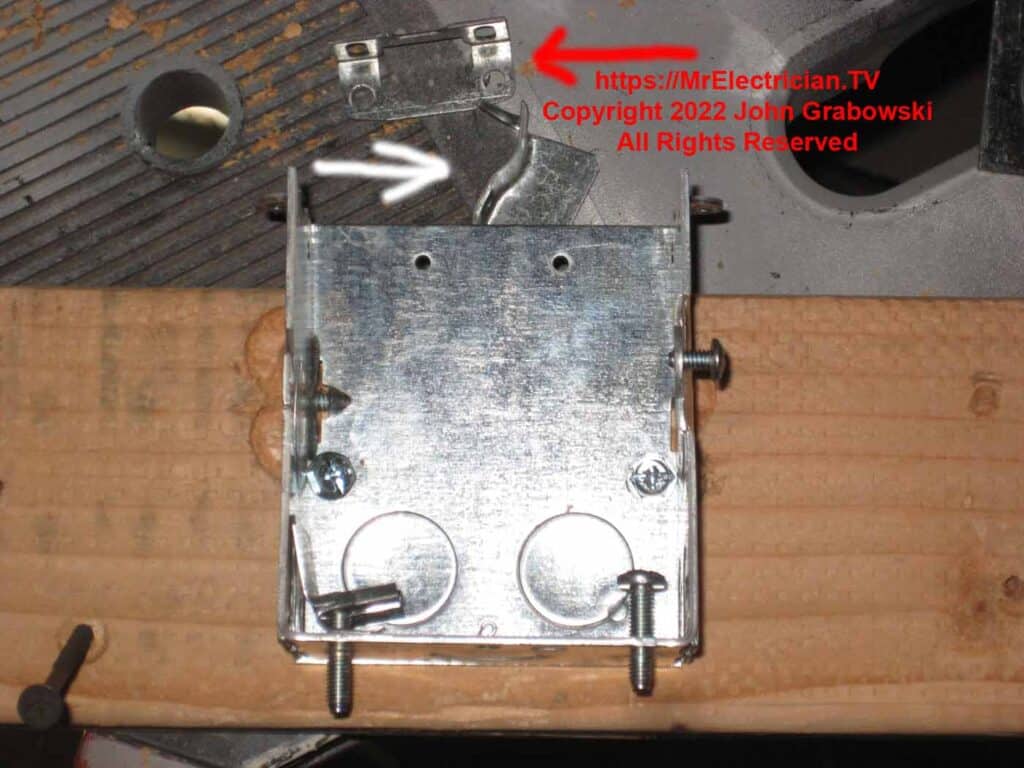
The red arrow above points to one of the ears that came attached to this one gang metal old work box. The ears were not needed since I installed the electrical box from behind.
The white arrow shows one of the cable clamps removed to have more room inside the electrical box. I used the 10/32 machine screw from the extra clamp to attach the ground wire to the box.
One side of the electrical box was removed to facilitate the mounting of the box to the wood stud. Holes are already in the sides for nailing the box to the wood. In this case, I used #10, inch and a quarter sheet metal screws.
I used an awl to get the holes started before driving them in with my impact driver.
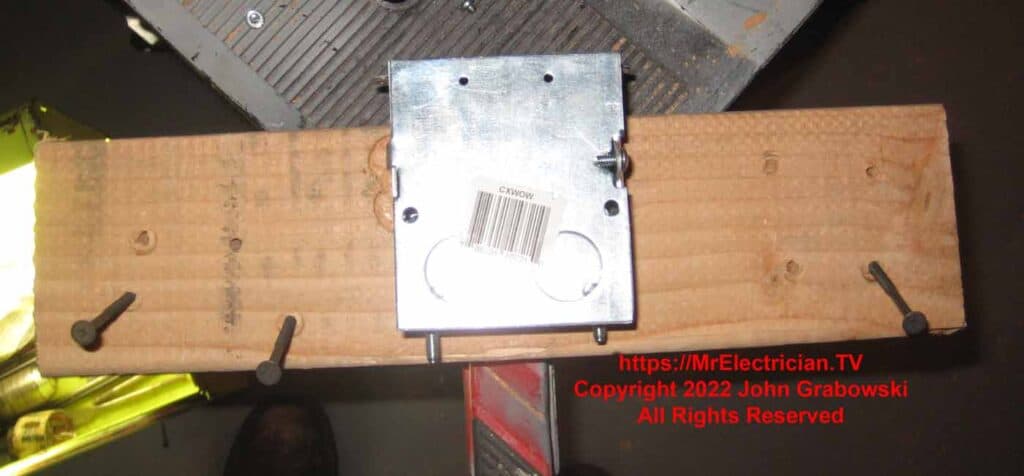
You can see that the screws coming out of the back of the box for the clamps are long enough to cut into the drywall that will go in behind this box. I cut them shorter.
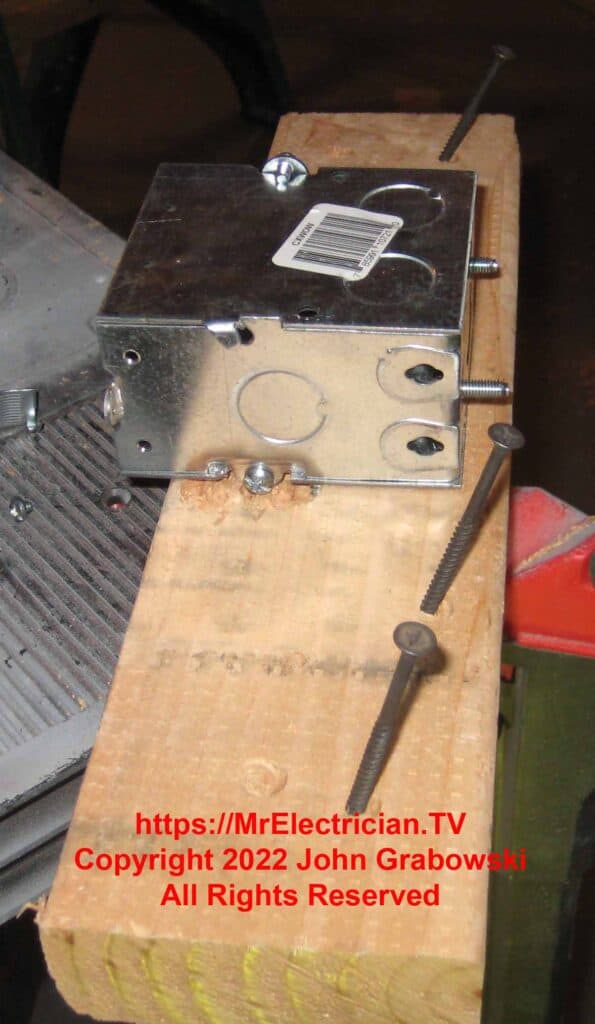
I drilled small pilot holes at an angle so the screws would not drift and to make it easier to drive them in. Three-inch screws were used to attach the short 2″ x 4″ piece of wood to the wood stud in the wall.
An impact driver was used to drive the screws into the wood wall stud.
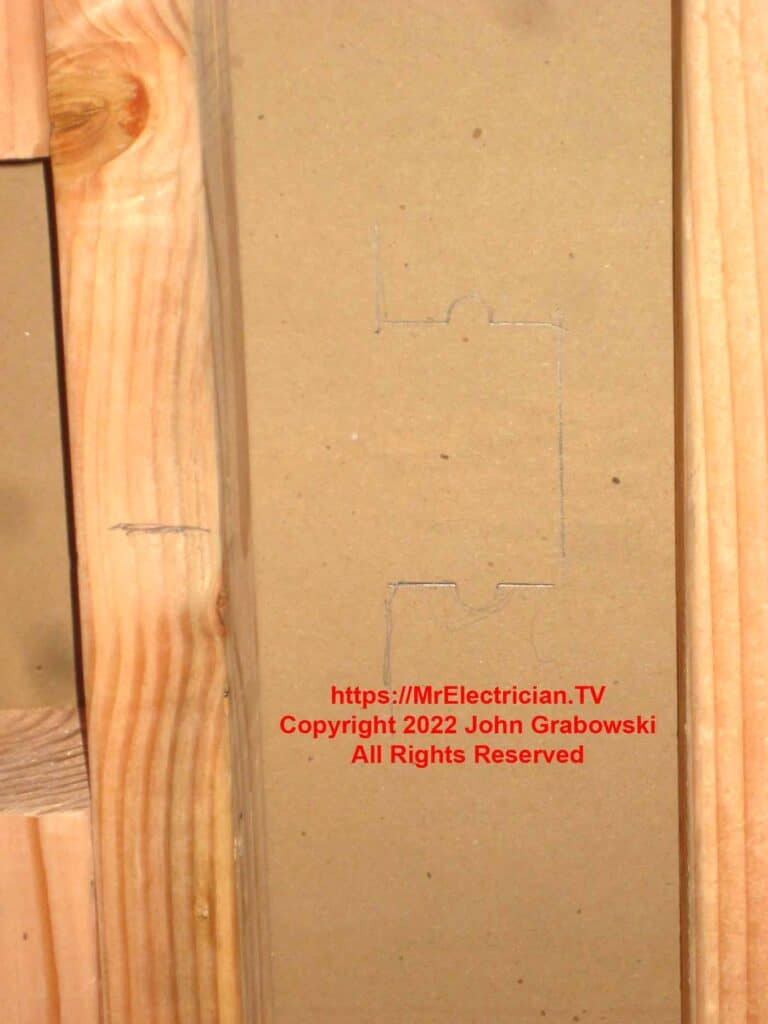
I held the mounted electrical box in place and traced its outline on the back of the drywall using a pencil.
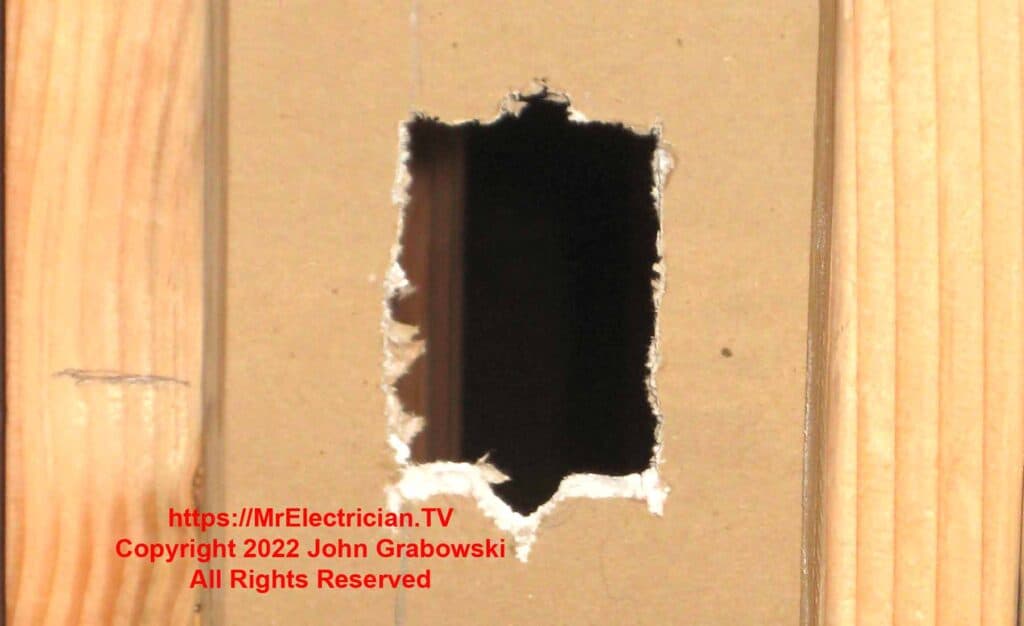
A compass saw was used to cut out the hole in the drywall.
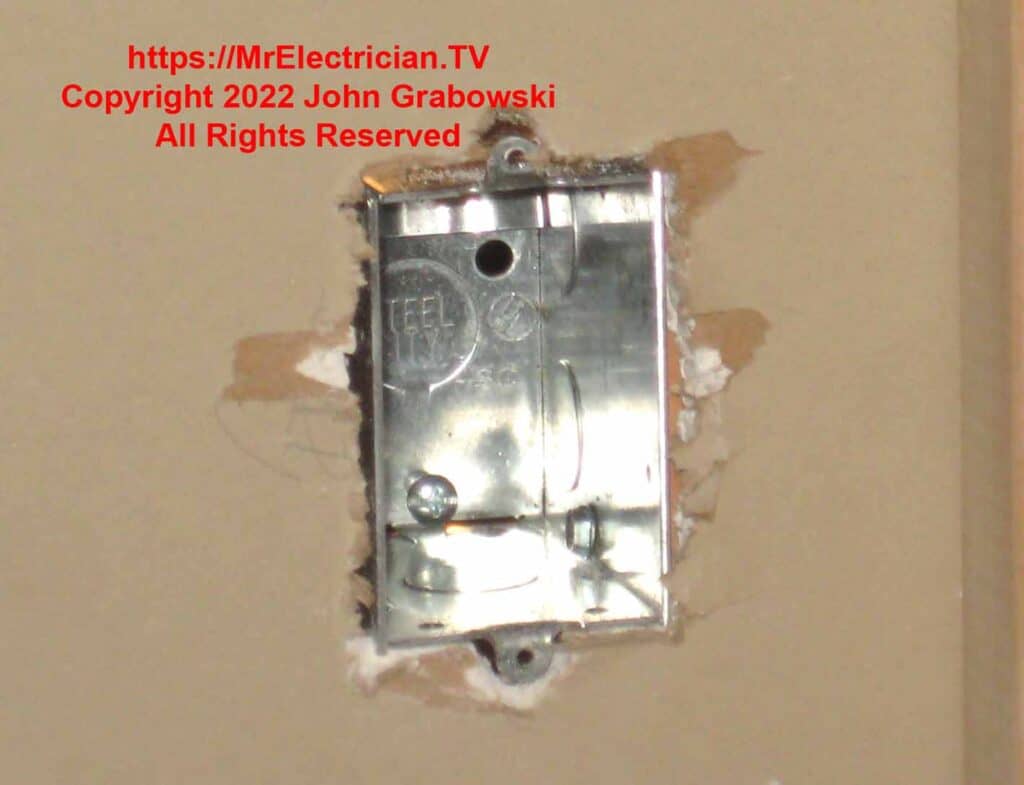
The crew that did all of the drywall joint compound and taping application finished the edges of the wall around the switch box.
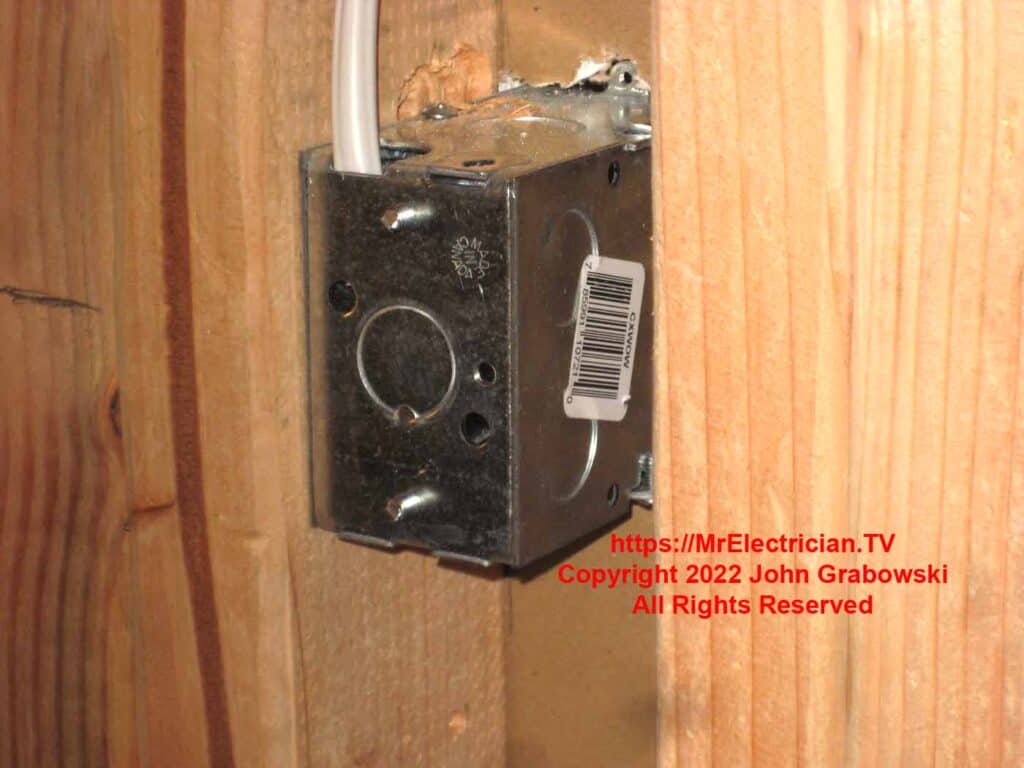
The 10/32 screws that came with this three-and-a-half-inch deep metal box were too long. They were hard, so I had to use bolt cutters to trim them back.
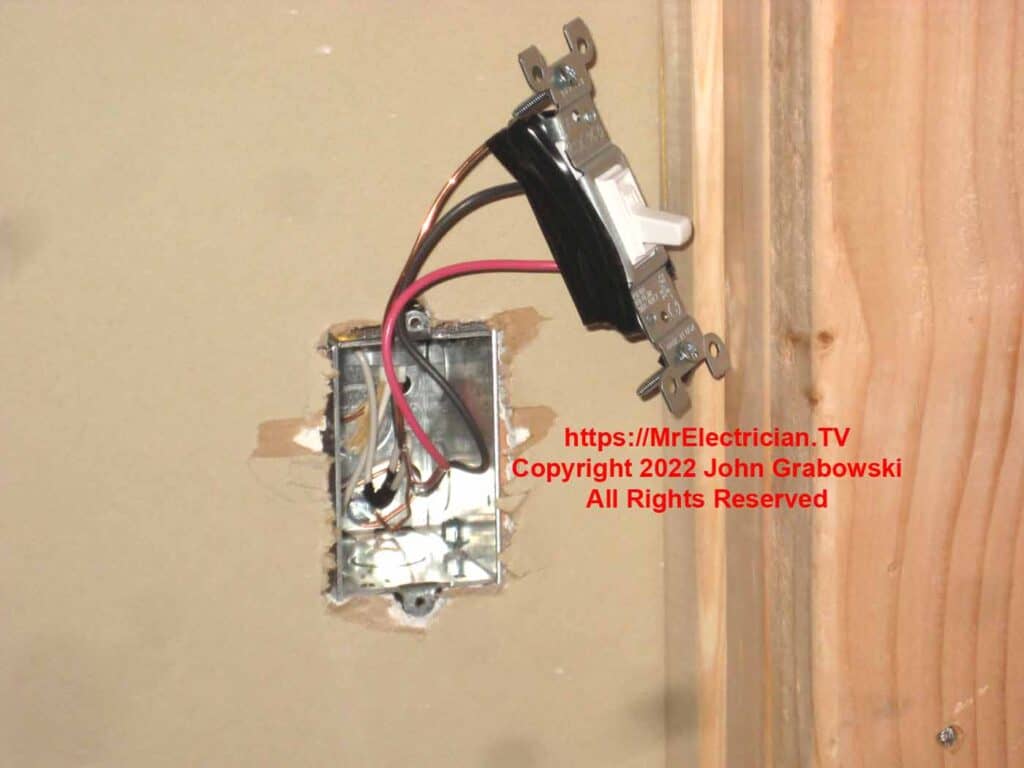
The switch is taped up because it was live with electricity for temporary lighting. Yes, having a live switch hanging out is an OSHA violation, but I was the only one using it.
I left the switch hanging out so the tapers and the painters could finish around the electrical box. It usually is not necessary to tape switches and outlets when installing them in metal boxes.
The above photo shows the ground wire from the three conductor cable wrapped around the ground screw. This is no longer permissible by the National Electrical Code. A separate grounding pigtail must be attached to the box, and then all ground wires get spliced together using a wire connector.
See my blog post about outlet and switch grounding for more details.

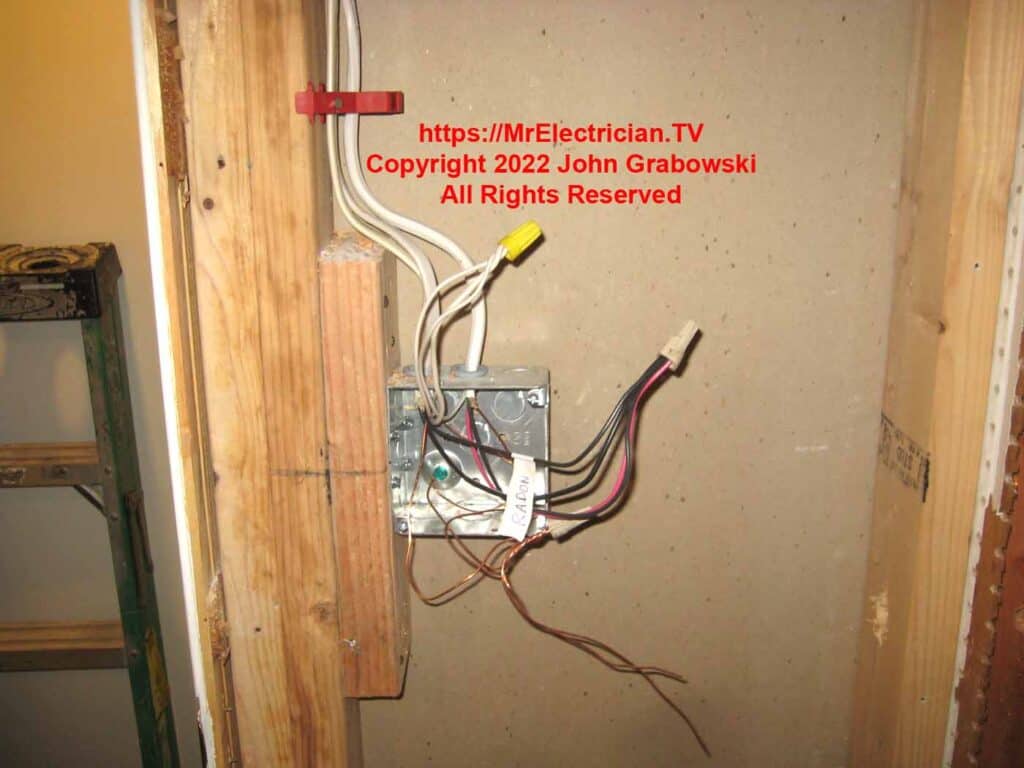
Above is another example of mounting an electrical box to a short piece of wood. In this instance, I had plenty of room to mount the four-inch square electrical box. I used the short piece of wood to bring this switch box away from the door jam so that it would not be too close to the finished trim around the door.
If I wanted to install an electrical box from the front side of the drywall, I could have used one of these methods.
Click here to see all of my blog posts about switches and switch boxes.
Someone else’s website has other methods to install an electrical box in a narrow space. Click here.
To help keep this website FREE, please use this Amazon link for your purchases. As an Amazon Associate, I earn from qualifying purchases.
Click for a FREE copy of my book “Almost Everything You Need To Know To Repair a Bathroom Exhaust Fan In Your Home.”
Get your required “Emergency Disconnect, Service Disconnect” labels and stickers to satisfy the 2023 National Electrical Code requirements in article 230.85(E)(1) and (2) by going to my Redbubble Shop here.
Visit my Link Tree home page for my social media connections and other links.
