Dear Mr. Electrician: How do I go about setting up a woodshop at home?
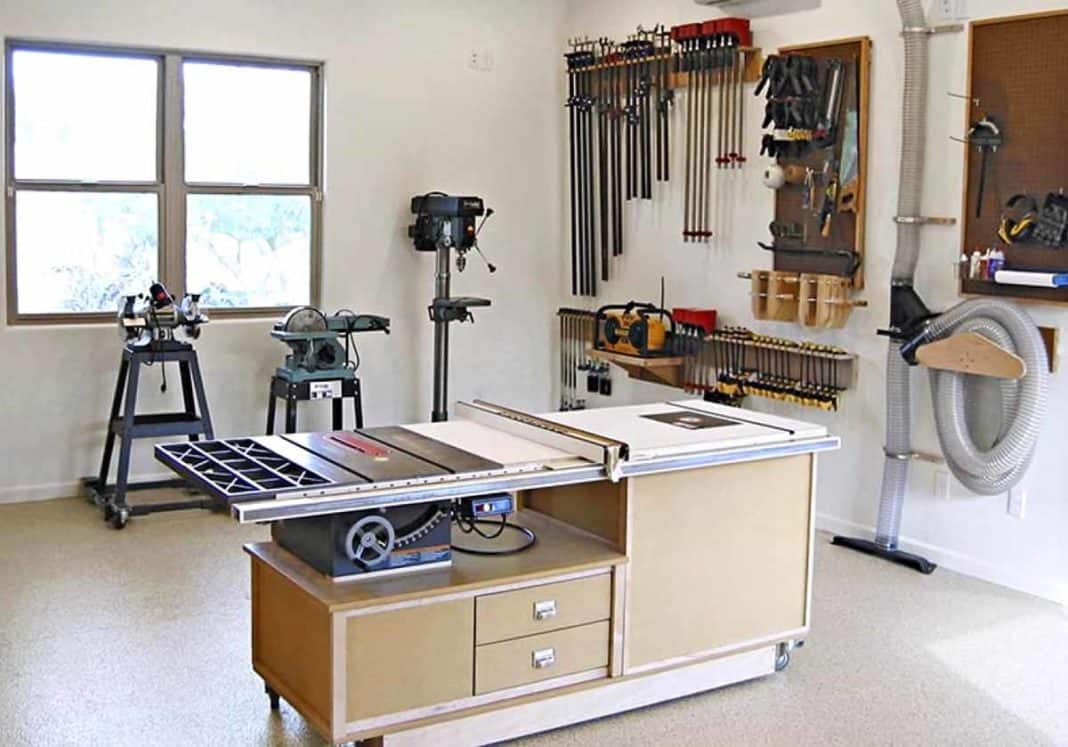
Answer: Setting up a woodshop in your home involves careful planning. Give some thoughtful consideration to many of the factors mentioned below. Do a lot of research before spending money. Read about what others have done.
NOTE: Some text links below go to applicable products on eBay, Amazon, Redbubble, or ClickBank. As an Amazon Associate, I earn from qualifying purchases. Using my links helps to keep this website FREE.
Table of Contents:
- FINDING BARGAINS FOR YOUR WOODSHOP
- ELECTRICAL POWER
- MAKING YOUR WOODSHOP COMFORTABLE
- SAFETY IN YOUR WOODSHOP
- HOW A PRO FURNISHES A WOODSHOP
Avoid the most common mistakes when setting up a woodshop in your home. Through my own personal experiences, I have realized that it is possible to save money on tools and materials and have a functional woodshop.
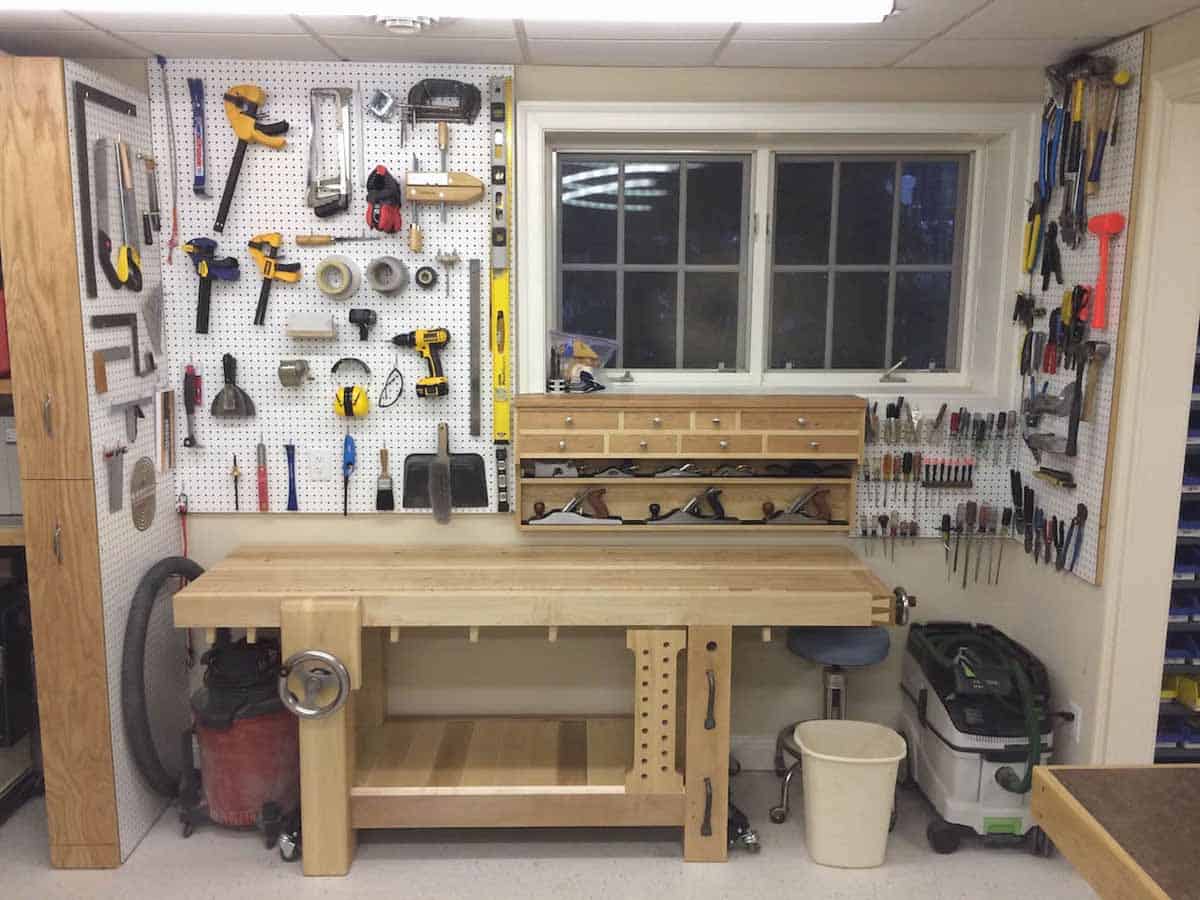
FINDING BARGAINS FOR YOUR WOODSHOP
I recommend that you not buy tools for your woodshop before you have a use for them unless they are a fantastic bargain. In my youth, I bought new tools in case I needed them. Many years later some of those tools are still waiting for a purpose.
Often I have found good working tools at fantastic discounts, sometimes new, but mostly used at garage sales, rummage sales, and contractor going out of business sales. Estate sales can be another place to find tools at a discount.
Once, I saw a tool rental company have a going-out-of-business sale. I bought a good, used conduit bender for about a third of its original price.
Keep an eye on online advertising sites such as Craigslist.org and Facebook Marketplace. Join local Facebook yard sale groups for your area. I have found good tool deals on eBay. An excellent place to find free things is Freecycle.org.
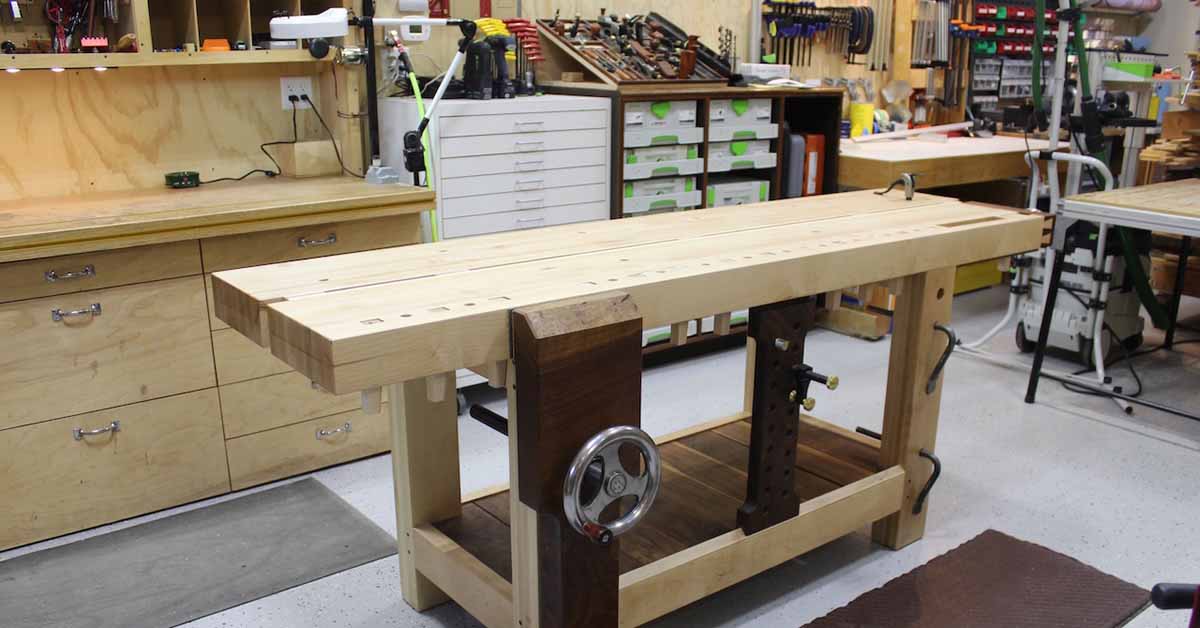
ELECTRICAL POWER
As an electrician, I would first research your electrical power requirements. Your power needs can be substantial for a woodworking business or can be one 20 amp circuit for someone working at home.
Your electrical needs may be small initially but likely increase as you acquire more equipment. Some power tools require 240 volts, which is not standard household voltage in the USA. Separate electrical circuits would need to be installed for tools with higher voltages.
Is your main electrical panel in the basement, garage, or elsewhere? Are there extra spaces in the electrical panel for additional electrical circuits if it is conveniently located?
If the electricity is not conveniently located, will it be easy to install a heavy-duty electrical circuit from the main electrical panel to your home woodshop location? If you are planning for many power tools, installing an electrical sub-panel in your shop may be best.
I have some blog posts on the topic of Sub-Panels. However, most of them are generator sub-panel installations. You can ignore the generator input part and focus on the sub-panel sections.
You may need some dedicated electrical circuits in your budget wood shop for power tools and possibly for workshop lighting, heating, air conditioning, and ventilation.
Your basement workshop may not need air conditioning and heating because the temperature is relatively consistent underground. However, you will still need ventilation, which can be as simple as an exhaust fan with a filter to keep the dust off the motor and fan blade. Fresh air can be brought in through a window.
Garages usually will not have a problem with ventilation due to the large garage doors. Heat and cooling may be required depending on your location.
CLICK HERE for a Book on How to Set Up a Complete Woodshop on a Budget
MAKING YOUR WOODSHOP COMFORTABLE
Good shop lighting is needed. Often, the basement and the garage will not have adequate lighting for work. A garage may have more natural light through the large open doors, but what about working at night?
In many cases, it is possible that you can use the existing lighting circuit and add some additional LED light fixtures.
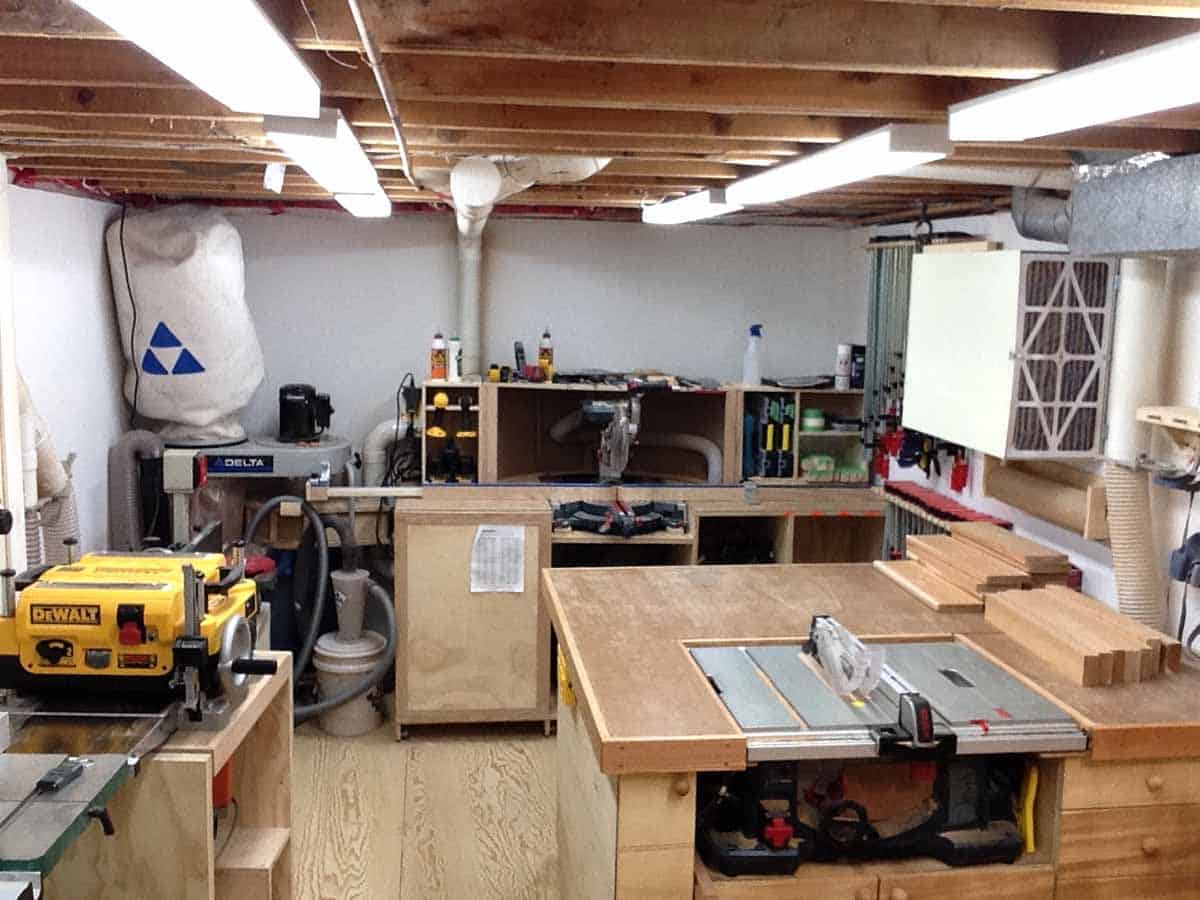
Something that I like is cushioned mats on the floor. When standing for several hours, having cushioned mats will make your feet feel much better.
Another thing to consider is clean-up. A woodshop will produce much dust. A basement shop may lead to dust tracking up into the house. A garage shop may have the same issue. From personal experience, dust entering the living quarters will not lead to marital bliss. A sticky mat helps with that.
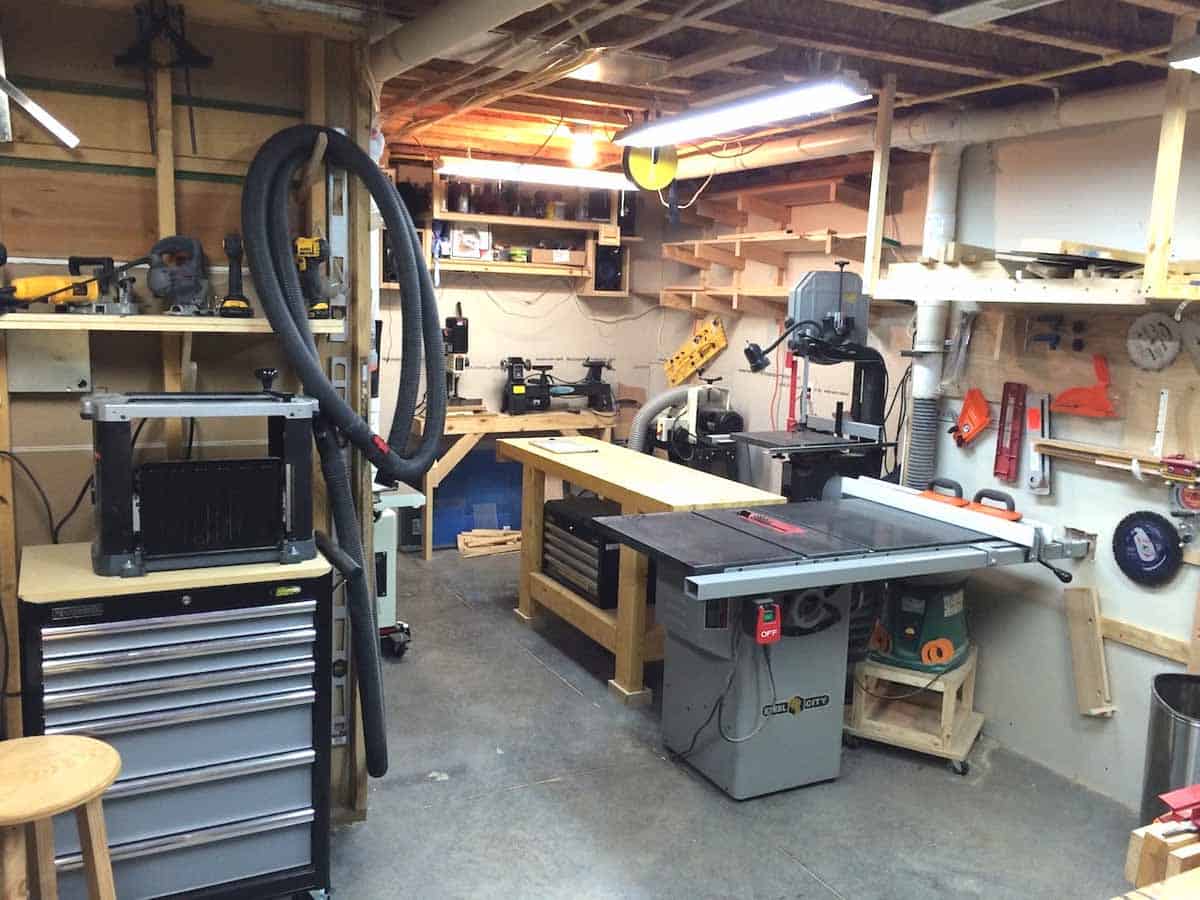
On a budget, a good shop vac will help keep the peace. For those who don’t need to stay within a budget, a dust collection system installed in your woodshop will keep everything clean as you work.
A cheap but well-powered shop vac is the Bucket Head. It fits on a standard five-gallon bucket and efficiently picks up dust and light debris.
The Bucket Head comes with a short hose, but a better accessory to go with the vacuum is the RIDGID 1-1/4″ Premium Car Cleaning Accessory Kit for Wet/Dry Vacs. The kit includes an adaptor for large hose vacs. The kit does not include a long wand but is available as a separate accessory. This is what I use.
Though the Bucket Head is compact, it has one minor issue that can be annoying. It causes the 5-gallon bucket to become top-heavy, making it easier to fall over when pulling a long durable hose, not the hose that comes with the Bucket Head. Sometimes I tie the bucket handle to something if I expect to pull on the hose a lot.
I purchased a big, used canvas, two-handled bag at a rummage sale to contain the vacuum accessories and extra filters. Carrying the compact Bucket Head around on residential jobs and in my truck is much easier than the bulky plastic tank shop vacuum with wheels that I had but gave away because it just wasn’t fitting into my work style.
There is a YouTube video about making your own cheap shop dust collector using 2 five gallon buckets and some readily available plastic pipe fittings. Watch it below:
SAFETY IN YOUR WOODSHOP
Safety for you and your visitors is very important. Some things that you should have on hand for personal protection are face shields, goggles, hearing protection, respirator, dust masks, gloves, steel-toe work shoes, and, depending on the circumstances, a hard hat.
To protect others outside your woodshop, consideration should be given to the amount of noise made while using the tools and how your dust and debris are disposed of. Blowing your dust out the side of your shop is unsuitable for people, animals, and the environment.
When setting up a woodshop at home, you should have the means to capture dust before it gets outdoors or in the house. A simple shop vacuum will often do. A dust collector may be in order as your shop becomes more extensive and productive.
Electrical receptacle outlets should be GFCI-protected. Larger circuits for power tools can have GFCI circuit breakers installed. GFCIs will protect you from electrical shocks and electrocution. I have experienced this when frayed power cords on tools short to the metal frame of a tool.
Sometimes ancient tools can have insulation failure on the motor, causing electrical leakage, which is enough to kill you but not enough to trip a standard circuit breaker. Use portable GFCI protection indoors and outdoors.
Sound dampening should also be a consideration when setting up your woodshop at home. Some power tools can be extremely noisy, and though you may be wearing hearing protection for yourself, other members of your household or your neighbors may be affected by the loud sounds.
Padding or insulating walls and ceilings can help. Mineral wool insulation is known for its sound-dampening characteristics, as is extra layers of drywall.
Limiting your loud tool operation to times when no one is home is thoughtful. It is possible to build portable sound-dampening walls to move around to different power tools as you work.
Just remember soft materials tend to absorb sound while hard materials reflect sound. When I worked in television and movie studios, the contractors would finish off the well-insulated walls with duct liner on the surface as it was great for absorbing sound.
HOW A PRO FURNISHES A WOODSHOP
From my knowledge and experiences, everything I mentioned above has been compiled into six book chapters for assembling a home woodshop on a budget.
It says that you can do it all for less than $1000. As I said before, planning is the key to building a woodshop on a budget. Reading about what others have done to build their home shop is part of the planning process.
Ralph Chapman’s book answers the three most common mistakes when setting up a woodworking shop and additional questions about setting up an inexpensive shop in your home.
He can tell you how to set up a small home woodworking shop for less than $1000 based on his years of woodwork experience. Ralph will also tell you how and where to save money on tool purchases. The tool savings alone is worth the price of his book.
Whether you have questions about setting up a home woodshop on a budget or not, you will want to read about Ralph’s Ultimate Small Shop experiences. The saving of money on power tools alone is worth the read.
Ask This Old House has a video on a budget-built woodshop in a small garage. See below:
Watch this YouTube video clip from This Old House about heating a workshop in a garage.
Here’s a link to other tool blog posts on my website.
See my safety blog posts that you should read before working around your home.

See tool reviews of my own personal tools that I have used as an electrician.
Visit my Link Tree for free electrical information, supplies, merchandise, and social media links.
Click to see lumber sizes.
