Dear Mr. Electrician: How do I change recessed lights to pendant lights?
Answer: The recessed lights will need to be removed first. How they get removed depends on whether the recessed lights are remodel types or if they were installed when the room was originally built.
NOTE: Some text links below go to applicable products on Amazon. As an Amazon Associate, I earn from qualifying purchases. Using my links helps to keep this website FREE.
REMOVE EXISTING RECESSED LIGHTS
Remodel-type recessed light housings are the easiest to remove. It varies slightly between brands, but first, shut off the power at the circuit breaker.
Next, remove the light bulb and the trim, the cover that shrouds the light bulb. Some are held in place by springs that can be unhooked by putting your hand inside of the can. Other types get pulled down a little, and two springs get squeezed to get released.
With the light bulb and the trim removed, look around the perimeter of the recessed light can where it comes in contact with the drywall ceiling. You should see three or four clips of one type or another. Those clips need to be released so the can can come down gently.
The good news is that these clips are made to be removed. They are not permanent. Depending on the brand and the age of the fixture, you can sometimes pry a screwdriver behind the clips or underneath the clips to get them loose.
Just keep working on the clips until they pop loose. Then, gently pull the can down. It will be attached to one or more cables. Do not cut the cables.
Open up the attached junction box, un-splice the wires, and remove them from the junction box. If a plastic crimped cable connector prevents the cables from coming out of the junction box, cut the connector. I use my Knipex high-leverage diagonal pliers to cut things like that.
The cables are used to power whatever new lighting type you plan to install. The wiring connections must be made inside of a junction box that is part of the light fixture or separately installed.
Some new-work type recessed light housings have three or four screws around the inside perimeter close to the ceiling. With the electrical power turned off at the circuit breaker, remove those screws completely. With the screws removed, the can that holds the light bulb socket can be pulled down through the hole in the ceiling.
The can will be hanging by the flexible metal conduit after you pull it down. Cut the flexible conduit and the wire.
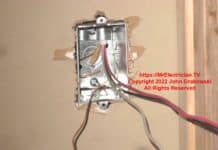
When changing recessed lights, Look inside the ceiling and see a junction box with a cover where the wires terminate. Remove the cover, usually just a spring clip. Take a picture of the wires before disconnecting. If they are connected differently from color to color, label the wires so they return to how they were. Do not cut the wires.
Remove the wires from the recessed light junction box. You may have to loosen the screws on the metal cable connectors or cut the plastic connectors that secure the cable into the junction box. Move the wires out of the way to prevent them from getting damaged.
I use small pry bars to try and get behind the nails on the brackets nailed to the joists. This is mainly done blindly with only one of my arms inside the ceiling. Getting the pry bar behind the adjustable bracket makes it easy to pull out the nail. The new work recessed light housing must be taken apart to be removed from the ceiling.
I use my Klein 1104 BX cutters to cut apart the remaining recessed light frame inside of the ceiling. I also use my Knipex high-leverage diagonal pliers for cutting pieces off. I cut pieces off a little at a time and removed them until the entire housing was out of the ceiling.
It is possible to get the whole recessed light frame loose, but it is too big to be completely removed from the existing hole in the ceiling unless it is cut into smaller pieces. In addition to my BX cutters and my diagonal pliers, I also use my aviation snips to cut the old recessed can into pieces for removal from the ceiling.
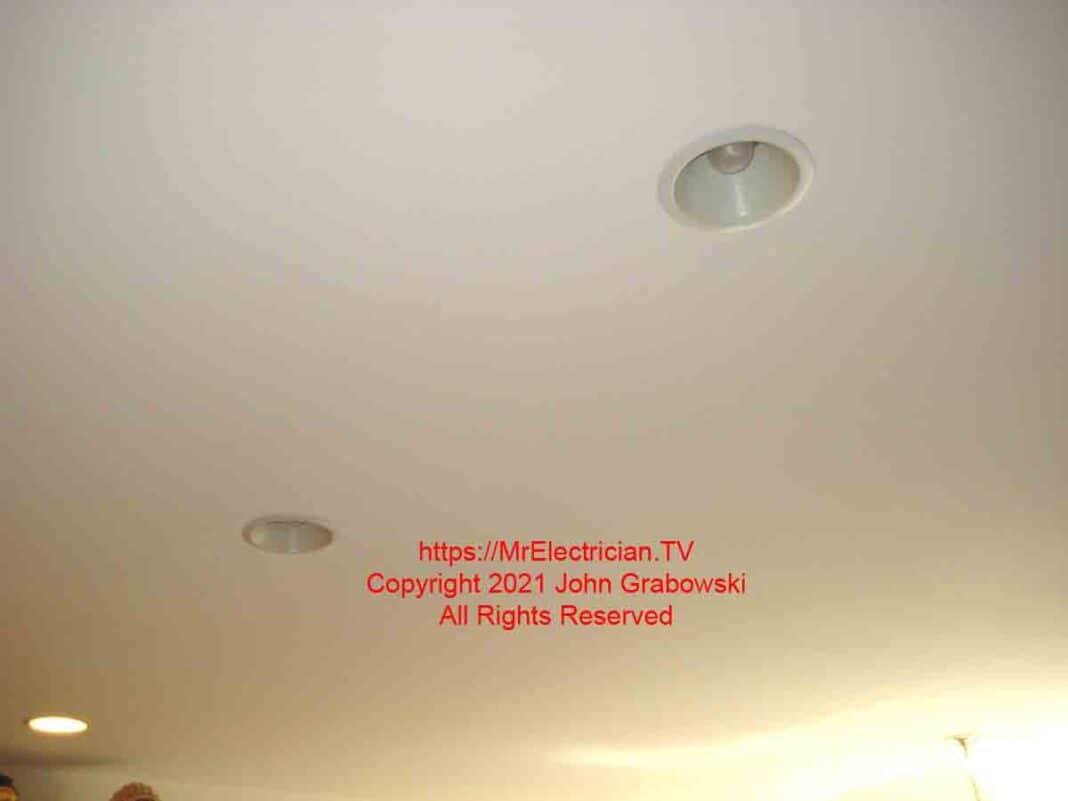
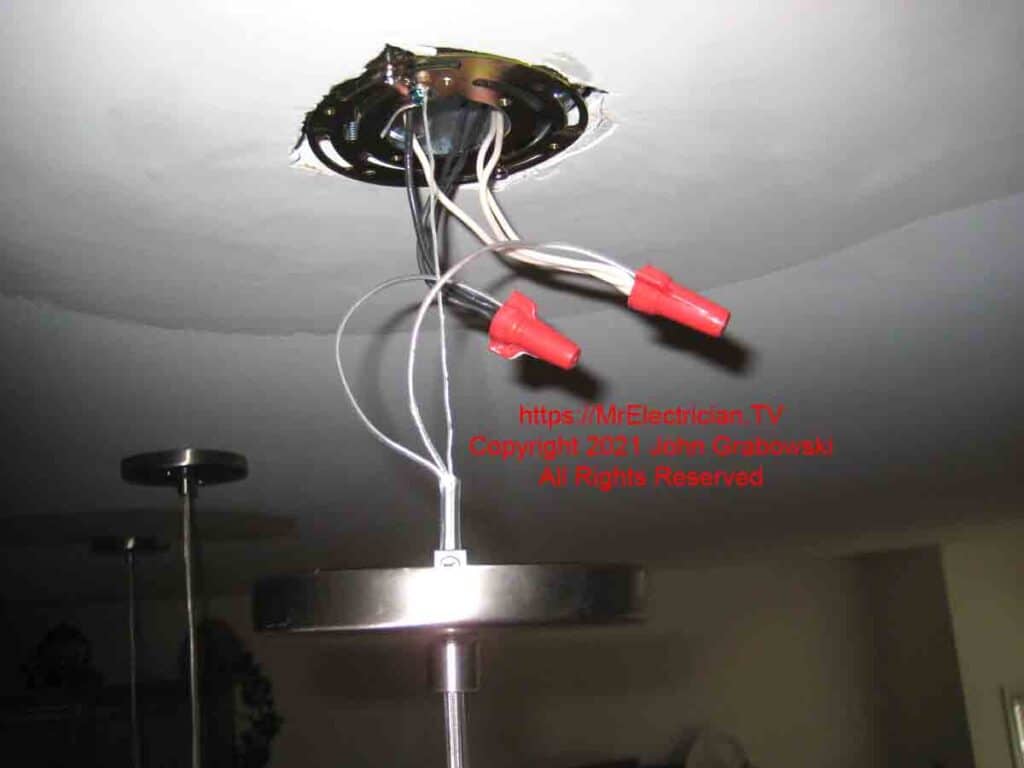
Below are photos of a job I did for a client who wanted me to change recessed lights to pendant lights. The recessed lights being changed were installed when the house was built. It’s not as easy to remove as remodel housings, but it’s not extremely difficult with the right tools.
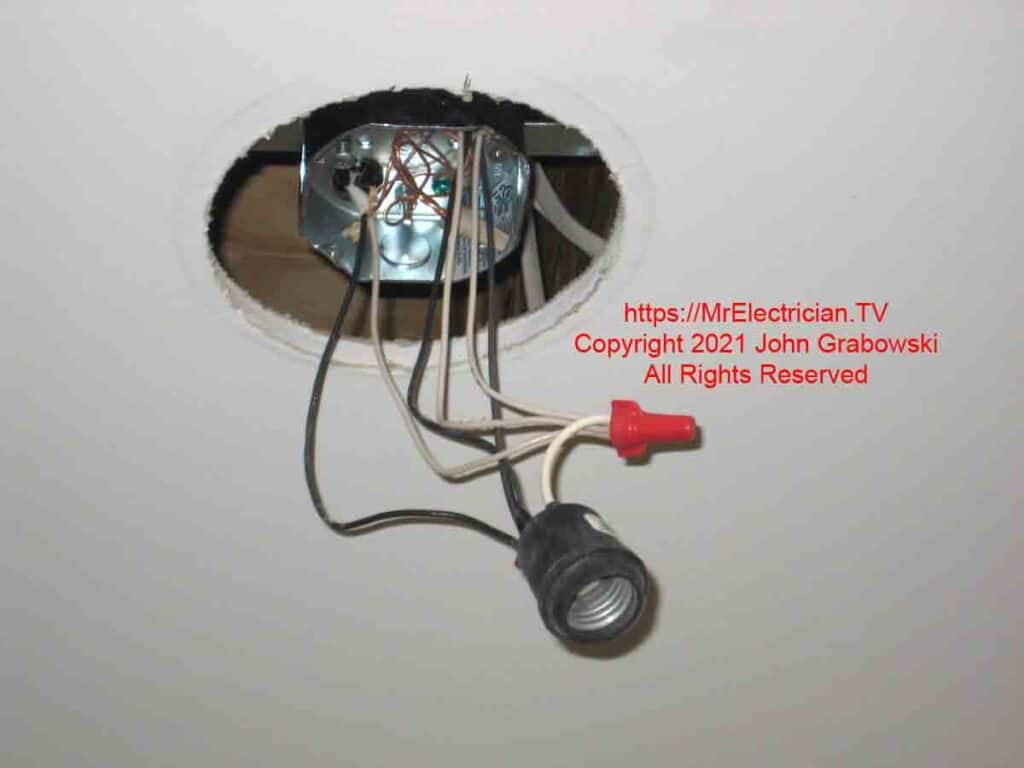
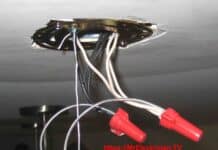
I installed a ceiling fan brace and box to mount a future pendant light. I connected temporary pigtail light sockets until the holes were patched by someone else.
CLICK HERE to see Pendant Lights For Sale on Amazon
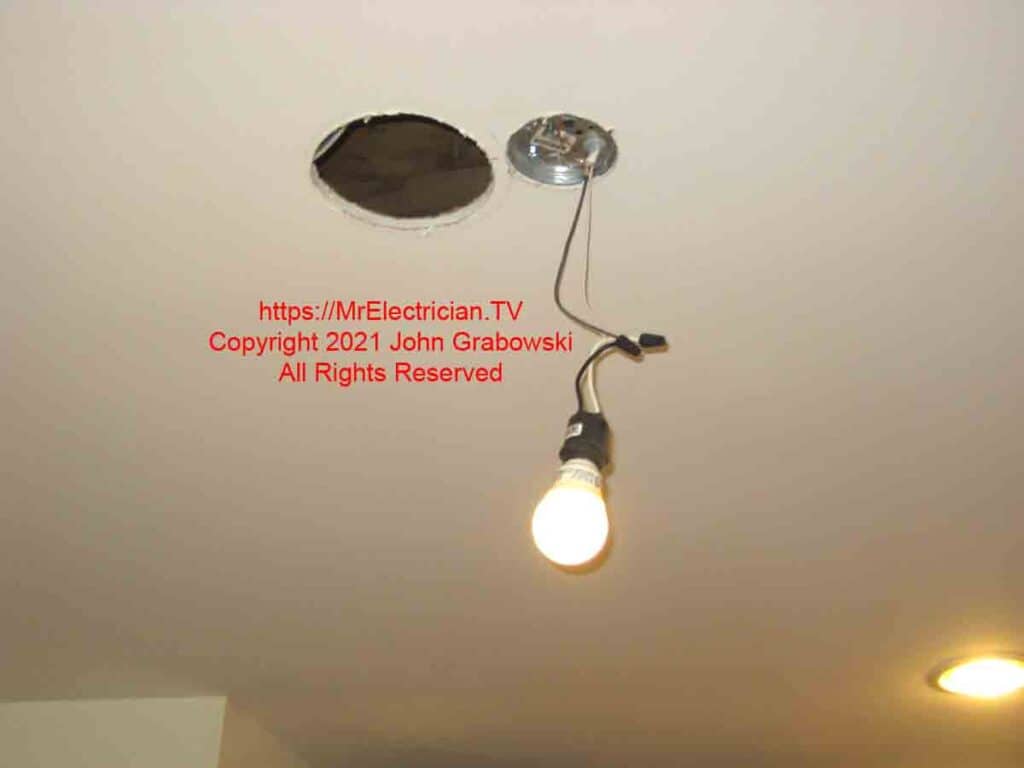
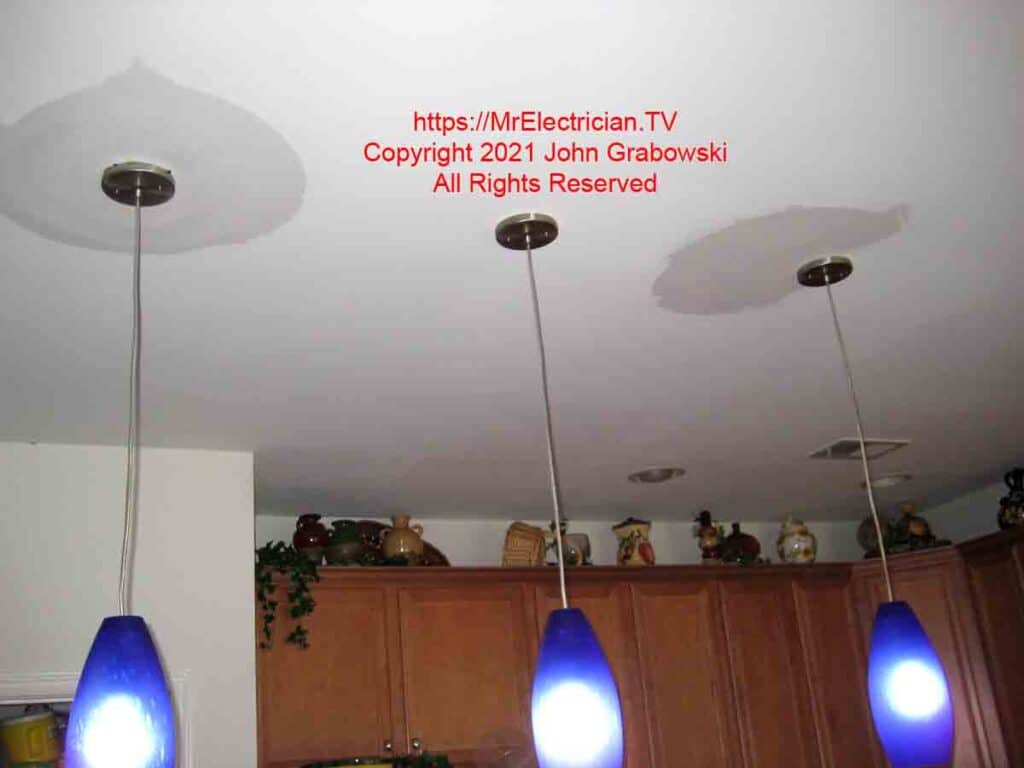
The new pendant lights’ layout did not align exactly where the recessed lights were originally located.
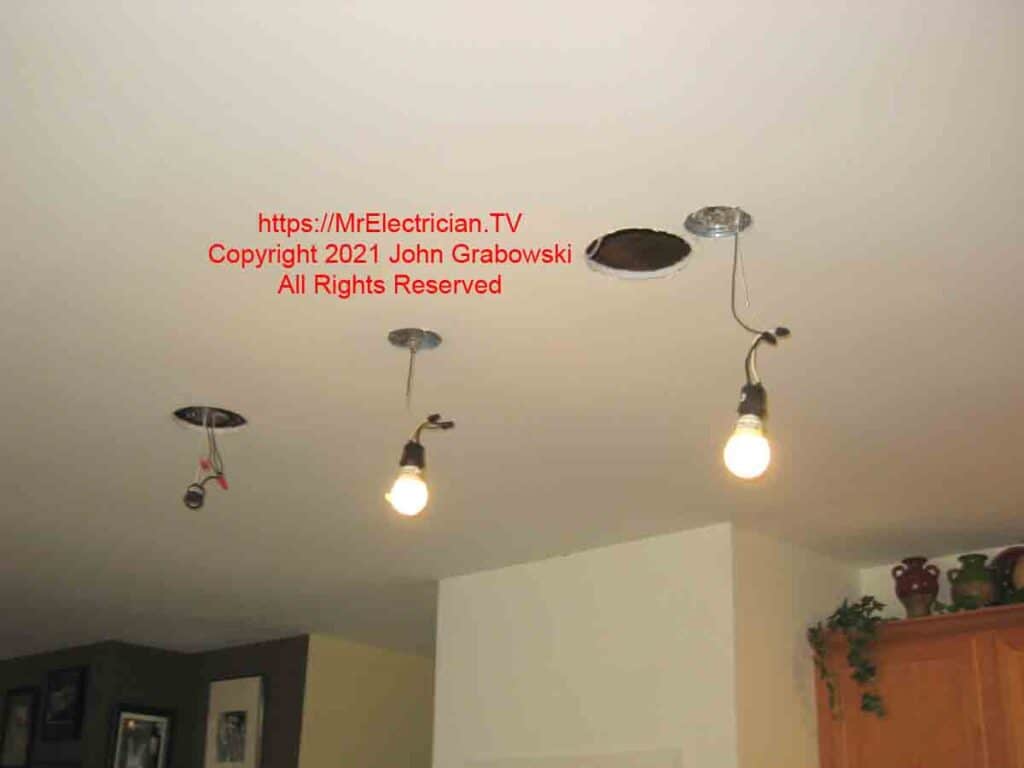

I changed two recessed lights for three pendant lights over a kitchen island.
Click for more Recessed Lighting articles.
To help keep this website FREE, please use this Amazon link for your purchases. As an Amazon Associate, I earn from qualifying purchases.
Click for a FREE copy of my book “Almost Everything You Need To Know To Repair a Bathroom Exhaust Fan In Your Home.”
Get your required “Emergency Disconnect, Service Disconnect” labels and stickers to satisfy the 2023 National Electrical Code requirements in article 230.85(E)(1) by going to my shop here.
Visit my Link Tree for links to my YouTube videos, social media, electrical supplies, merchandise, and more free electrical wiring information.
