Dear Mr. Electrician: What is the best way to remove concentric knockouts in an electrical circuit breaker panel without loosening the remaining outer knockout rings?
Answer: When you remove concentric knockouts, you must be careful not to take out more than you want.
NOTE: Some text links below go to applicable products on Amazon. As an Amazon Associate, I earn from qualifying purchases. Using my links helps to keep this website FREE.
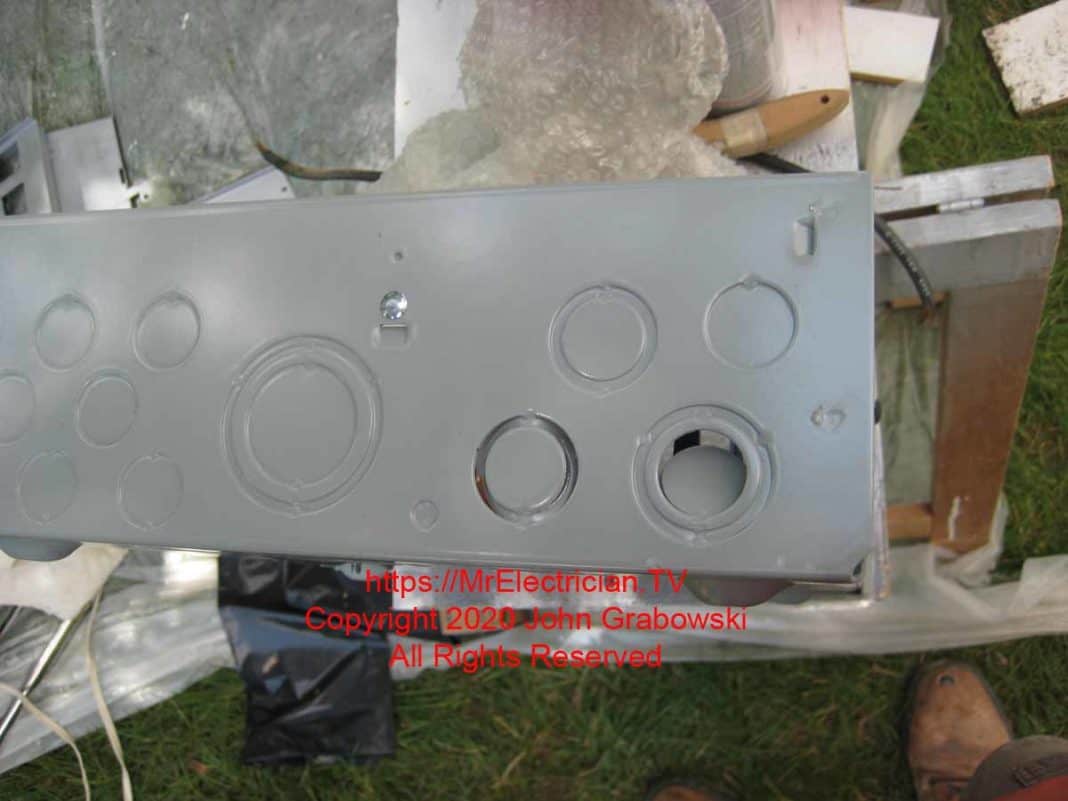
If you look closely at how the concentric knockouts are stamped on the electrical load center, you will see that they alternate between being punched in and being punched outwards.
You could start with the smaller center KO first, but I usually go with whatever is easier and most convenient for each job. I have found that the difficulty with removing concentric knockouts varies according to the manufacturer.
Some are too easy to remove, and the wrong rings can come out. Others have been extremely difficult sometimes, to the point where it was easier to use a drill and knockout punch rather than make dents in the box.
I use a hammer and an old screwdriver to make the first punch. Begin the knockout removal by banging it in the direction that it was pre-punched from the factory.
REMOVING CONCENTRIC KNOCKOUTS
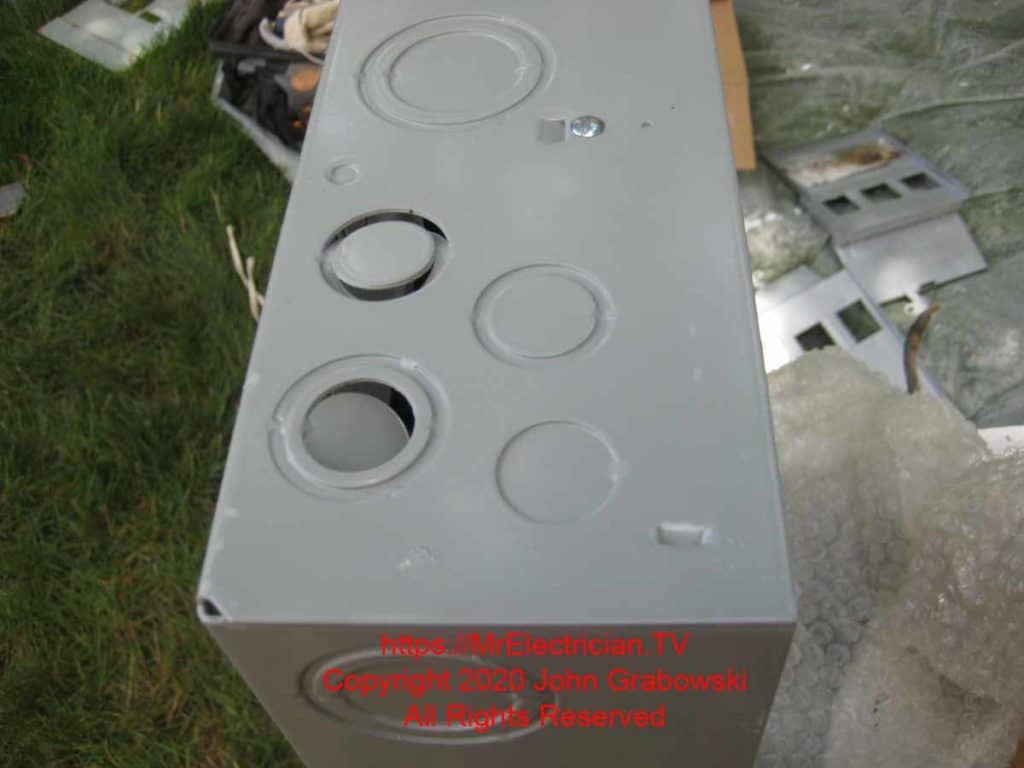
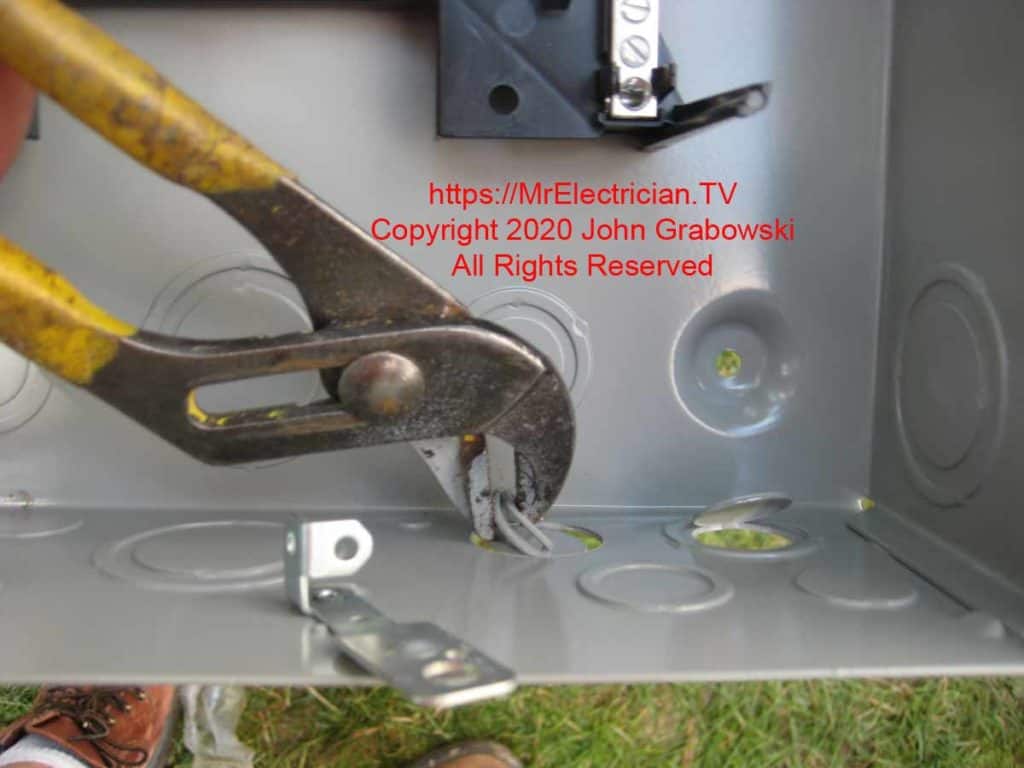
Once you get it started by hitting it with the screwdriver, you need to twist it or knock it forth and back a few times to loosen it up. If you have a good pair of diagonal pliers or a pair of BX Cutters, you can sometimes get in there and cut one or more of those welds or the ring itself.
Just don’t try to get it real fast. Be patient and work it out. You will feel the knockouts get loose as you move them forth and back.
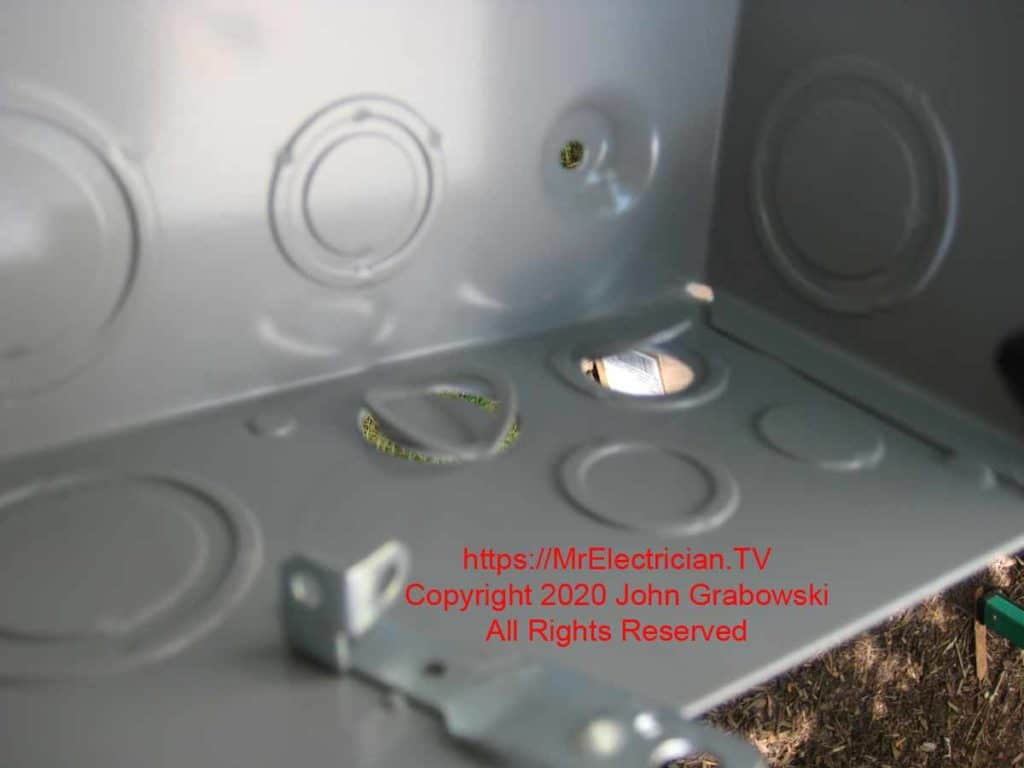
For subsequent knockout rings, you can use your pliers to carefully pry the ring halves until they are up enough to squeeze them together, and then move the pliers forth and back parallel to the anchor point until it breaks off.
If you try to rock in the other direction, it will twist the next ring up. Just keep removing the rings in the direction that they were punched, and you should be fine.
When the electrical sub-panel is recessed in a wall, you can use a long thin screwdriver and stick it between the edge of the wall and the edge of the panel to apply a little pressure on one of the rings from the outside to get it started.
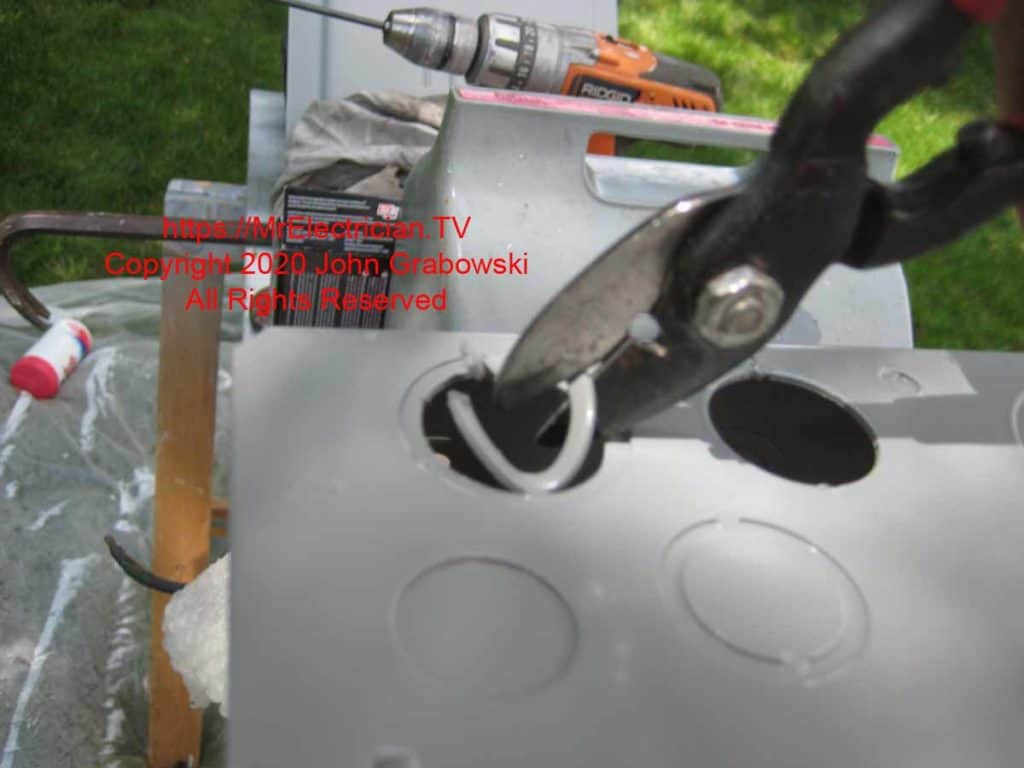
Each electrical manufacturer’s concentric knockouts differ in strength and ease of removal. Sometimes they pop out too easily, and you have a much bigger opening than you need. Fortunately, there are reducing washers available in all trade sizes, made to transition from the larger opening down to the size that you need.
If you punch out the wrong knockout, it can be sealed up again using a knockout seal. Reducing washers and knockout seals can be purchased online or at almost any local electrical supply company.
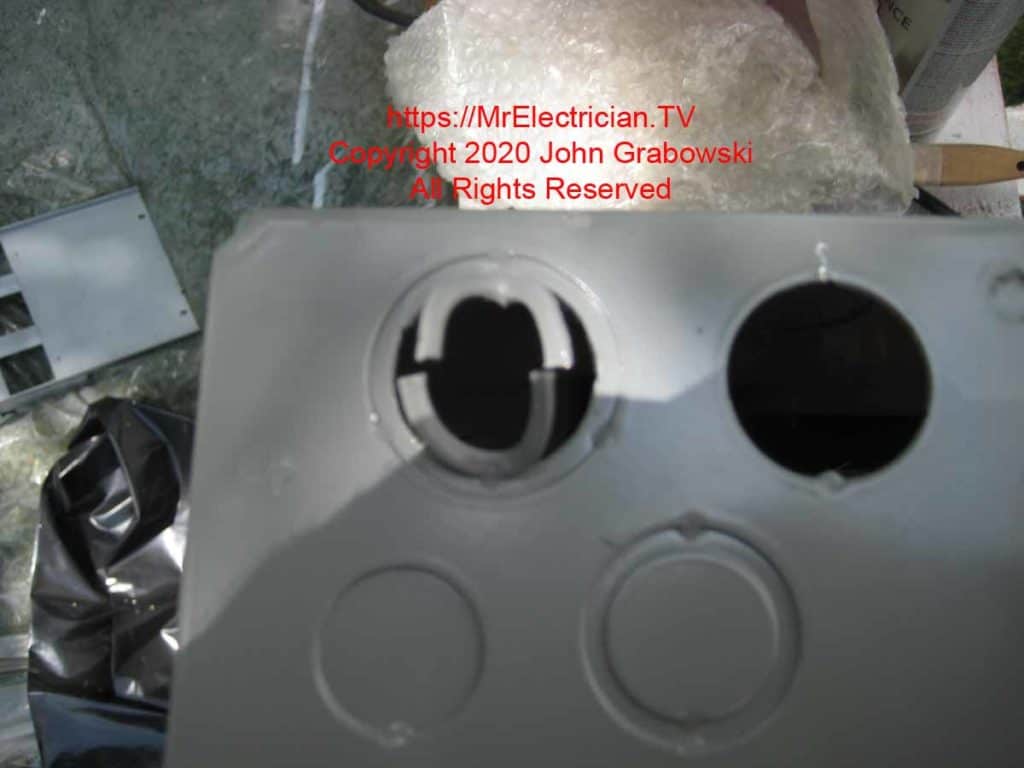
The knockouts on a load center cover tend to be much easier to remove to allow for each circuit breaker. However, there is always a possibility that the wrong knockout gets removed or a circuit breaker is relocated, thereby leaving an open knockout on the load center cover.
Fortunately, every electrical load center manufacturer also has available blank filler plates to cover up the empty slots in the circuit breaker cover.
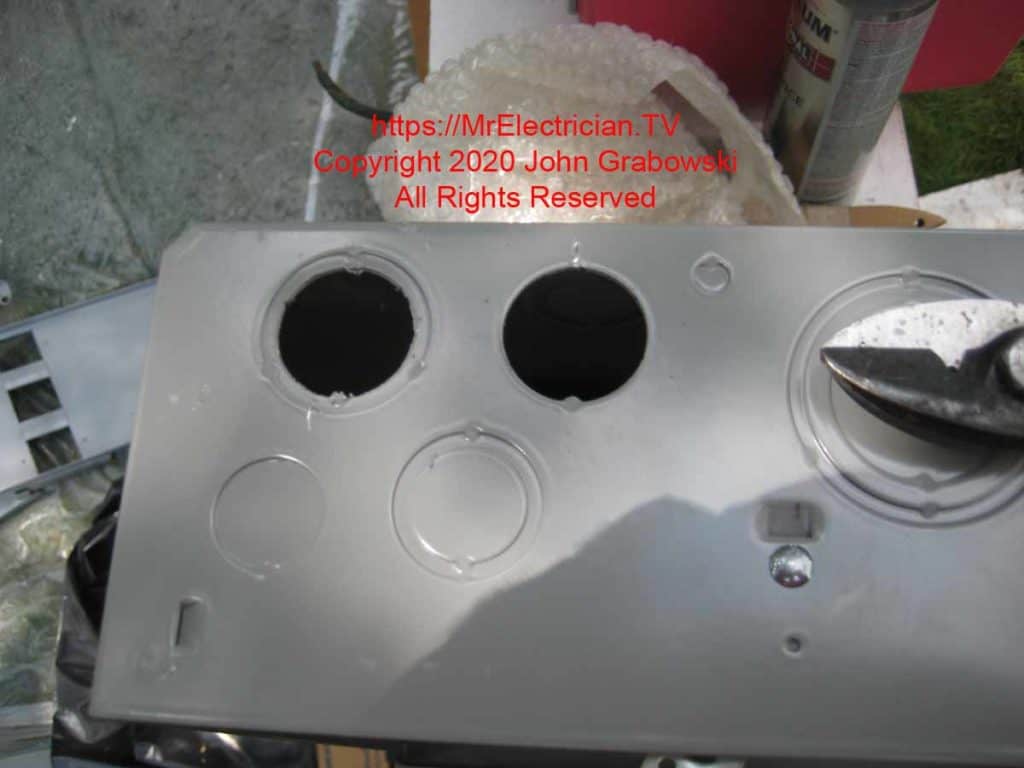
The remaining burrs on the knockout holes can be filed down using a half-round file.
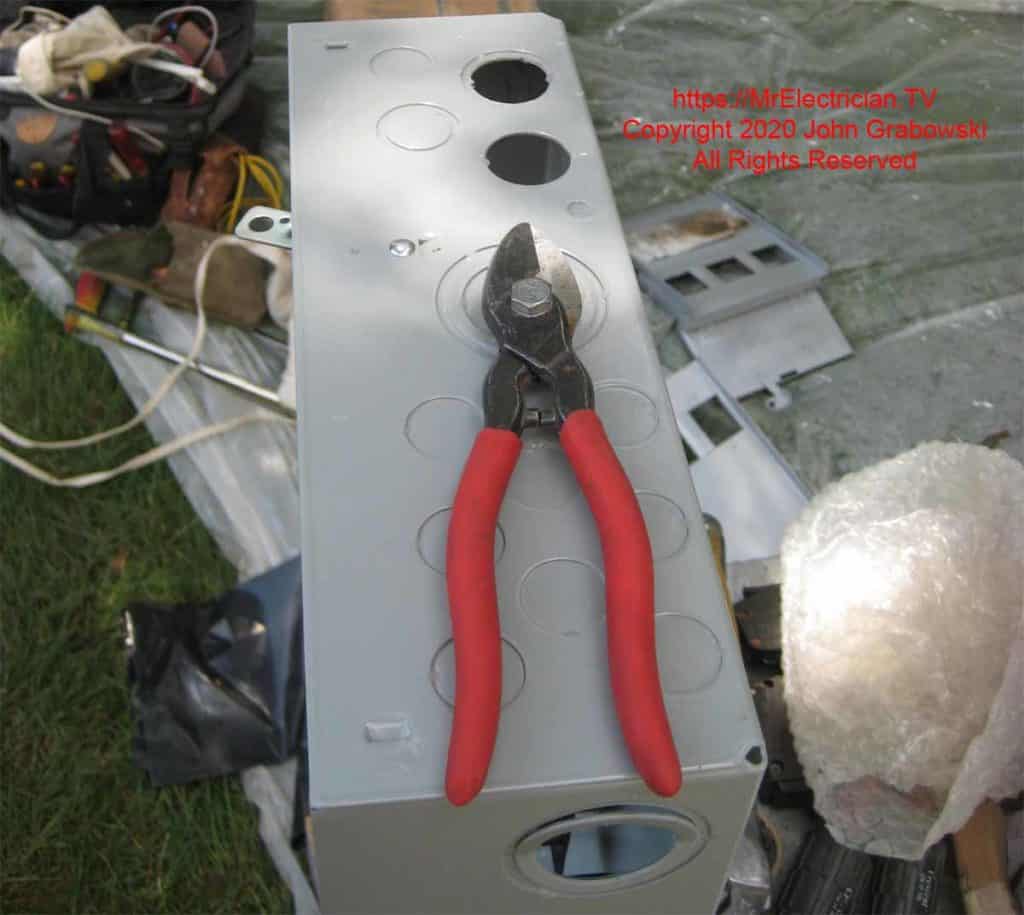
You can use reducing washers If you punch out too big of a hole. If you punch out the wrong knockout, you can fill it with a knockout seal.
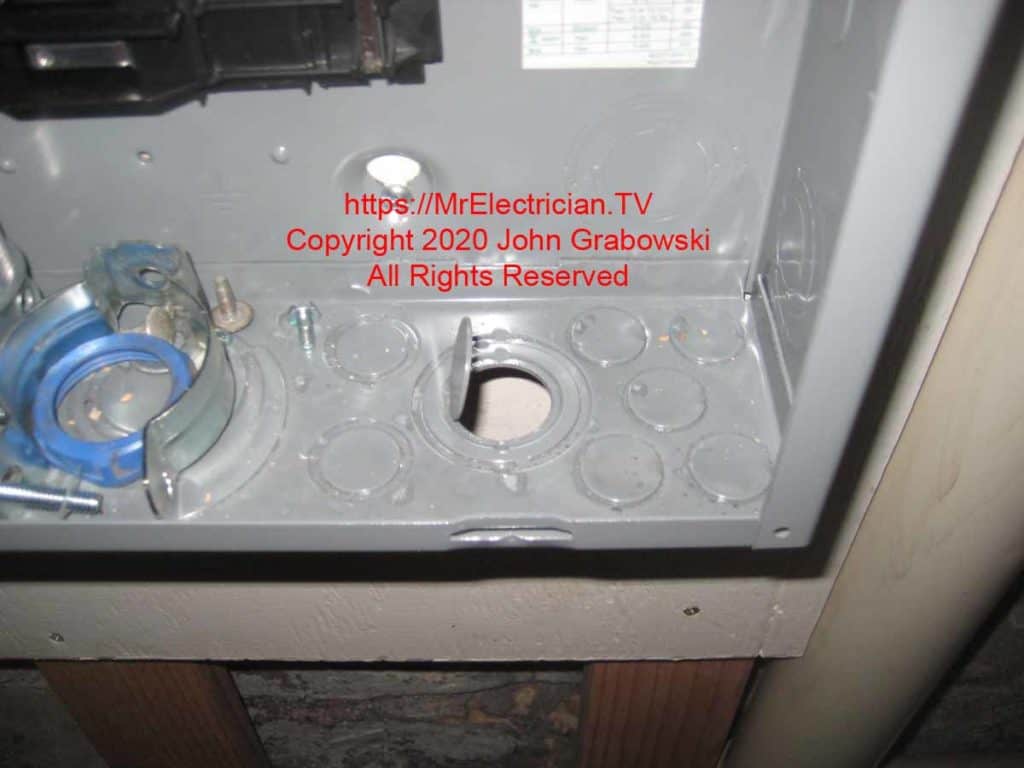
In the electrical panel above, the inner 3/4″ knockout was the easiest to punch out first.
CLICK HERE to see Electrician’s Tools and Gadgets on Amazon
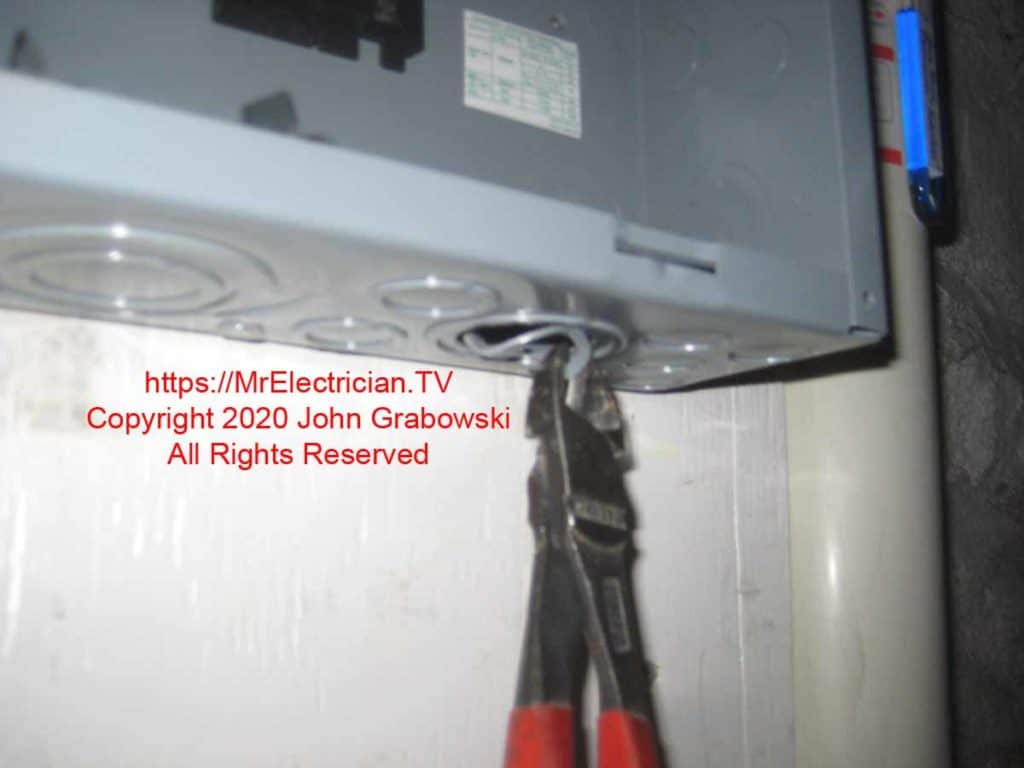
I cut the next ring using my high-leverage Knipex Diagonal Pliers.
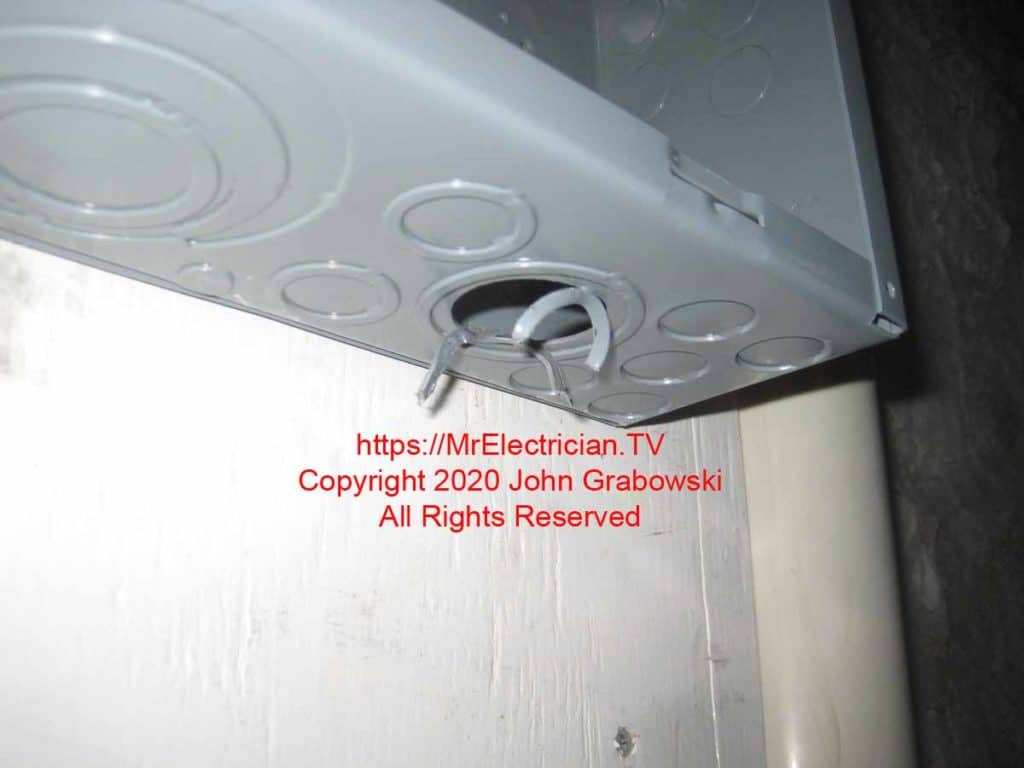
With the concentric knockout ring cut, it is straightforward to remove by moving it forth and back a few times.
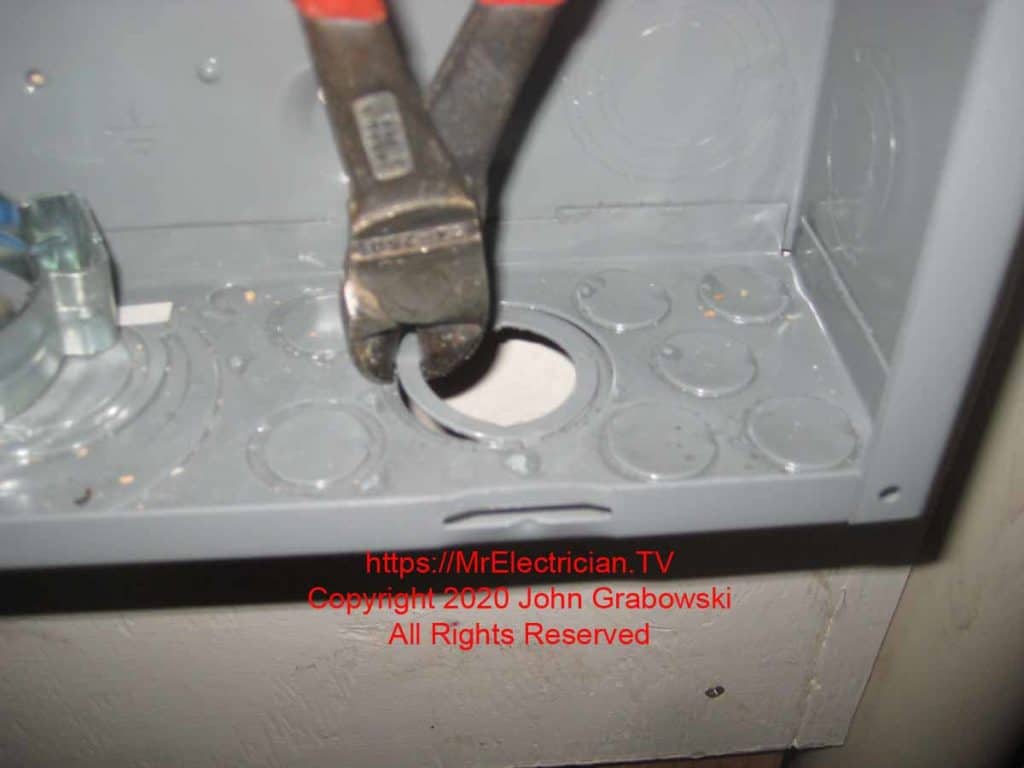
The last concentric KO ring I needed to remove was cut with my Knipex Diagonals.
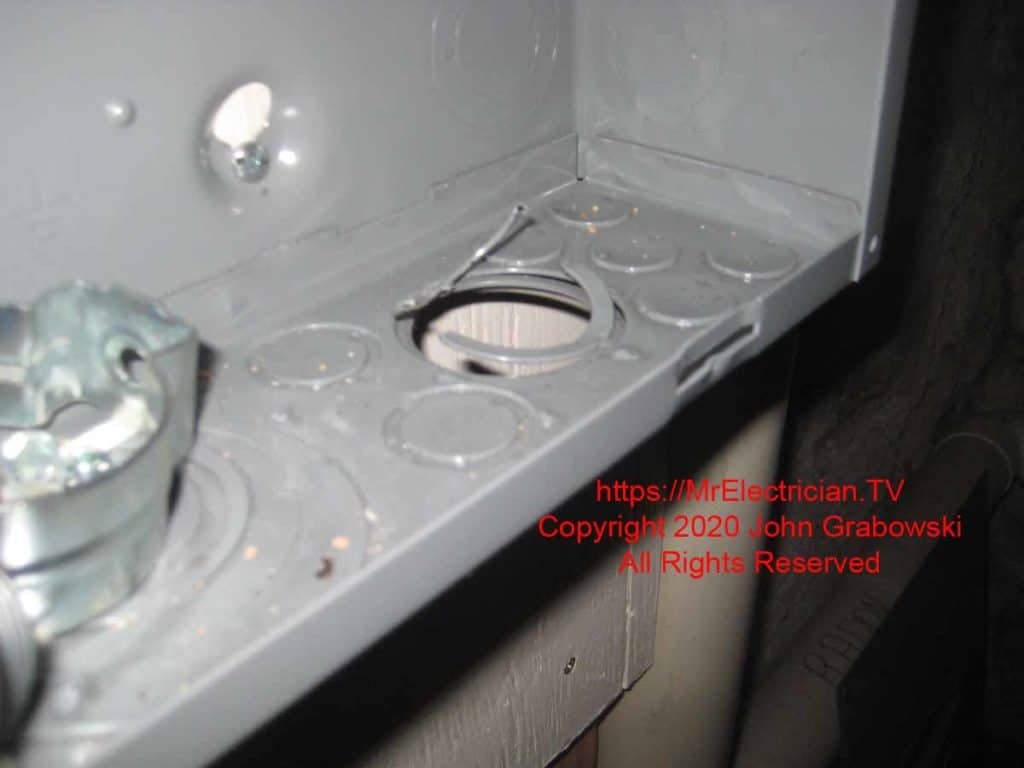
Cutting the concentric KO rings is not always this easy.
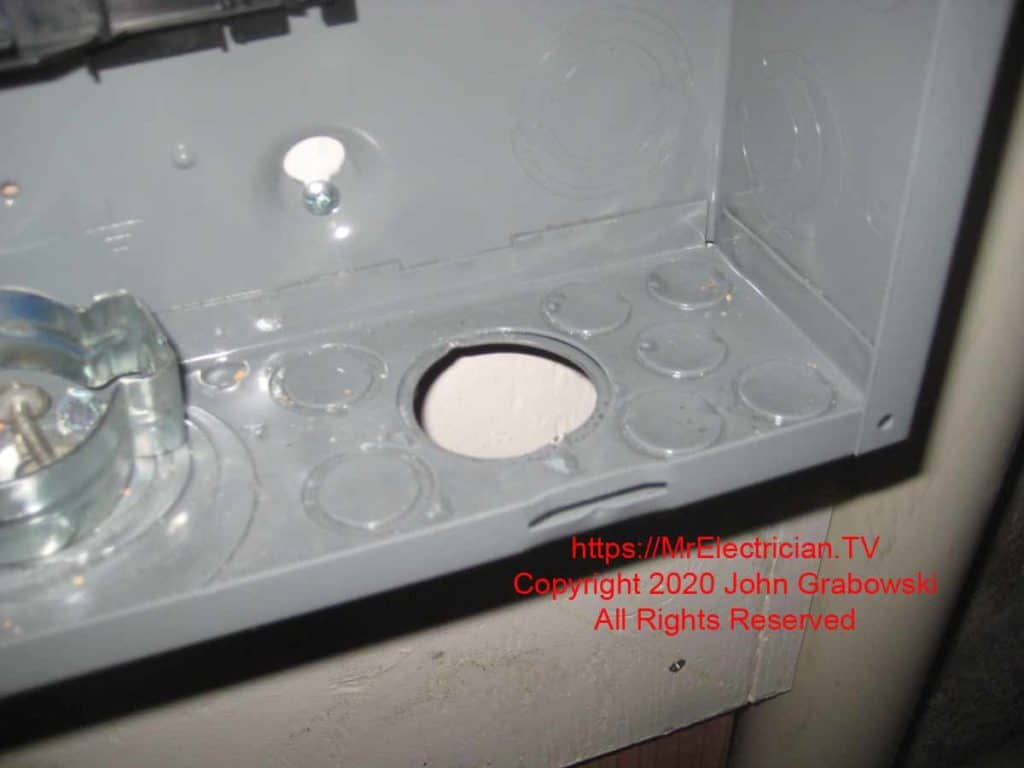
All of the unneeded concentric knockout rings have been removed. An inch-and-a-quarter flexible metal conduit connector will be going into the above knockout.
Another method for removing concentric knockouts that is sometimes used by professional electricians is to drill the welds. Use a sharp high-speed metal cutting drill bit slightly smaller than the knockout weld. Do not use a unibit or step drill bit, as you may drill too large of a hole.
Drill into each welded spot using a high-speed pistol drill, but do not apply too much pressure. You don’t want to push the wrong knockout out with the drill.
Drill a hole through each weld of the knockout size that you want to end up with. Next, hit it with a hammer, which should just pop out. This method should only be used with the more difficult concentric knockouts.

If no pre-punched factory-made concentric knockouts are available, you must make your hole using a hole saw or a knockout punch. You can find the correct size hole saw or knockout punch on my electrician’s hole saw post.
Here are some power tool accessories from Ideal that are helpful with making knockouts.
To help keep this website free, please use this Amazon link for your purchases. As an Amazon Associate, I earn from qualifying purchases.
Click here for a FREE copy of my book “Almost Everything You Need To Know To Repair a Bathroom Exhaust Fan In Your Home.”
Get your required “Emergency Disconnect, Service Disconnect” labels and stickers to satisfy the 2023 National Electrical Code requirements in article 230.85(E)(1) and (2) by going to my Redbubble Shop here.
Visit my Link Tree for my social media connections and links to merchandise in my Redbubble Shop.
