Dear Mr. Electrician: How is kitchen cabinet lighting installed?
Answer: There are several types of kitchen cabinet lighting, and the wiring method will depend on the lights being used.
NOTE: Some text links below go to applicable products on Amazon. As an Amazon Associate, I earn from qualifying purchases. Using my links helps to keep this website FREE.
Regardless of the type of lighting, the wiring must be approved for permanent installation in residential walls. I use Romex cable for interior low-voltage lights as it is approved, and no inspector will question its use.
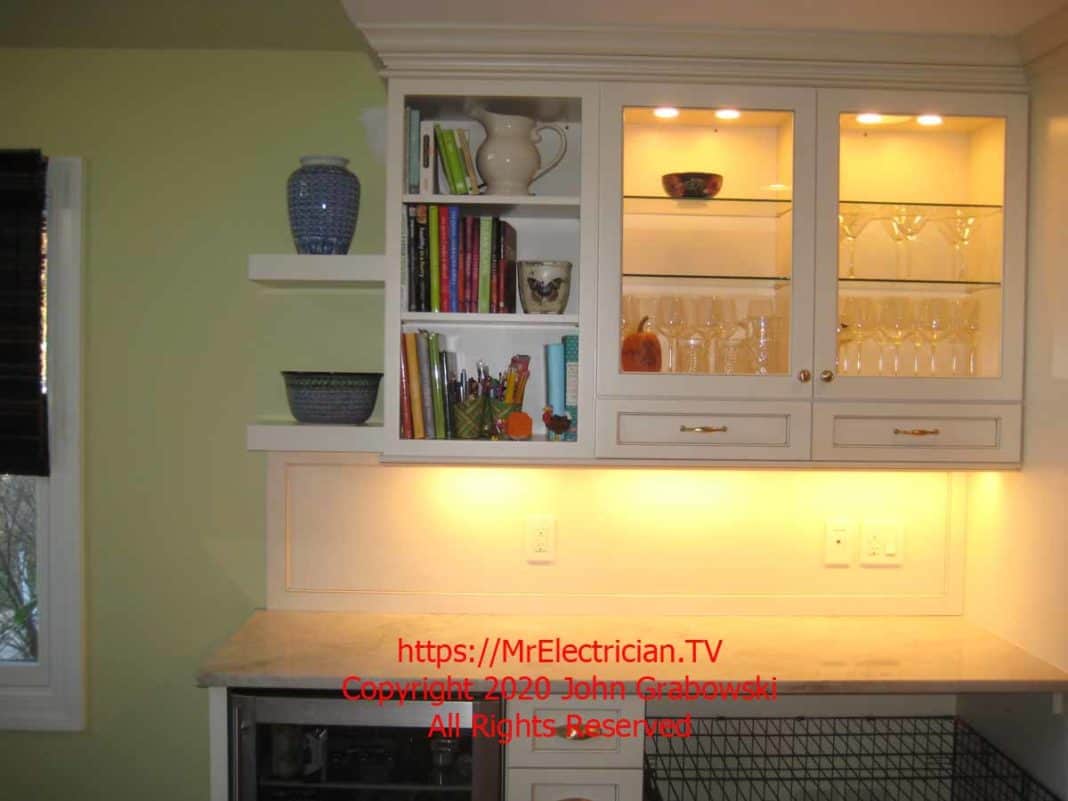
The kitchen remodeling job in the photos below called for a combination of low-voltage and line-voltage kitchen cabinet lights.
You should shop around, looking at the various types and styles of kitchen cabinet lighting. Some are low voltage, which requires the use of a transformer to lower the voltage from the standard household 120 volts down to 12 or 24 volts.
There is nothing wrong with the use of low-voltage lights. However, it is necessary to locate the transformer in an accessible location for future maintenance and repair. A transformer cannot be buried inside a wall.
KITCHEN CABINET LIGHT FIXTURE WIRING
As part of your kitchen renovation, you should apply for an electrical permit with your local building department. I usually make a simple drawing of existing and new outlets, lights, and switches to submit with my permit application. I also include a one-page “Scope of Work” detailing the work to be done and the wiring methods.
In addition, I submitted a copy of the appliance installation instructions and a copy of the kitchen cabinet detail drawings. It is best to find out ahead of time if there is a problem with your installation rather than fail inspection after you have done the work. Some of the requirements for light fixture (Luminaire) installation are found in article 410 of the National Electrical Code (NFPA 70).
Below are photos from a kitchen remodel I did for a client several years ago. Only part of the kitchen is depicted below. The rest of the kitchen remodel depicting the electrical outlets is shown in another blog post of mine.
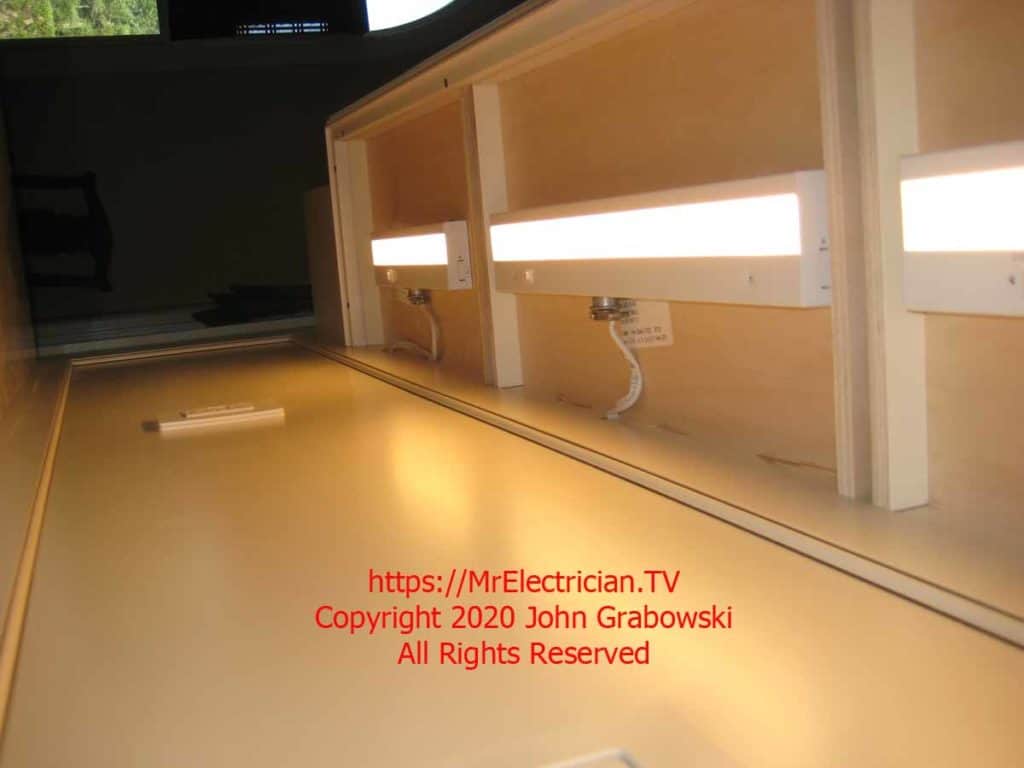
The photo above is the undercabinet lights from the top photo taken at a different angle. You can see that a Romex cable comes out of the wall for each of these 120 volt light fixtures. I had to install a recessed junction box to accommodate all of the undercabinet light fixture wires. See the two gang blue junction box further down below.
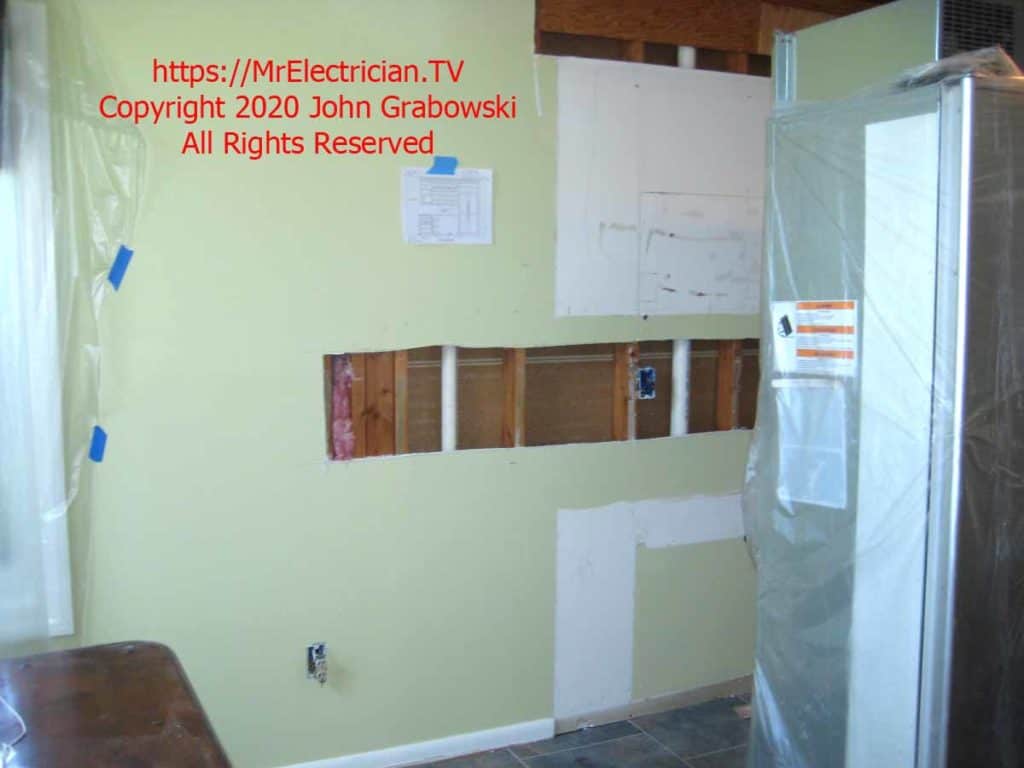
My first step was to open up the walls so that I could drill holes in the wall studs, mount some electrical boxes, and pull wires. I drew some straight lines and cut the drywall at the backsplash height using my oscillating multifunction tool.
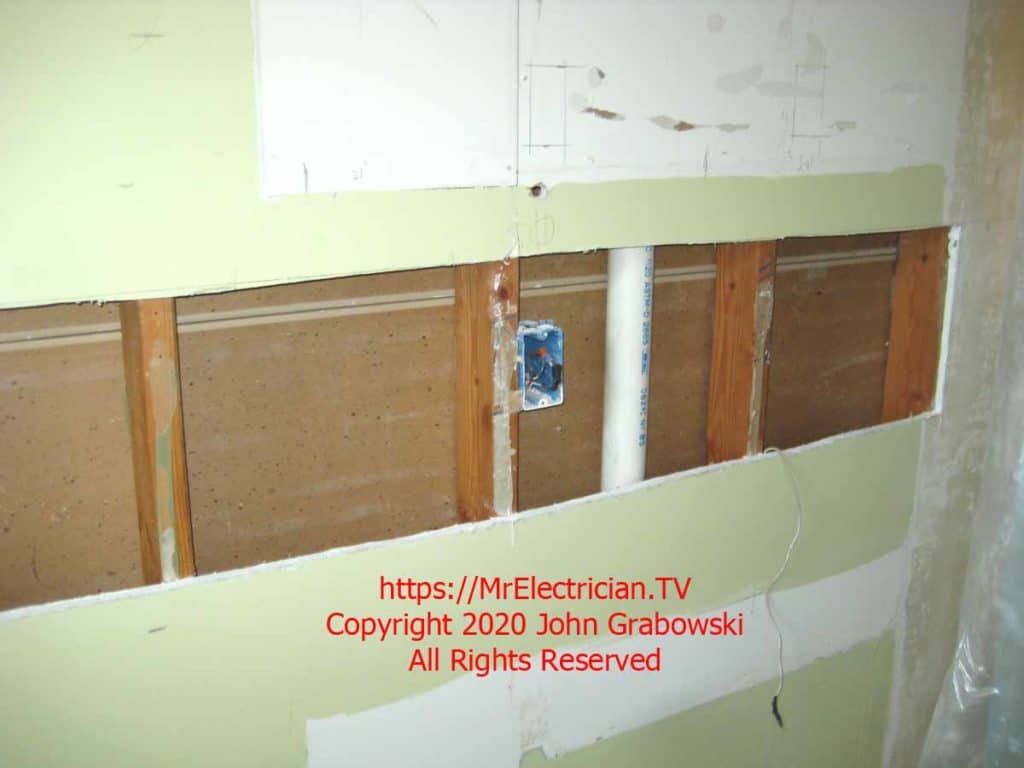
Originally, there were only two receptacles on this wall, one for the countertop and one for the refrigerator. The new countertop is bigger than the old one, so an additional electrical outlet was needed, as per article 210.52(C) in the National Electrical Code.
CLICK HERE to See Under-Cabinet Light Fixtures on Amazon
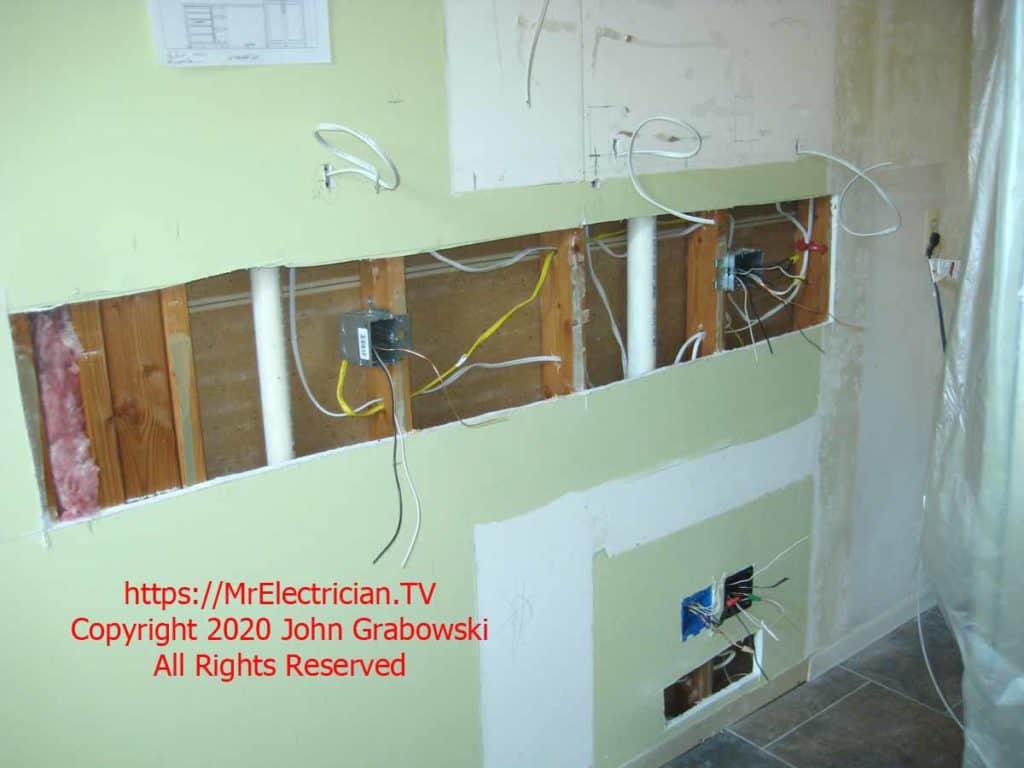
The same area is all roughed in for lights and outlets. Because I did not know the final wall depth during the rough-in, I used Thomas and Betts adjustable metal boxes: one gang adjustable box Steel City #MB120ADJ, two gang #MB238ADJ. The client had not yet chosen a backsplash material.
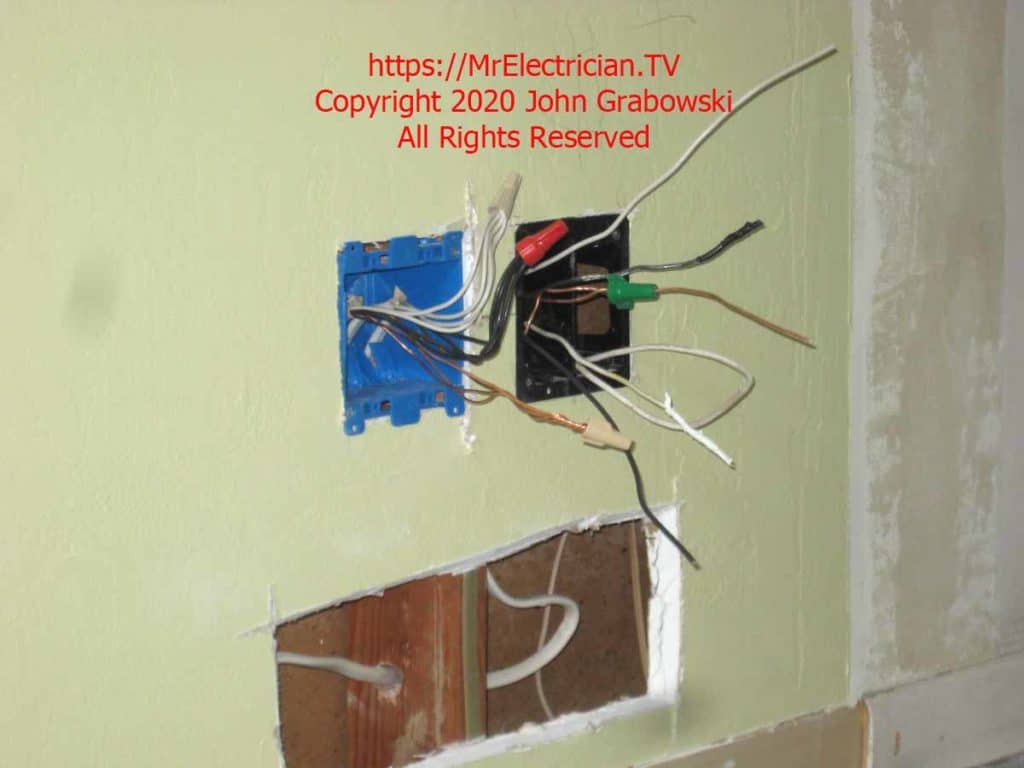
I installed a junction box under the countertop where a space had been left open for a chair. I had to put a junction box in there to extend the power and telephone, so I added an outlet and a phone jack. It fit right in to have another junction box in the same area. I needed the other two-gang blue junction box to accommodate all of the wires for the under-cabinet light fixtures, as each light is fed with a separate home run.
At the rough-in time, all kitchen cabinet light fixtures had not been purchased yet. Consequently, I had to anticipate all possible wiring that would be needed for the kitchen cabinet lighting after the cabinets were installed.
Notice how the access hole beneath the junction boxes was cut at a 45-degree angle. This was done to make patching easier using the same removed drywall piece.
I used Arlington Industries Remodel Power and Low Voltage Box #LVDR2 for the outlet and a telephone jack under the countertop.
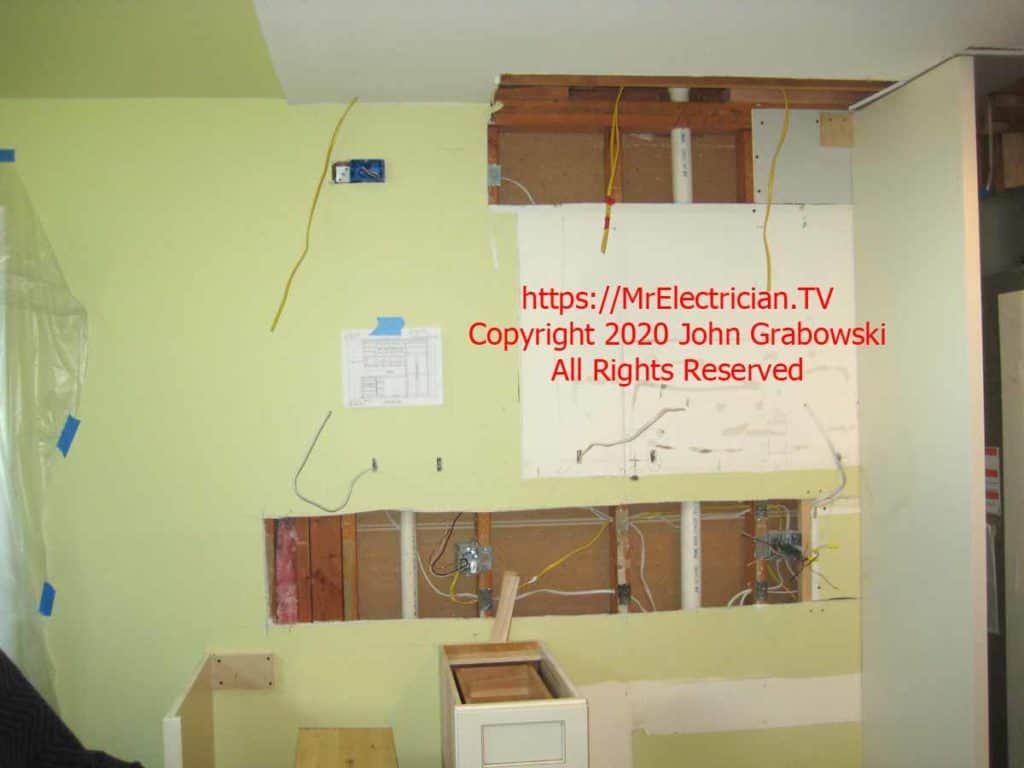
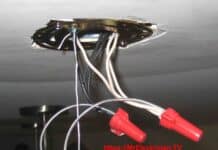
The wiring hanging from the ceiling is for the low-voltage recessed cabinet lights. I used standard Romex cable for the low-voltage wiring because it is approved and rated for wall installation.
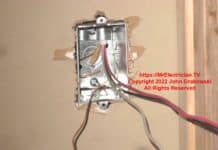
The wire on the left connects to the power transformer for the low-voltage kitchen cabinet lighting installed. The blue box in the upper left of the wall is for the electrical receptacle outlet the transformer will plug into. I used a Carlon #B121ADJH PVC adjustable box for that.
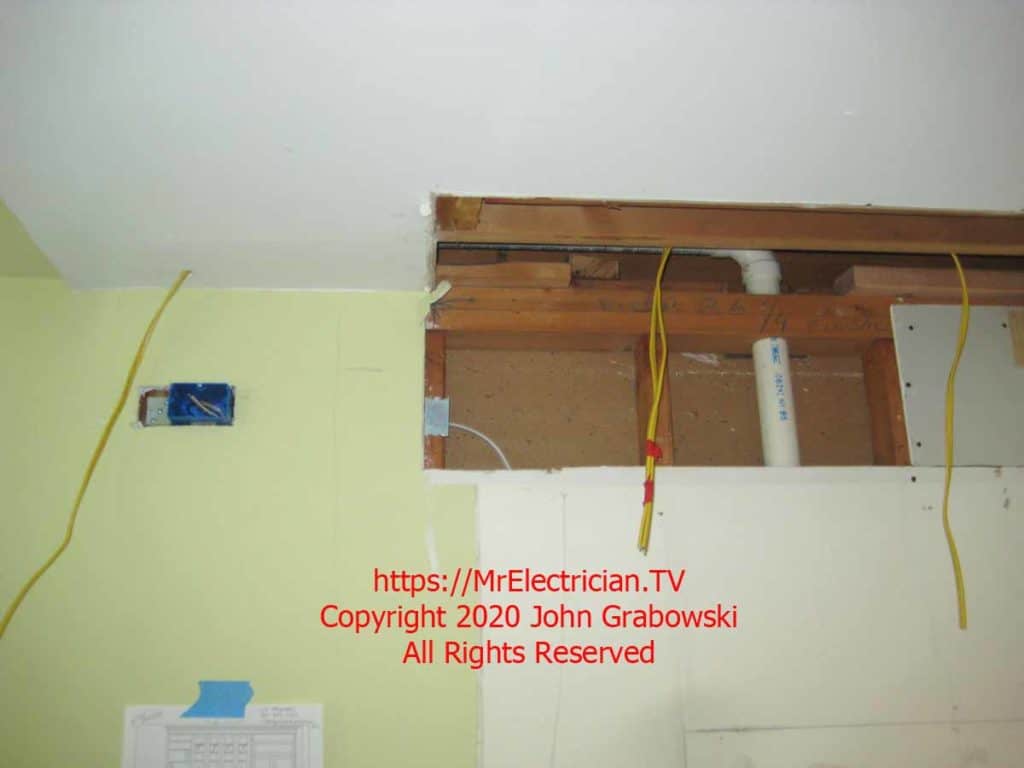
I left the wires hanging and discussed the lighting installation with the cabinet installers. I gave them one of the recessed lights so that they could cut the holes in the cabinets for the recessed lights. I figured that they could do a neater job of cutting the holes in their shop than I could on the job site.
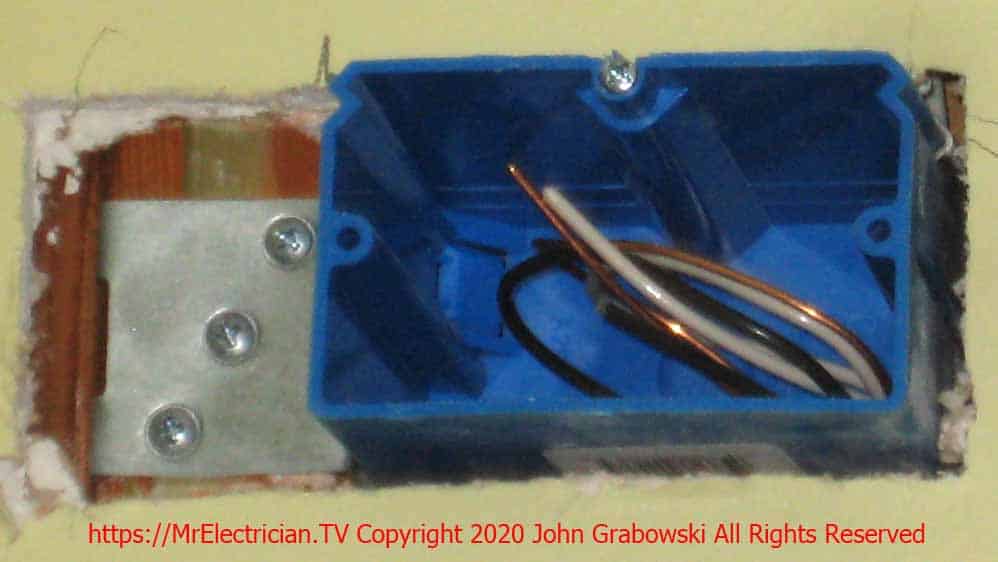
I like the adjustable electrical boxes. Never a problem getting the box to the correct wall depth. Close shot of the Carlon #B121ADJH PVC adjustable box. The screw at the top center is the adjustment to bring the box further out or to push it into the wall.
During rough-in, I leave the adjustable boxes extended out past the wall. I do this so that whoever finishes the backsplash must cut around the boxes. If I kept the boxes recessed in the wall, the holes that the installers cut out for the outlets would most likely not be big enough for the box to penetrate.
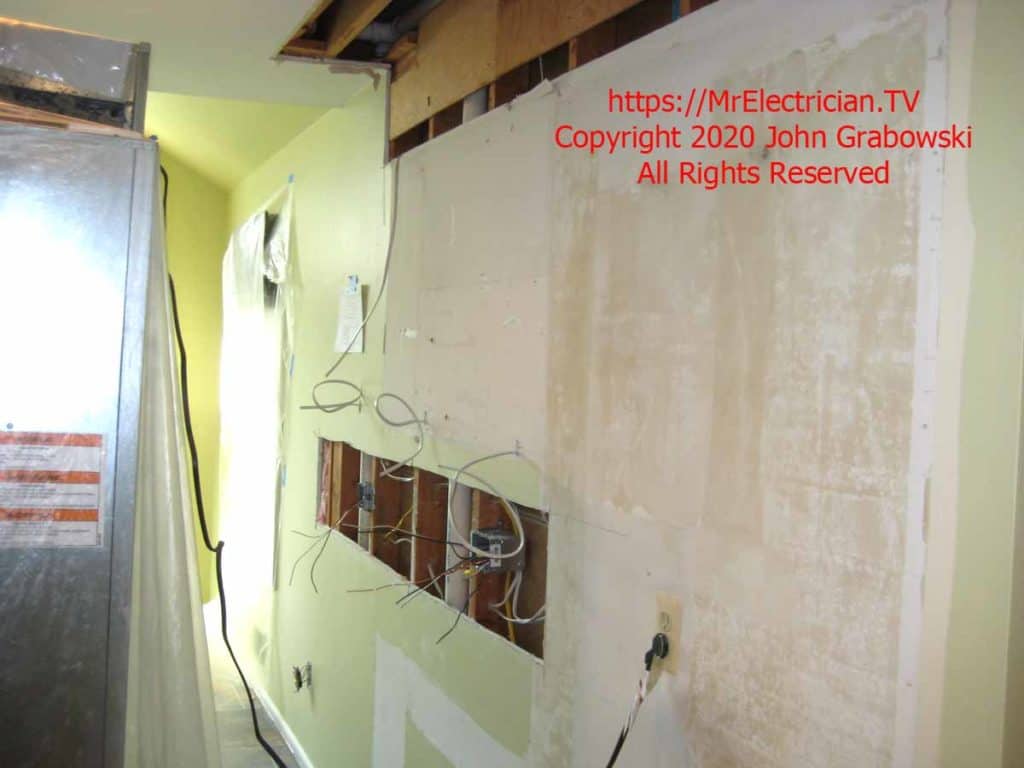
The under-cabinet lighting wires were brought through holes in the drywall at the height of the bottom of the cabinets (Approximately 54″).
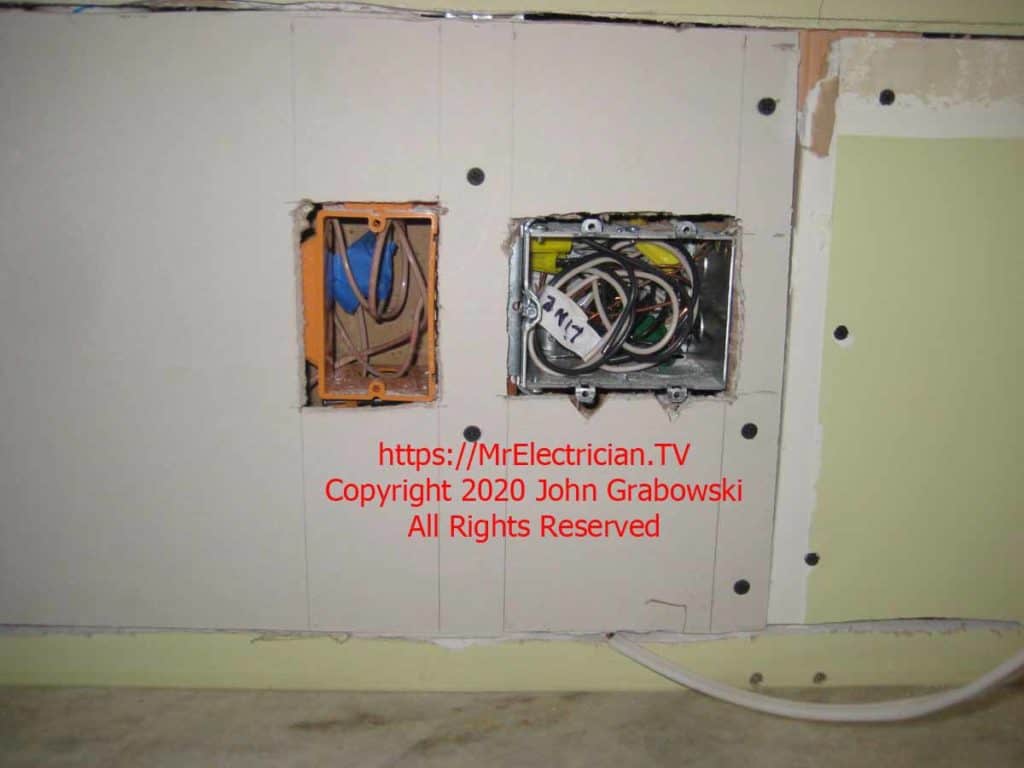
I used a new low-voltage work ring for the telephone jack on the countertop. Next to it is a two-gang adjustable box.
