Dear Mr. Electrician: How do I extend the kitchen electrical outlets from the wall a little so I can add ceramic tile?
Answer: Using electrical box outlet extenders or receptacle extenders is a simple and approved method for extending kitchen electrical outlets when the wall depth changes.
NOTE: Some text links below go to applicable products on eBay and Amazon. As an Amazon Associate, I earn from qualifying purchases. Using my links helps to keep this website FREE.
To use outlet box extenders, the existing electrical outlet box must be in good condition, and the screw holes must be able to hold 6/32 machine screws tightly. Otherwise, the existing electrical box should be replaced.
Electrical receptacles or box extenders are required when adding depth to a wall as per article 314.20 in the National Electrical Code (NFPA 70). Electrical boxes must be flush with the finished surface to prevent sparks from getting onto combustible wall materials and support the wiring device.
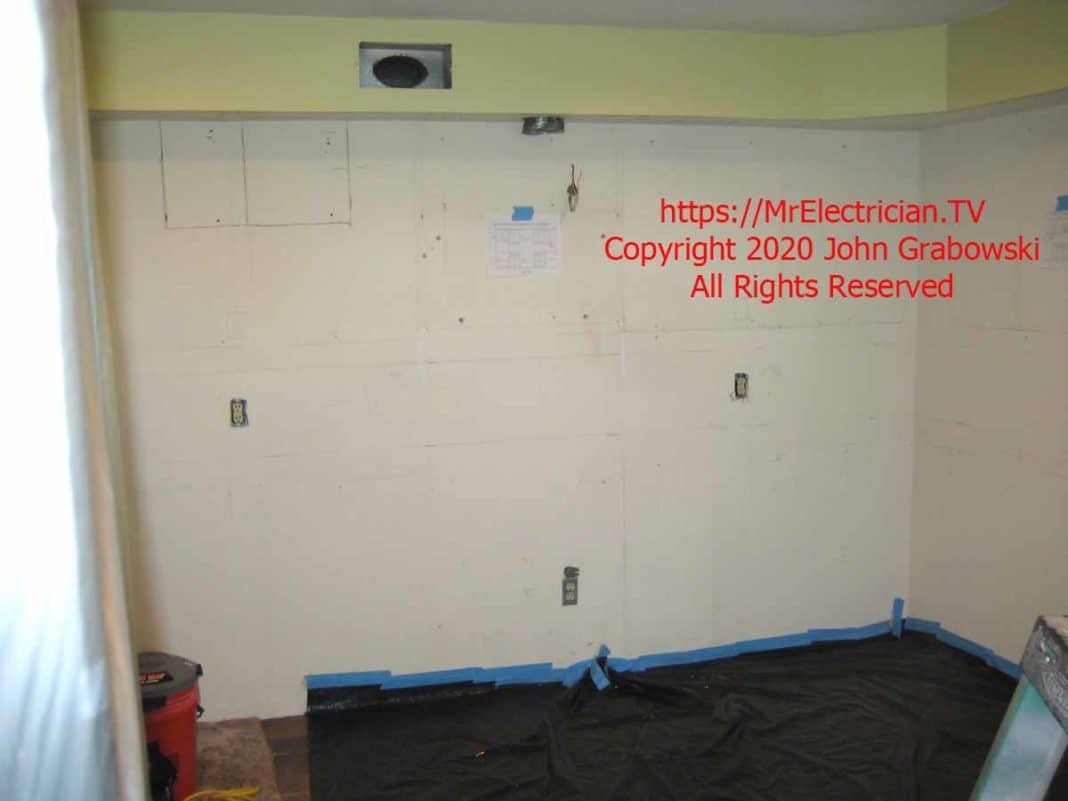
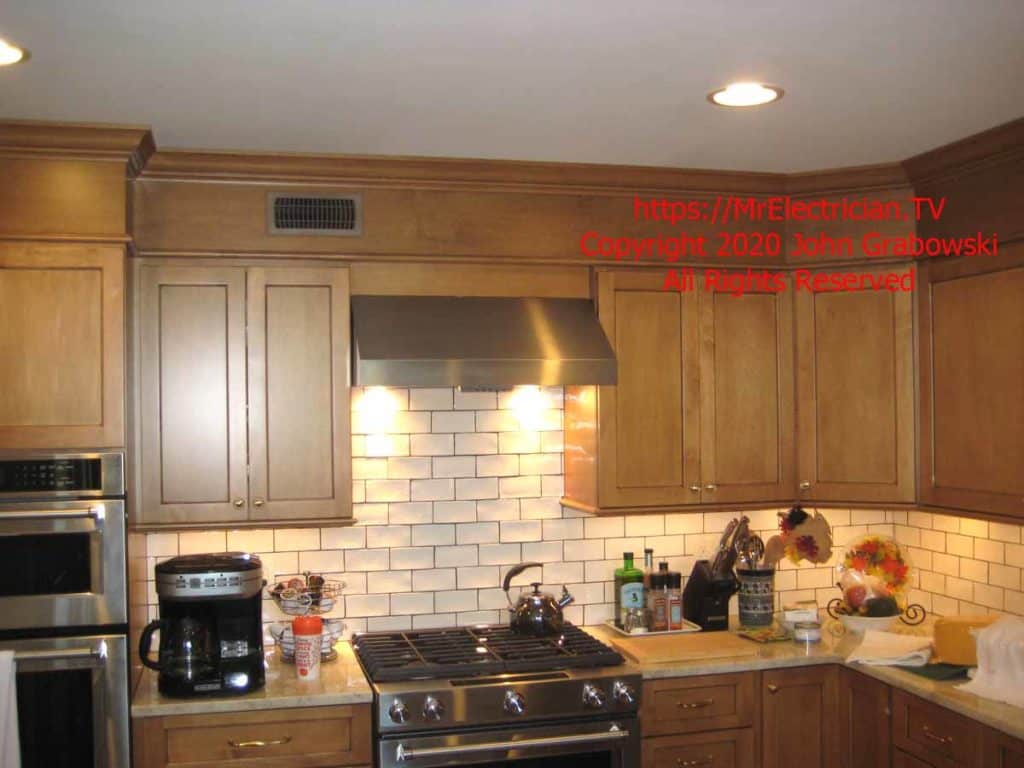
Below are photos from a kitchen remodel I worked on. Some of the existing electrical boxes remained in place, while others had to be relocated. Adjustable-depth electrical boxes and ReceptXtenders were both used on this job.
HOW TO EXTEND KITCHEN ELECTRICAL OUTLETS
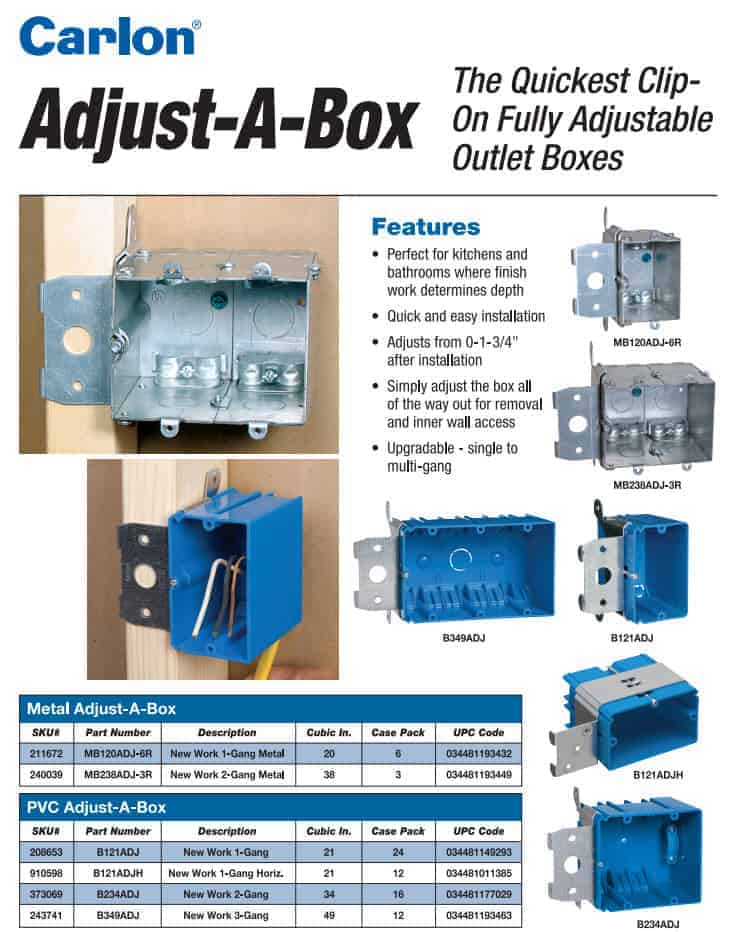
Often, I find that the original plastic electrical box needs replacing, in which case I use adjustable depth boxes to adjust the box to the perfect depth when the wall is finished.
Below is the process I went through to accommodate the new kitchen cabinet arrangement and tile backsplash with new and existing electrical outlets.
Most of the existing outlets did not need to be relocated; the electrical boxes just needed extending. A new wall oven was going to be installed, so I moved the outlet from that location.
I had to change the ceiling light switch that someone had moved in a previous renovation. There was already a switch and light above the sink so I could use some of the existing wiring for the new low-voltage sink lights.
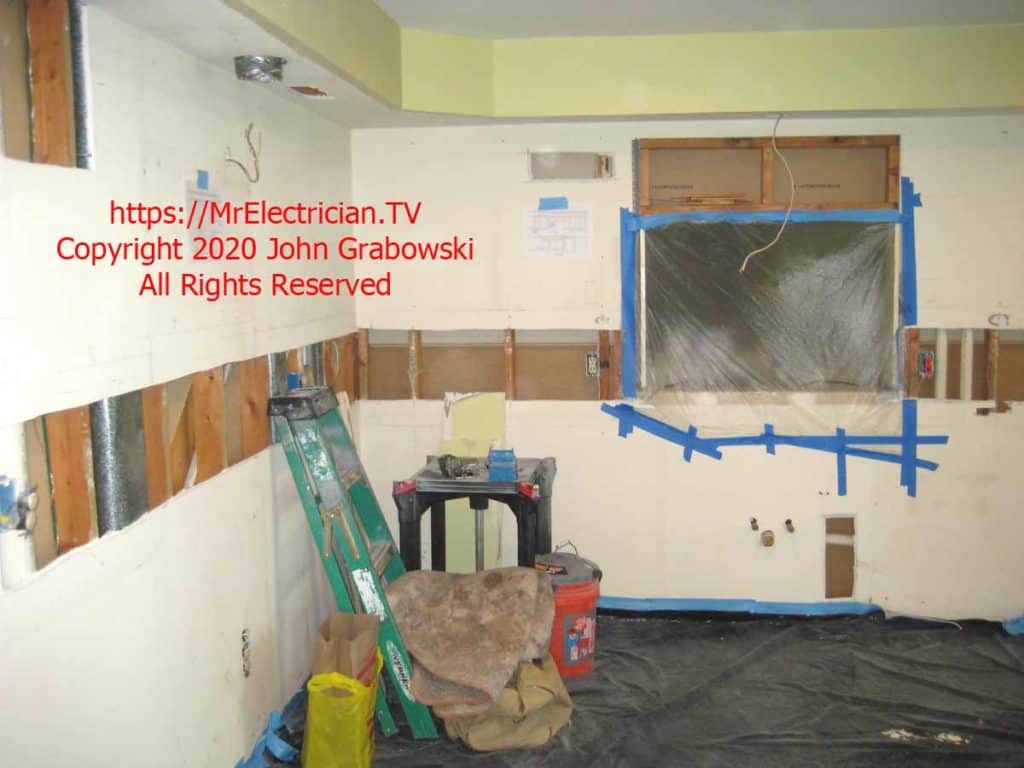
I first drew a couple of level lines at the backsplash height and cut out the drywall where I needed to work. The job called for installing new undercabinet lighting and extending and relocating outlets. You can see part of the undercabinet lighting installation in my post here.
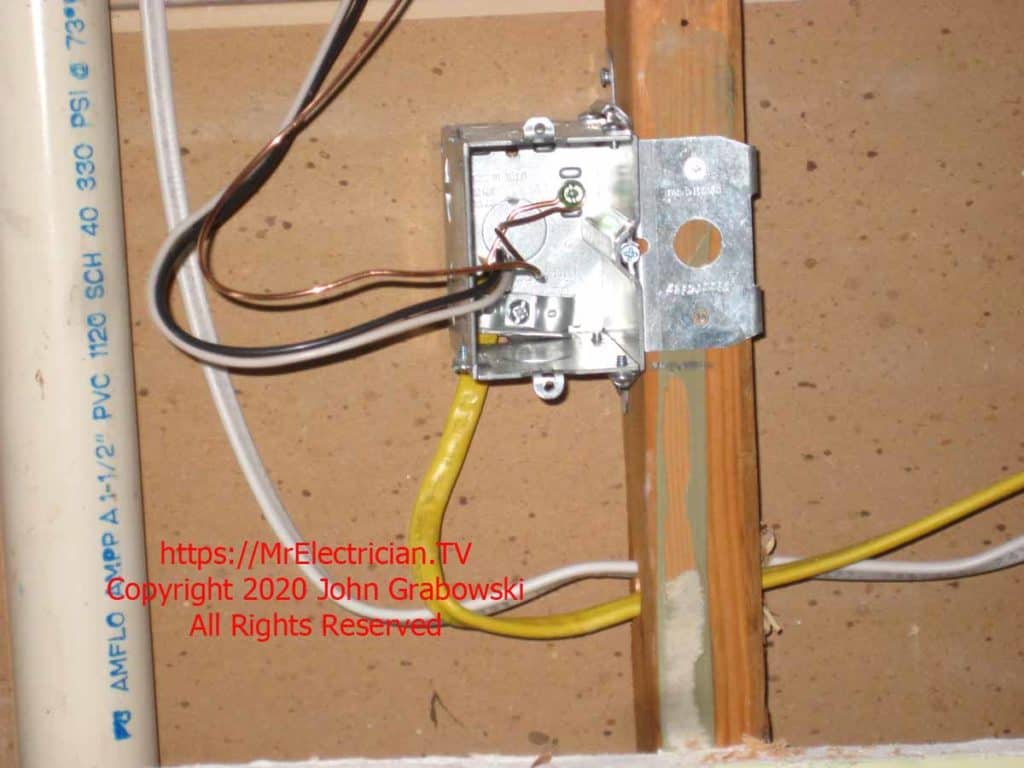
I like to use adjustable-depth electrical boxes for kitchen and bathroom outlets and switches. That way, I am prepared for any thickness of the finished wall or backsplash.
After I install the adjustable depth boxes during the rough-in wiring phase of construction, I adjust them to stick out further than needed. That ensures that whoever installs the wall coverings will entirely cut around the electrical box.
If I kept the box recessed, I would have to cut the hole bigger to accommodate the wiring device because the wall finishers have a tendency to overlap the electrical box. I have no problem cutting drywall, but tile and stone are more challenging.
CLICK HERE to See Adjustable Electrical Boxes on Amazon
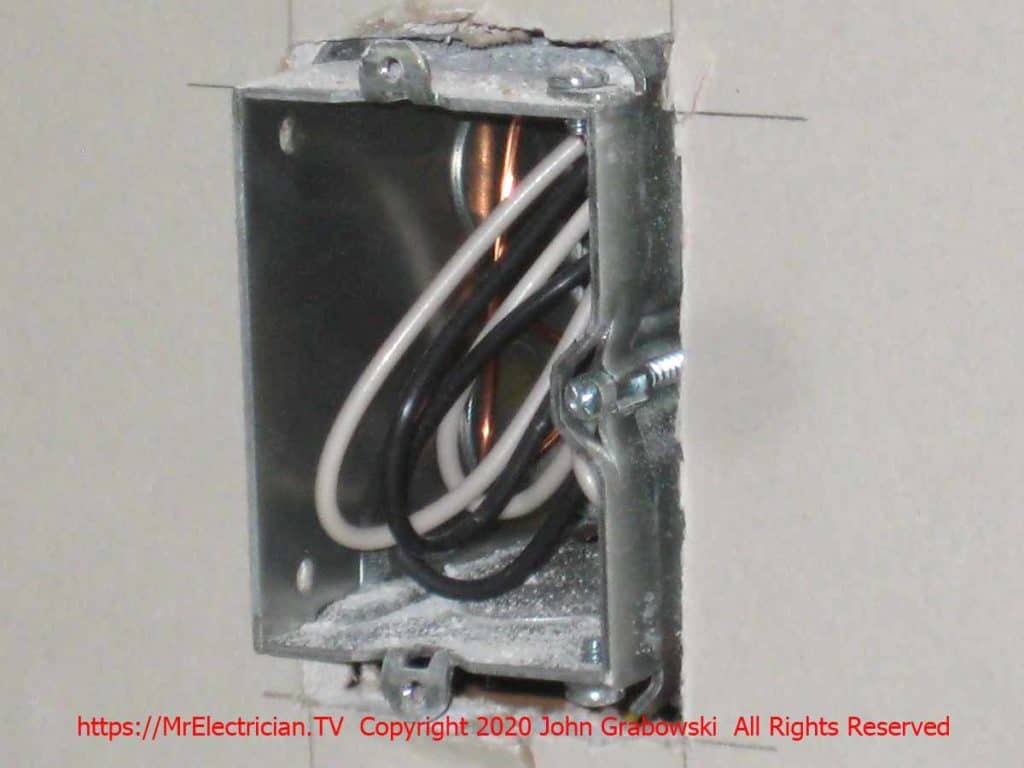
As depicted above, I prefer to leave the boxes protruding from the wall a little so that whoever finishes it will cut around it instead of partially covering it. When I install the wiring device, I adjust the box to its correct depth.
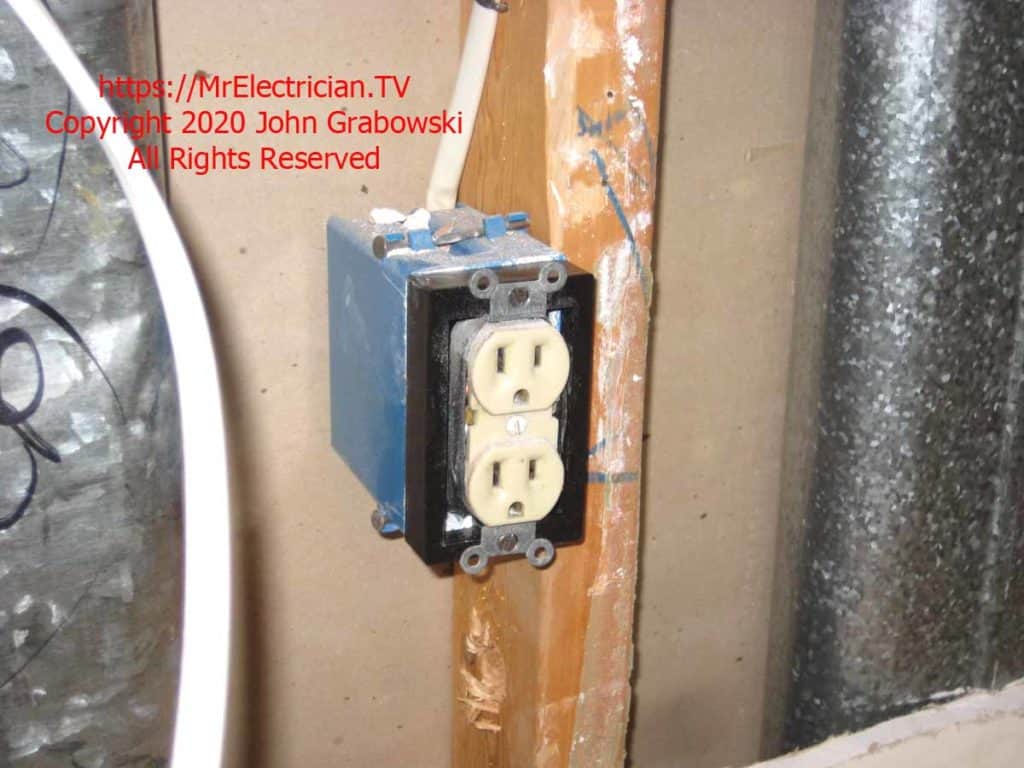
I like to use the deeper ReceptXtenders for the rough-in phase on existing outlet boxes. That way, whoever installs the backsplash will have to cut around my box. After the backsplash is finished, I change the extenders to the proper depth.
Too often, I was called in after the backsplash was installed and had to make the holes in the wall bigger to fit the new GFCI receptacles. I bought a RotoZip tool and diamond bits to trim the tile and stone on the kitchen counter backsplashes without causing damage.
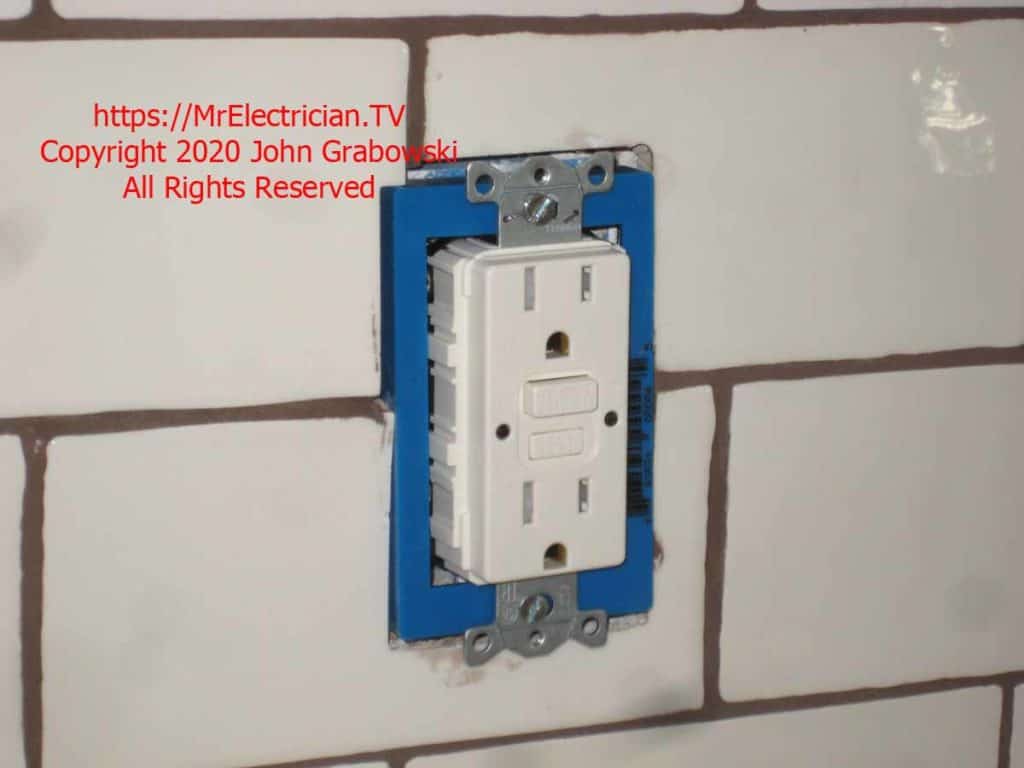
The ReceptXtenders do an excellent job supporting the electrical outlet or switch so that the devices are even with the finished wall. After the wall is finished, you could use box extenders to fill the gap and support the wiring device.
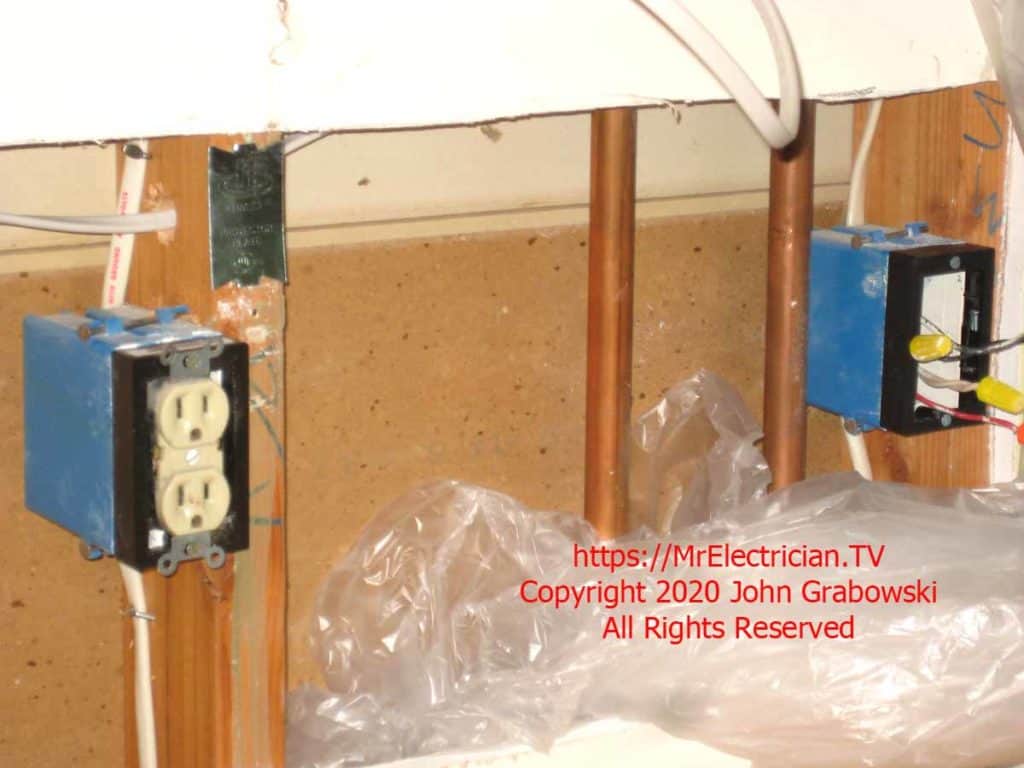
I added the two 3/4″ ReceptXtenders to the above switch and outlet during the rough-in phase so that any installer that mounts something over them will have to cut around the extenders, making my job easier when I have to install the new outlets, switches, and wall plates.
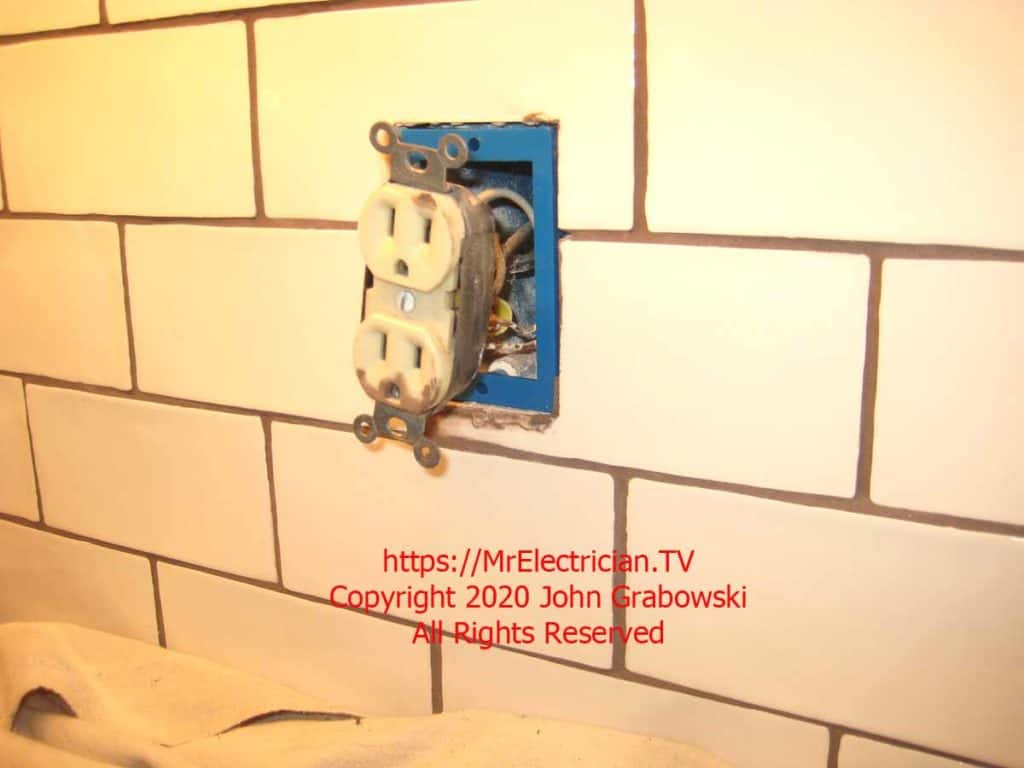
By attaching the black, 3/4″ ReceptXtender to the existing outlet electrical box during the rough-in, I gave the tile installer a very cleanly cut hole in the tile backsplash.
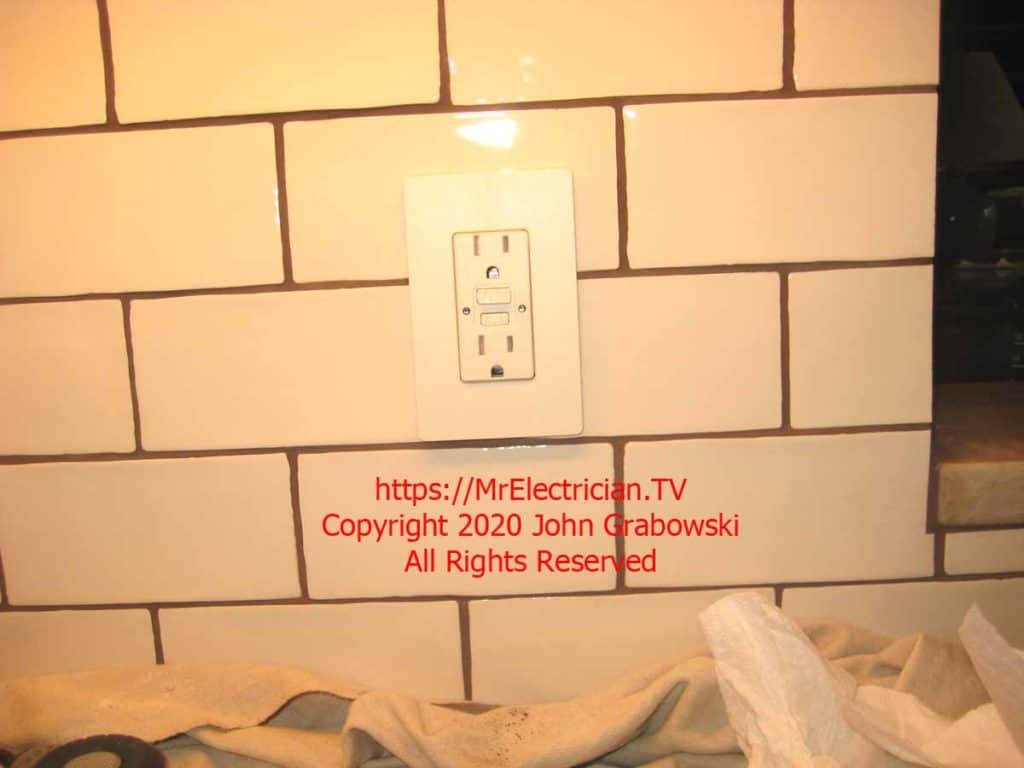
This method makes it much easier to install the GFCI outlet during the finishing phase of construction. I removed the 3/4″ extender and installed one that is the proper depth, like the blue one above, which is 1/2″ deep and adds 3.3 cubic inches to the overall box fill.
According to the National Electrical Code, a certain amount of cubic inches is required for each wire in an electrical box. See article 314.16 for more information about box fill.
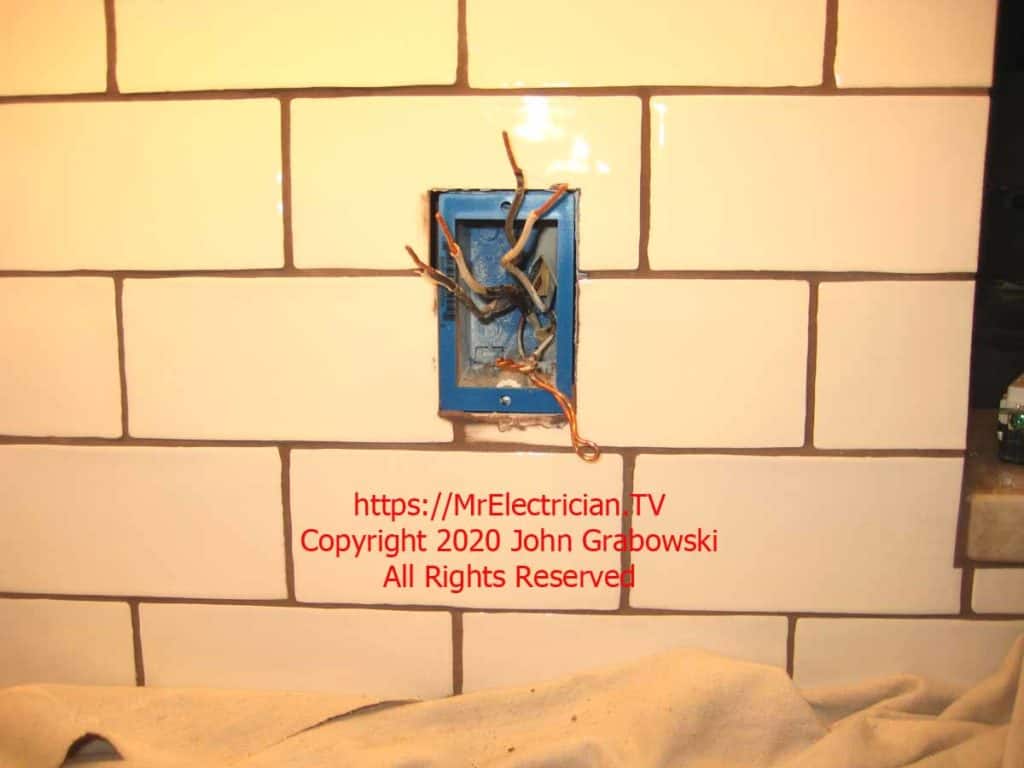
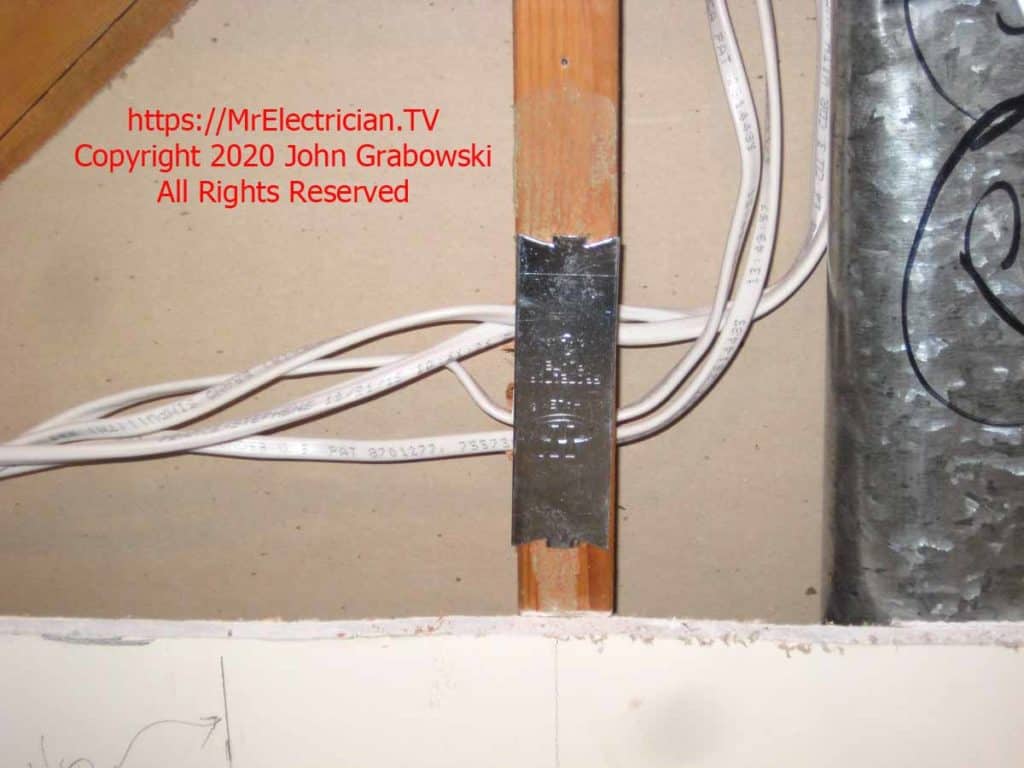
Using steel protective nail plates is a good idea when installing wiring where kitchen cabinets will be installed. Cabinet installers tend to use very long screws to attach their cabinets to the wall.
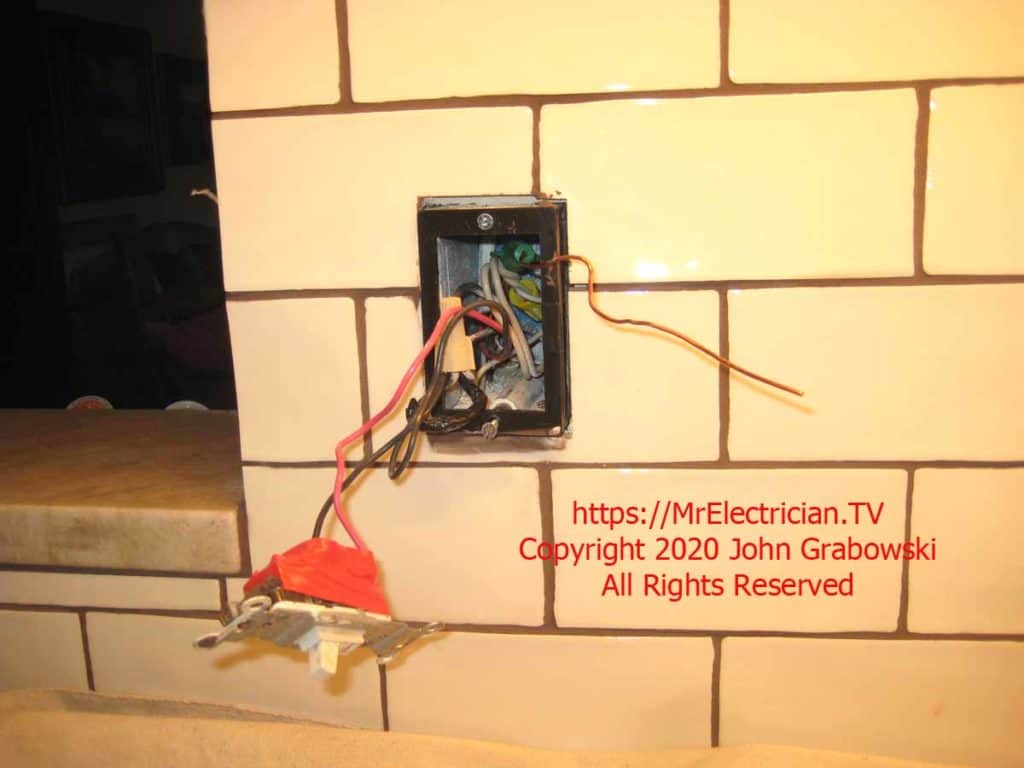
The above photo shows the tile installer’s excellent cutting of the electrical box. If that black extender had not been there, the opening to the electrical box would have been cut smaller.
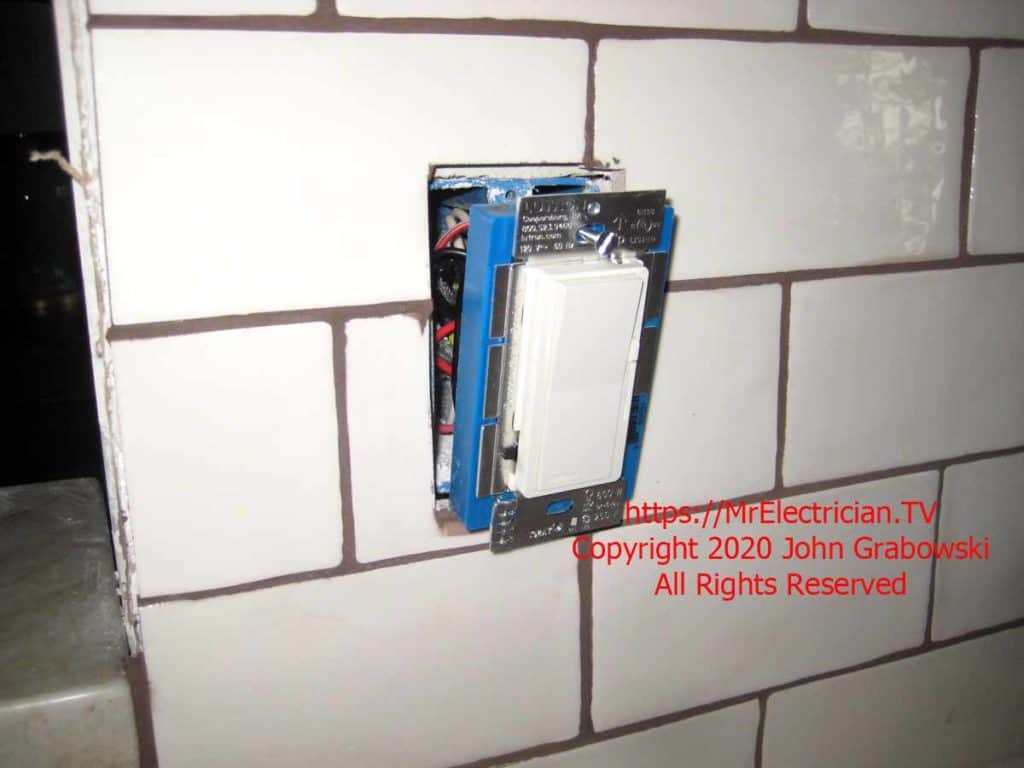
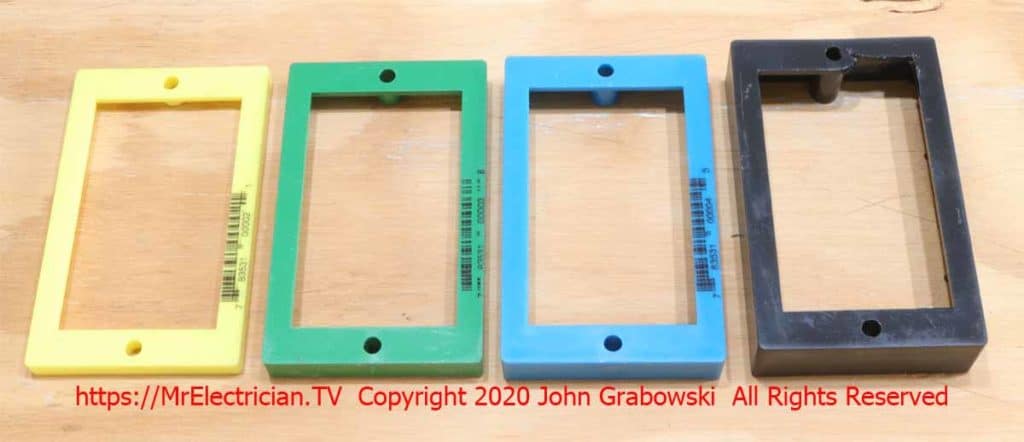
The four sizes of ReceptXtenders Box Extenders pictured above are 1/4″, 3/8″, 1/2″, and 3/4″. Notice the notch on the upper right corner of the 3/4″ receptacle extender. I had to cut it a little to accommodate a receptacle.
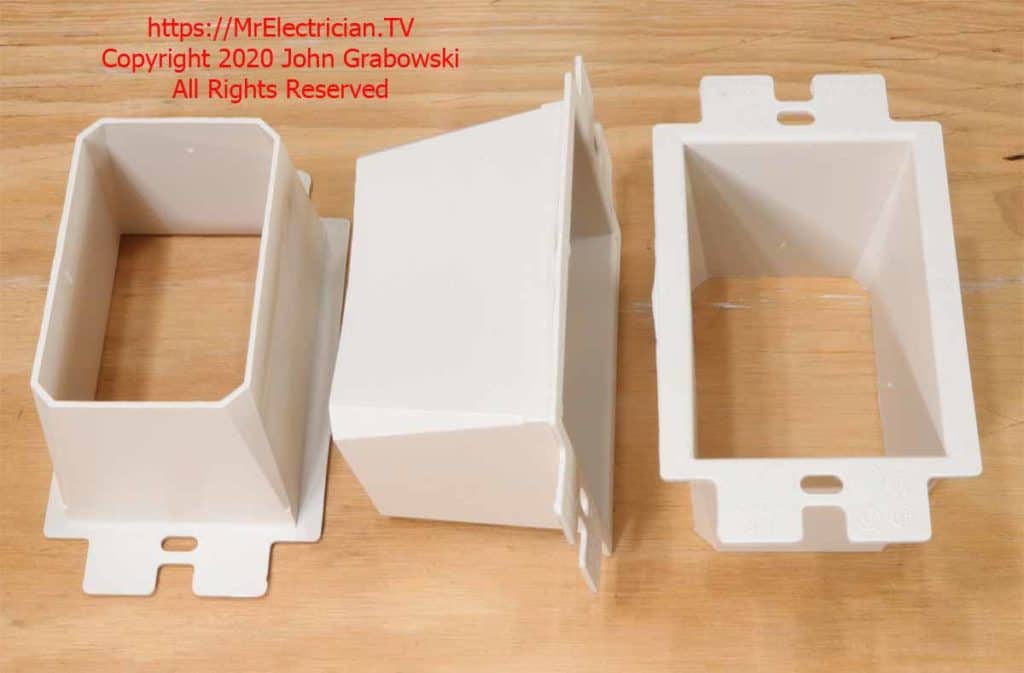
The above Arlington #BE1 Box Extenders work well and are approved for use with electrical boxes. These are inserted into the existing electrical box in the wall after the wall is finished and ready to install switches, receptacles, and wall plates. They can easily be trimmed back if they are too deep for your application.
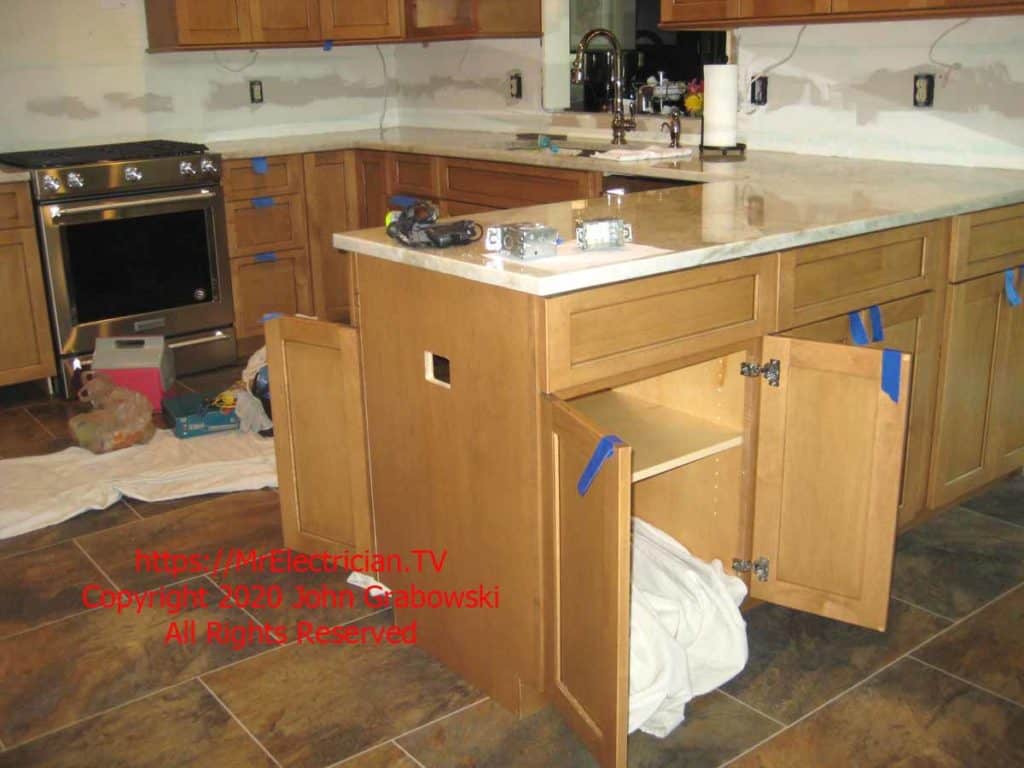
I installed ReceptXtenders on all the existing outlets and switches during the rough-in, so the person installing the backsplash tile will have to cut around them.
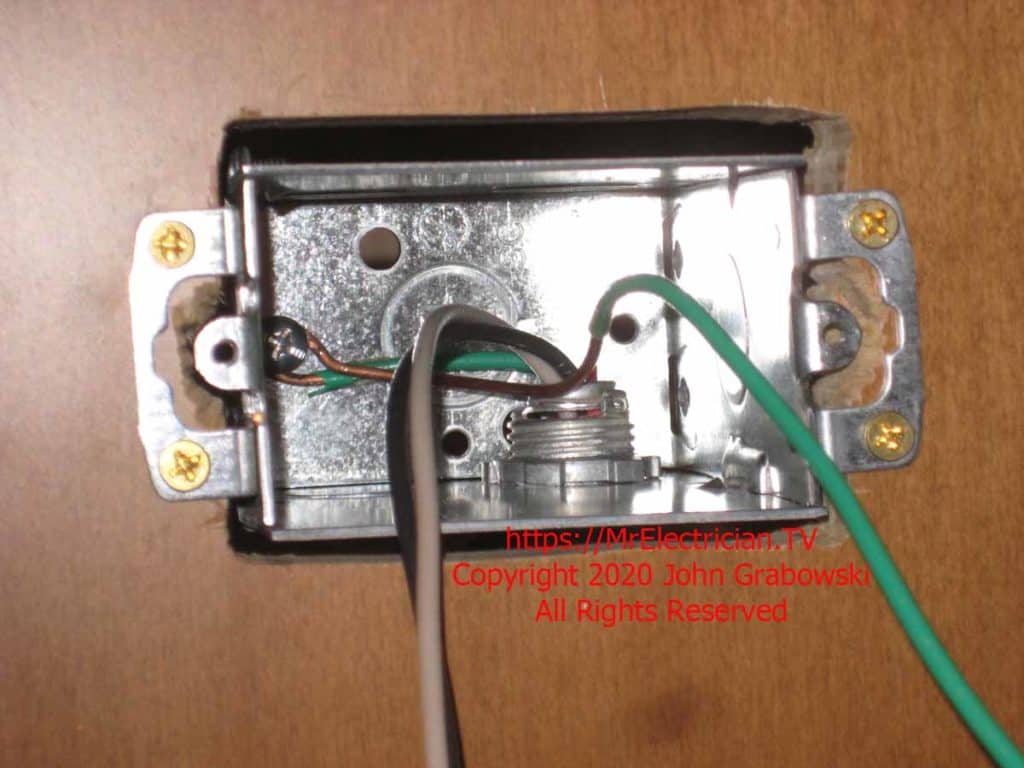
There was an old BX cable feeding the old peninsula outlet. I replaced it with an MC cable and ran it through the inside of the cabinet to the side-mounted outlet box using an MC cable connector after inserting an anti-short bushing inside the cable.
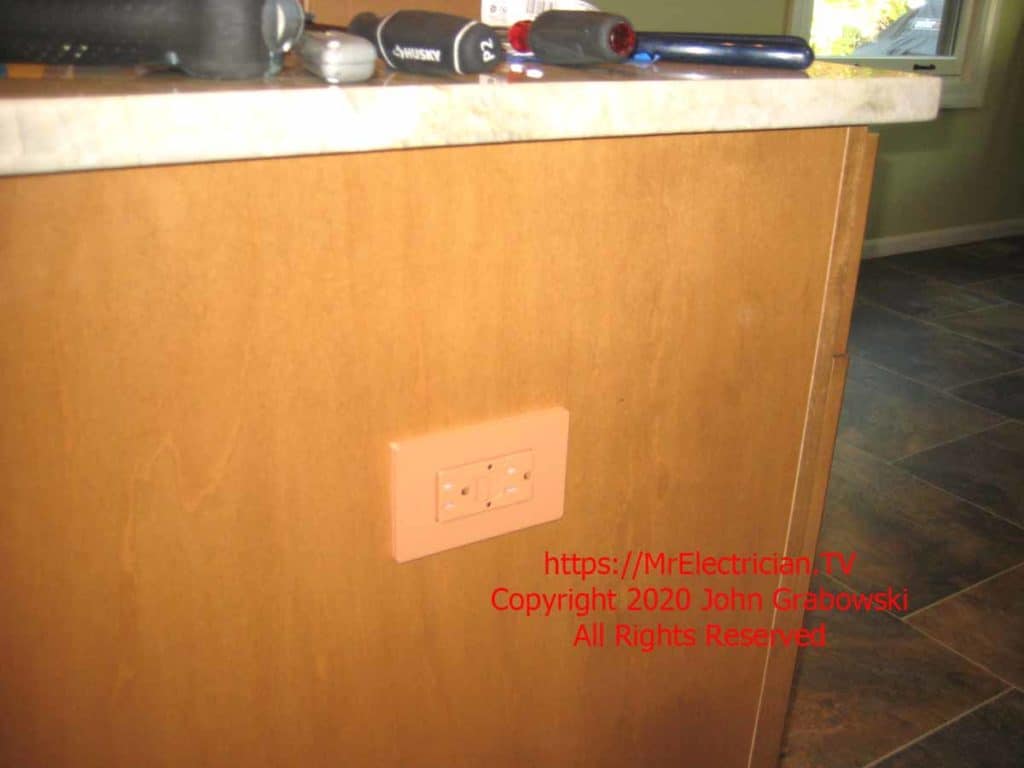
The finished GFCI Claro outlet and wall plate on the peninsula is a designer color from Lutron.
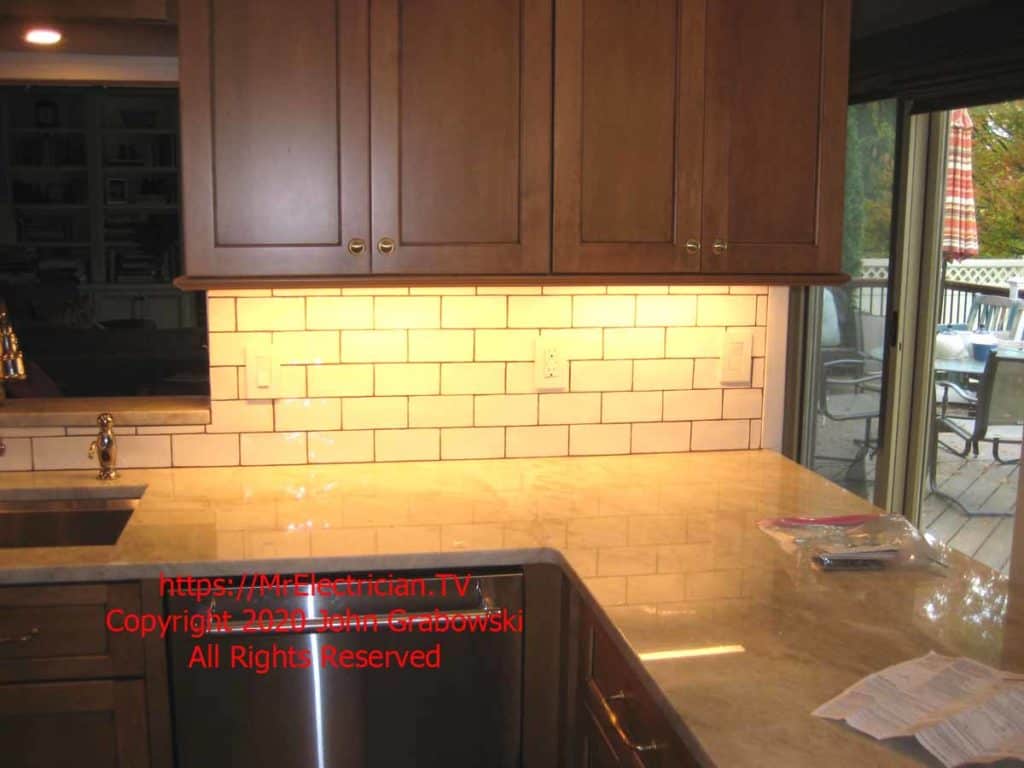
More work on this kitchen can be seen in this post.
Click to read my article about testing a dishwasher for electrical power.
My other kitchen articles are listed here.
To help keep this website FREE, please use this Amazon link for your purchases. As an Amazon Associate, I earn from qualifying purchases.
Click for a FREE copy of my book “Almost Everything You Need To Know To Repair a Bathroom Exhaust Fan In Your Home.”
Get your required “Emergency Disconnect, Service Disconnect” labels and stickers to satisfy the 2023 National Electrical Code requirements in article 230.85(E)(1) and (2) by going to my Redbubble Shop here.
Visit my Link Tree home page for my social media connections and other links.
