Dear Mr. Electrician: How do I add a dimmer switch and a new ceiling light fixture? I want to hang a light fixture where there is currently no wiring.
Answer: When considering adding a dimmer switch and a new ceiling light fixture, the structure of the building must be considered.
Table of Contents:
- Adding a Dimmer and New Light Fixture
- Adding New Wiring
- How to Hang a Light Fixture
- How To Install A Two-Gang Box
NOTE: Some text links below go to applicable products on Amazon. As an Amazon Associate, I earn from qualifying purchases. Using my links helps to keep this website FREE.
The methods used to achieve this type of installation will vary according to your building structure and the location of the switches and light fixtures. Below are photos of a simple dimmer and ceiling light fixture installation in a two-story condominium.
ADD DIMMER SWITCH AND NEW CEILING LIGHT FIXTURE
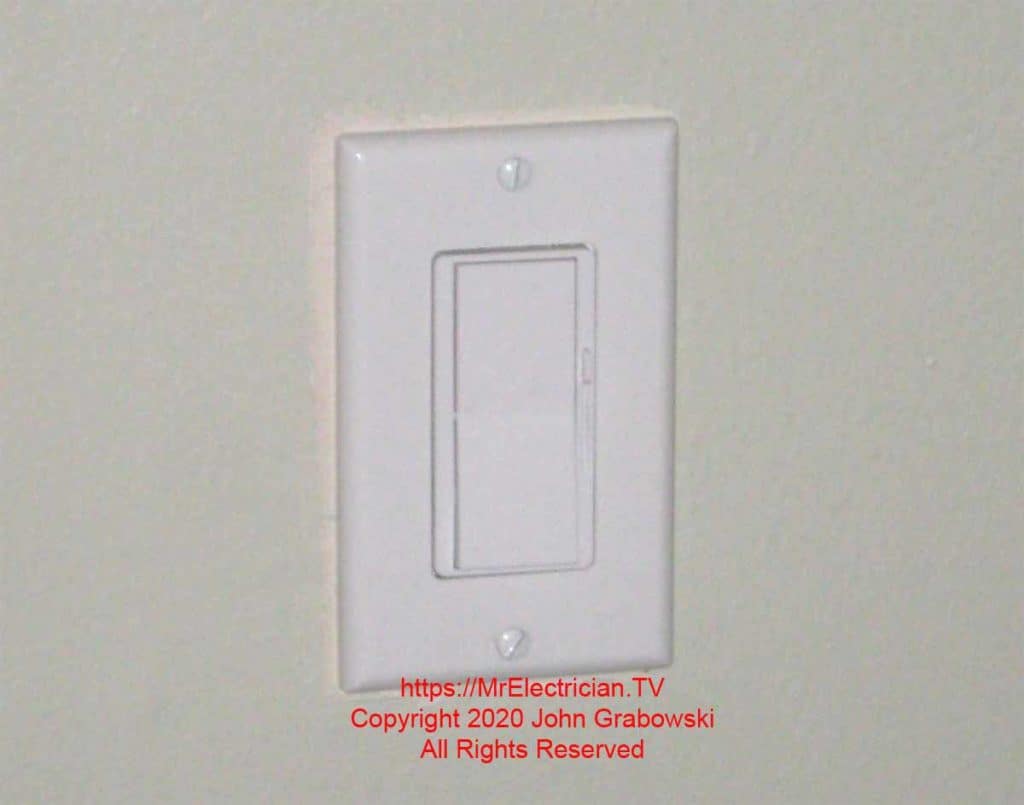
It would be best to determine where you will get power from and where you want the wall switch to be. In the example on this page, I was lucky to find power in an existing wall switch where the client wished to have the additional switch located.
Not all wall switches have a hot (LINE) and a neutral. Some have a hot and switch leg that cannot be used to power something else.
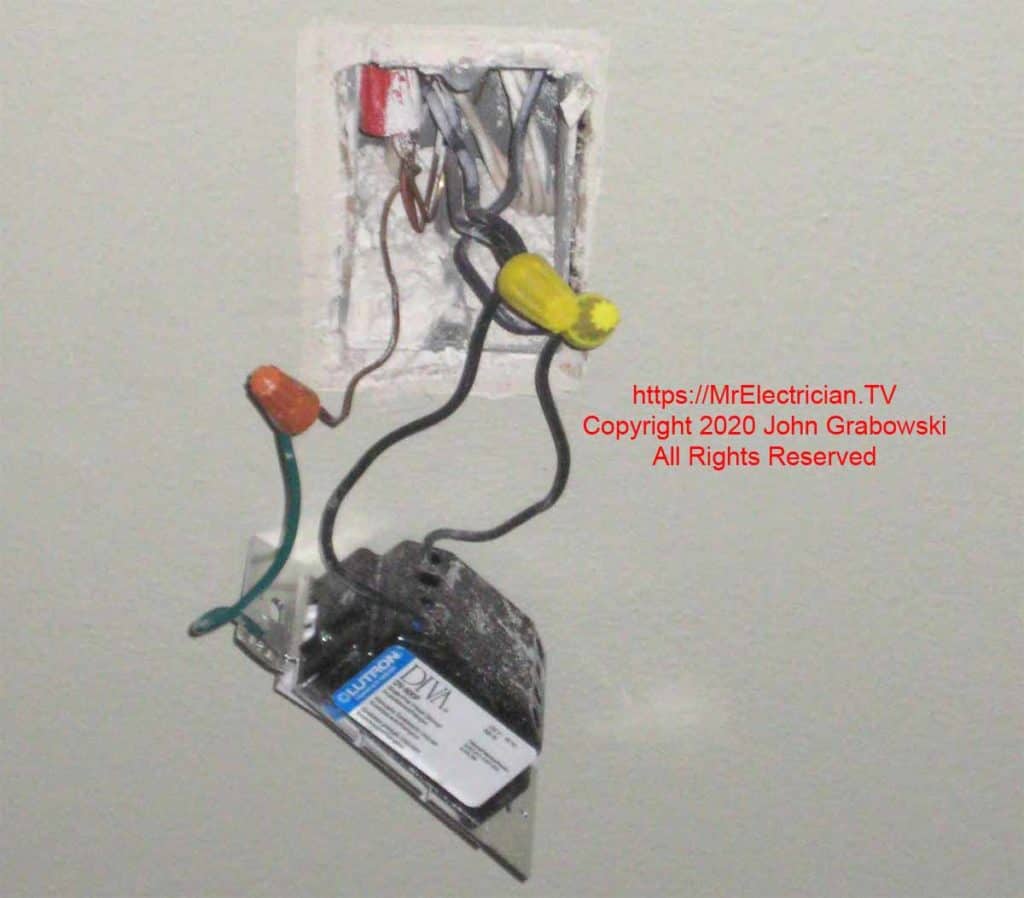
I used a long, thin screwdriver inserted alongside the switch box to feel for any obstacles, such as pipes or wood studs. A short piece of fish tape can also be used for probing into a wall.
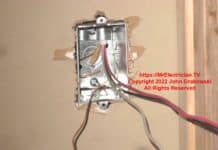
I removed the existing one-gang plastic switch box and cut a hole for a new two-gang plastic old-work switch box.
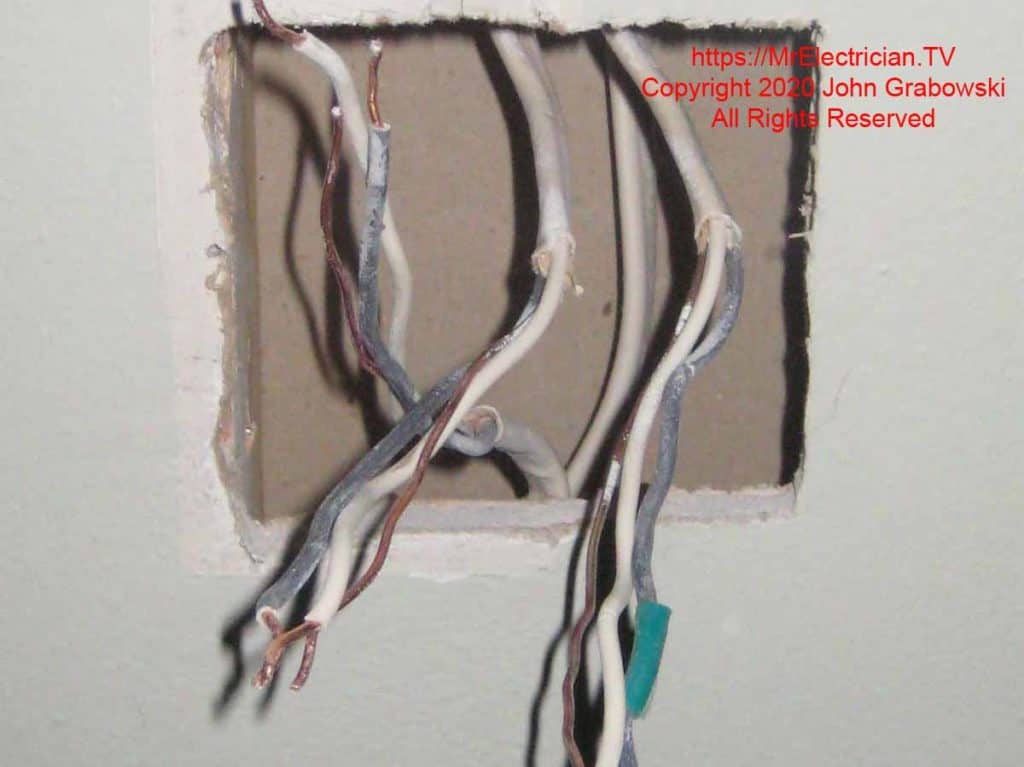
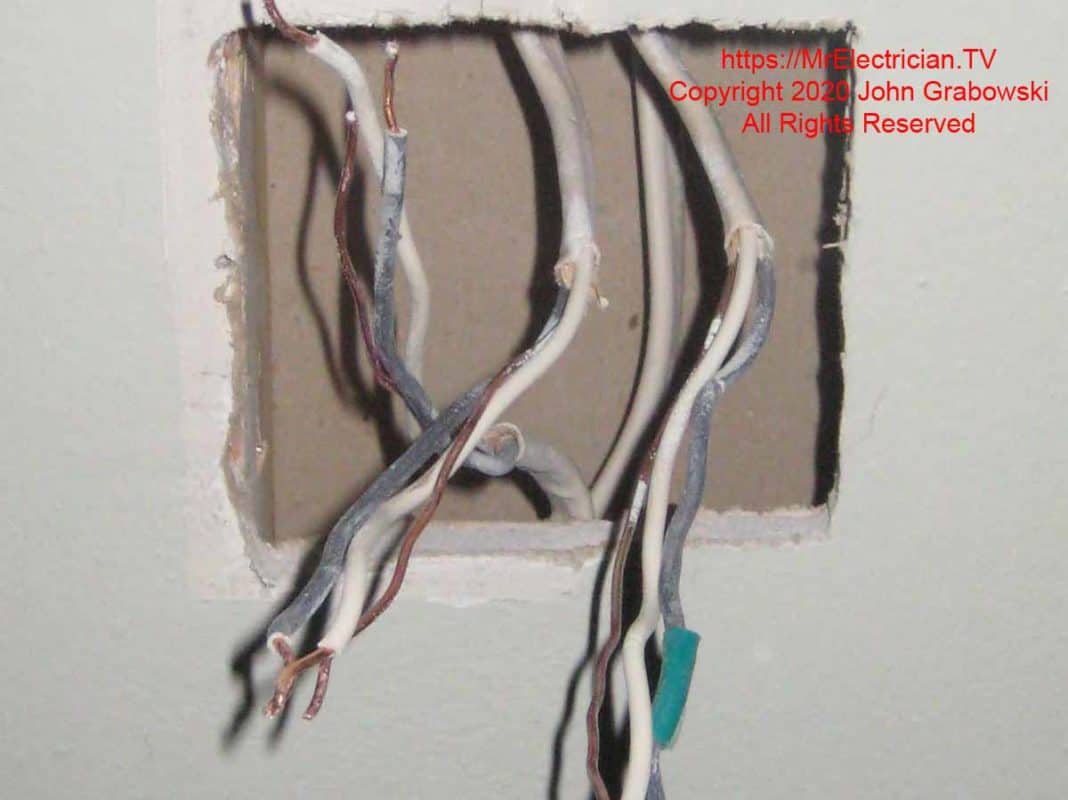
The existing black switch leg wire was temporarily identified with green electrical tape. The other black wires get spliced together. The wood stud on the left side of this wall opening is perfect for attaching the new two-gang plastic old work electrical box for additional support.
NEW WIRING FOR NEW LIGHT
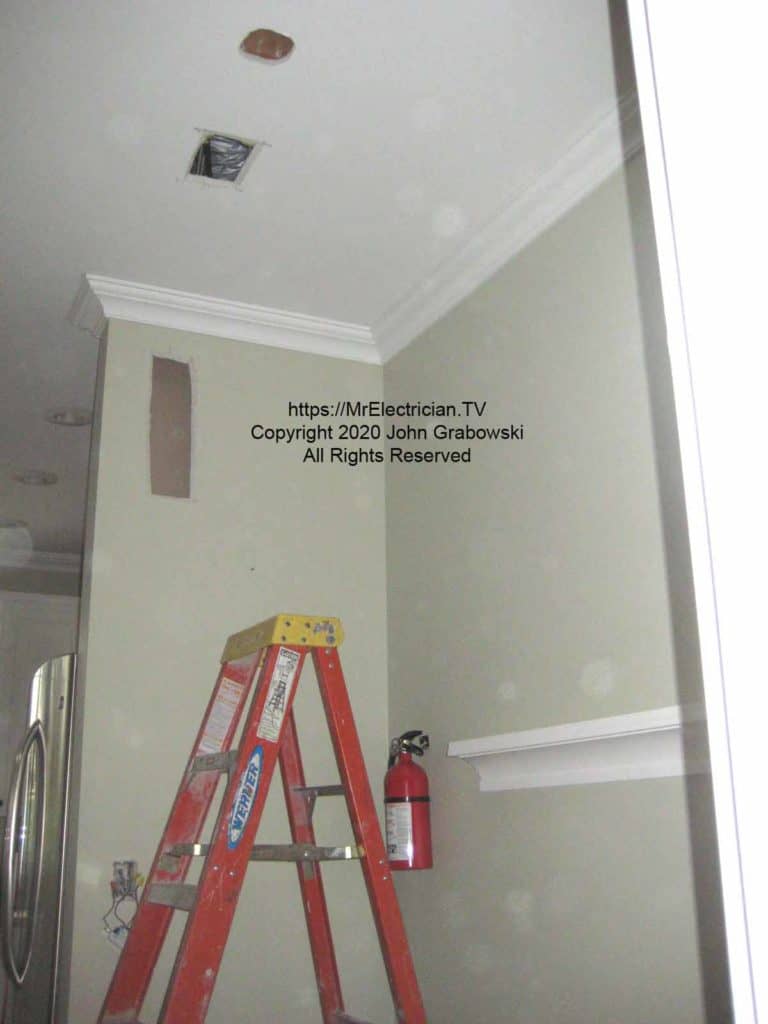
The access hole in the wall and the access hole in the ceiling were made using “The Grabowski Method” (Holding the compass saw at a 45-degree angle) to facilitate the installation of a new wire to feed the new light fixture.
I had to drill inside the wall to avoid damaging the crown molding around the ceiling. A large hole was needed to fit the Milwaukee right angle drill into the wall to drill up into the top support plate.
I did have to cut holes in the ceiling and the wall to facilitate the installation of a new 14/2 Romex cable to the new light fixture location. I cut the holes at a 45-degree angle inward to make it easy to patch later.
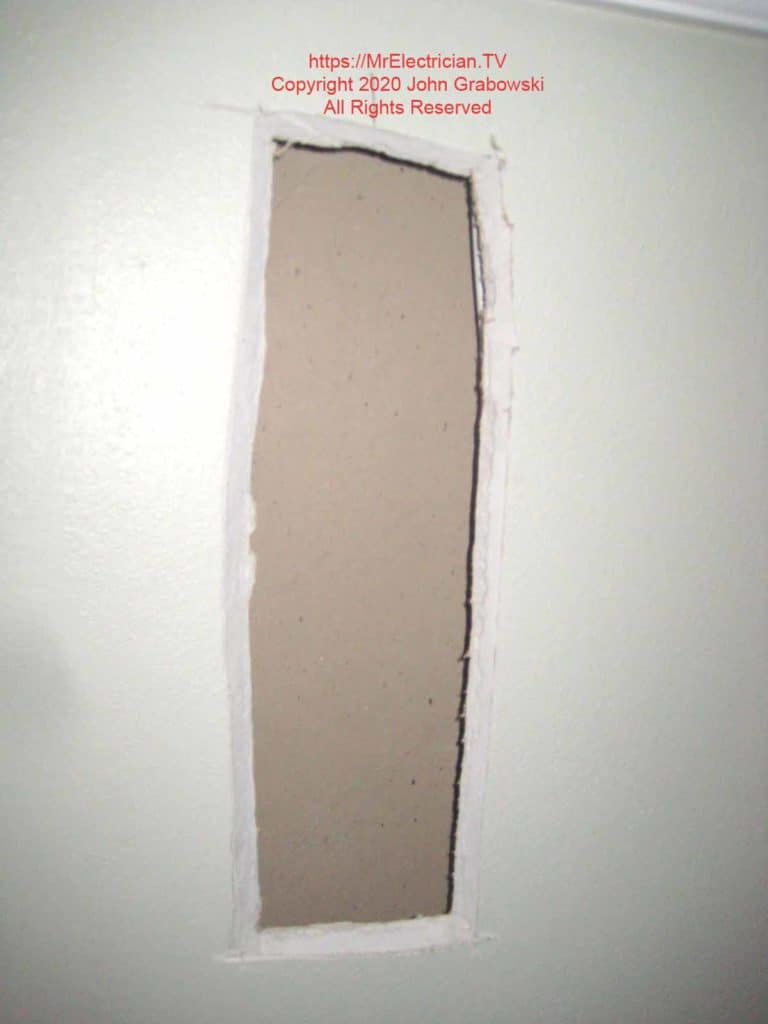
This hole was made using “The Grabowski Method” of cutting holes in drywall. The compass saw is held at a forty-five-degree angle inward when cutting to give a beveled edge to the cutout piece of drywall. This makes it much easier to patch the hole using the same piece of cutout drywall and some joint compound. I have been using my Milwaukee Cordless Multi-Oscillating Tool to cut such holes.
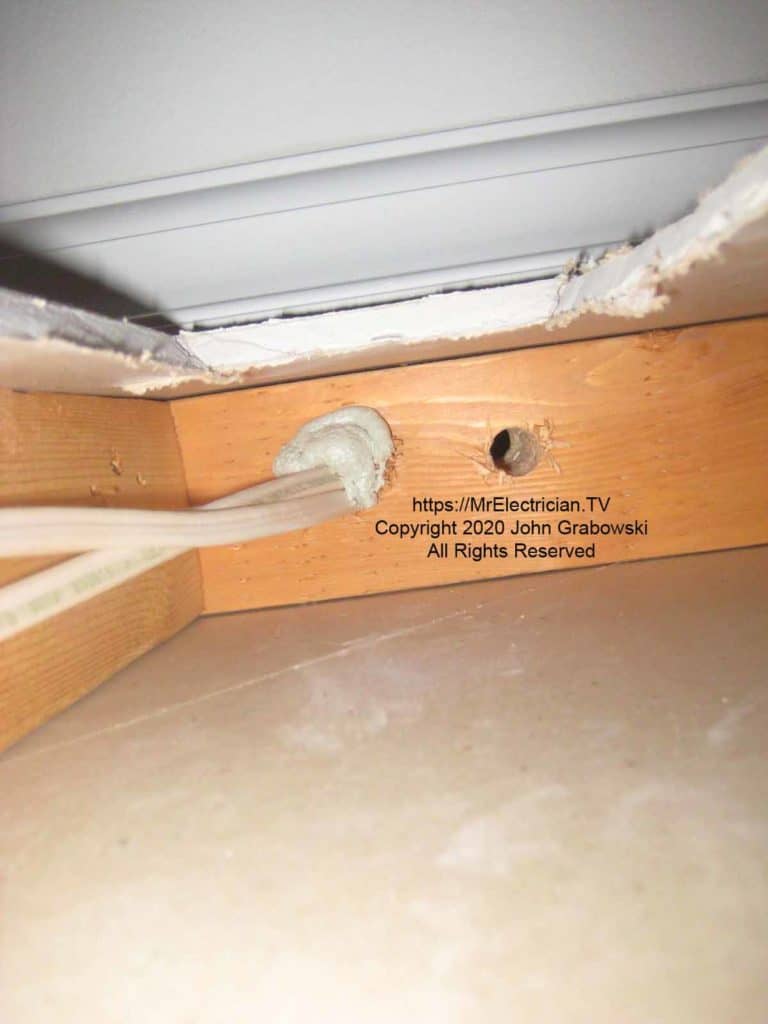
The above view is the inside of the wall through the hole in the previous photo. The big hole in the wall was needed to accommodate the big angle drill and a long auger drill bit.
I had to drill a hole using my angle drill to penetrate the top supporting plate in the wall to get the new Romex cable into the ceiling.
After installing the new Romex cable up to the ceiling, I caulked the hole through the wood top plate with a fire-rated caulk. This is done to prevent the flow of air, which would help support a fire.
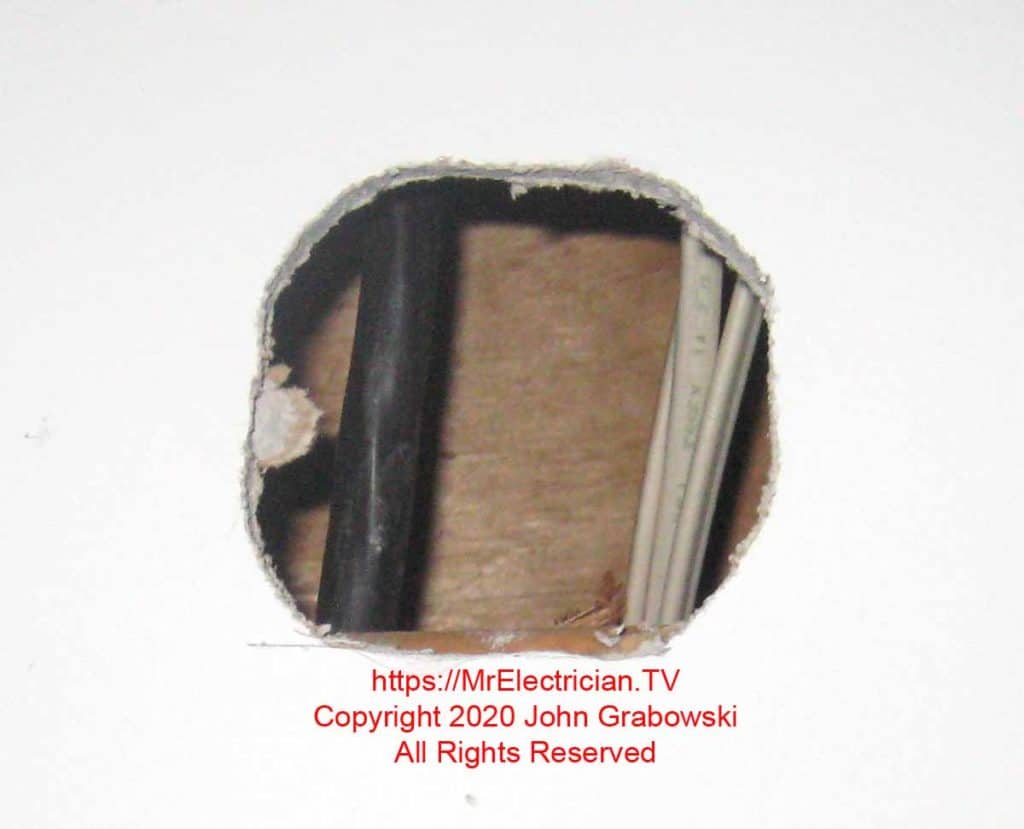
The hole above is for the new octagonal electrical box that will support the light fixture where the customer wanted it. The existing cables in the ceiling are set back far enough to provide clearance for the new box. The laminated beam’s side is on the hole’s bottom edge.
Before cutting any holes in the ceiling or walls to install electrical boxes, recessed lighting, or something, probe with something long and thin. After I measure and mark where I want my hole to be, I will use my awl or a long, thin screwdriver to make a tiny hole (1/4″) in the drywall.
I push the long screwdriver into the wall or ceiling in all directions. Then, I do the same thing with a short piece of fish tape. On ceilings, I will also use a piece of metal coat hanger bent in an L shape to feel for things close to the ceiling surface, such as resilient channel.
My blog post about fishing wires in walls and ceilings is here.
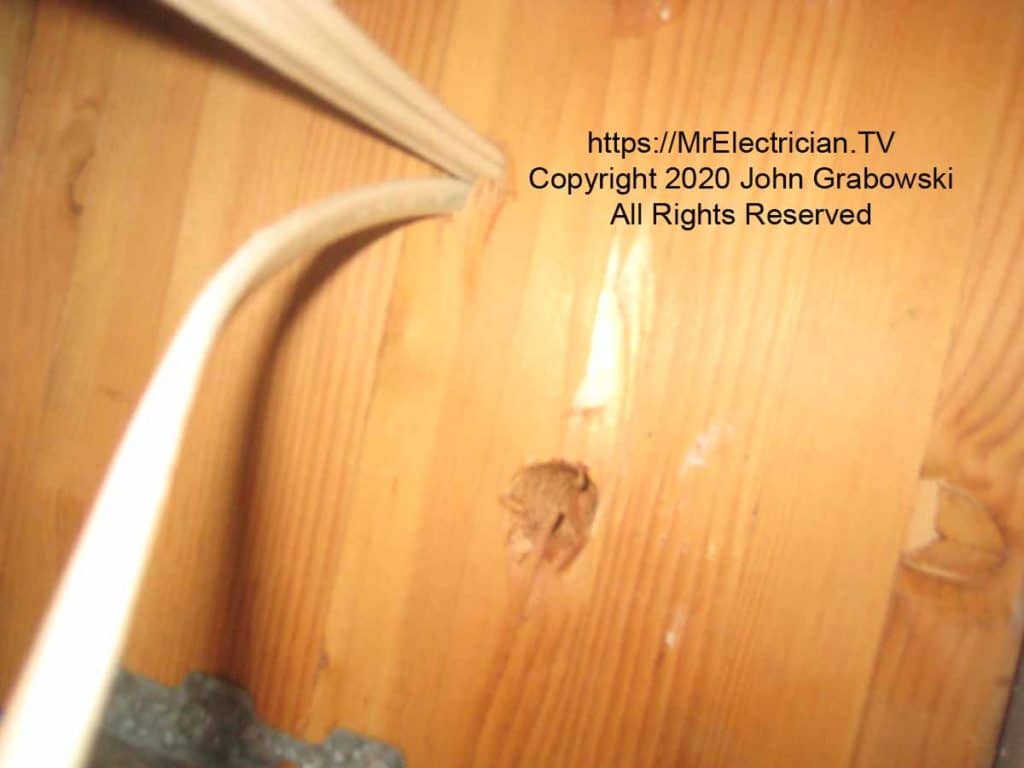
Because this ceiling was supported by trusses instead of solid wood joists, I could get my fish tape through quickly after the holes were made.
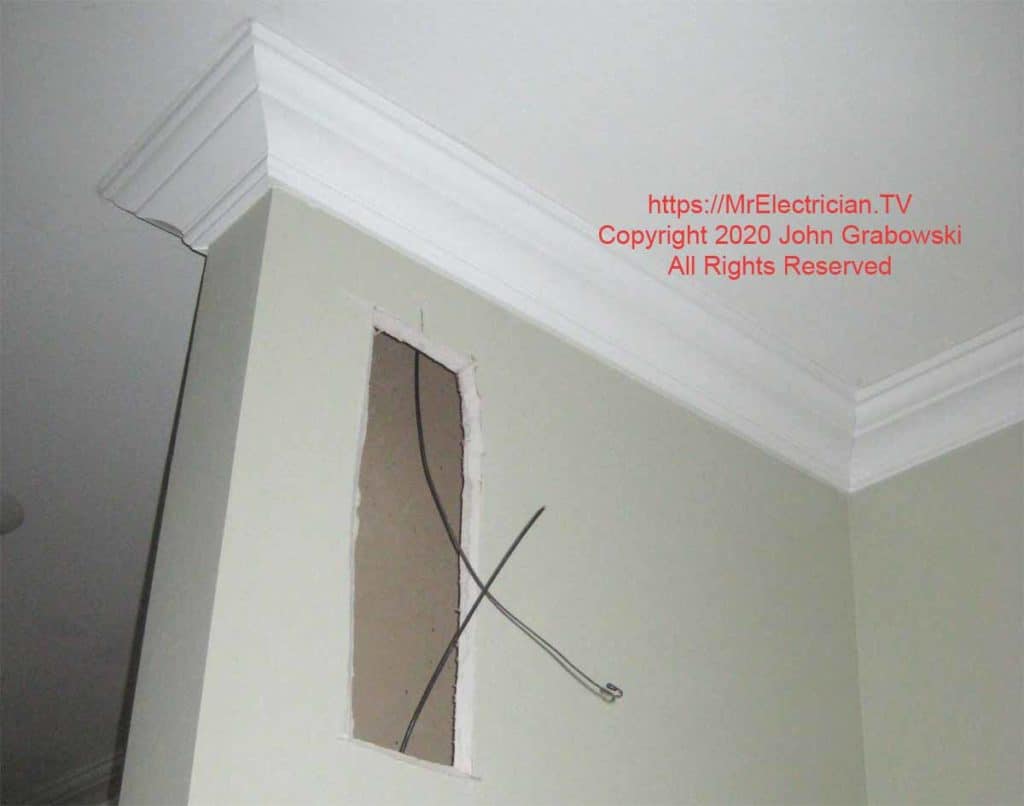
I have several pieces of short fish tape broken off of my longer fish tapes. The short fish tapes come in handy for small jobs like this. See my post about wire pulling in walls for more information.
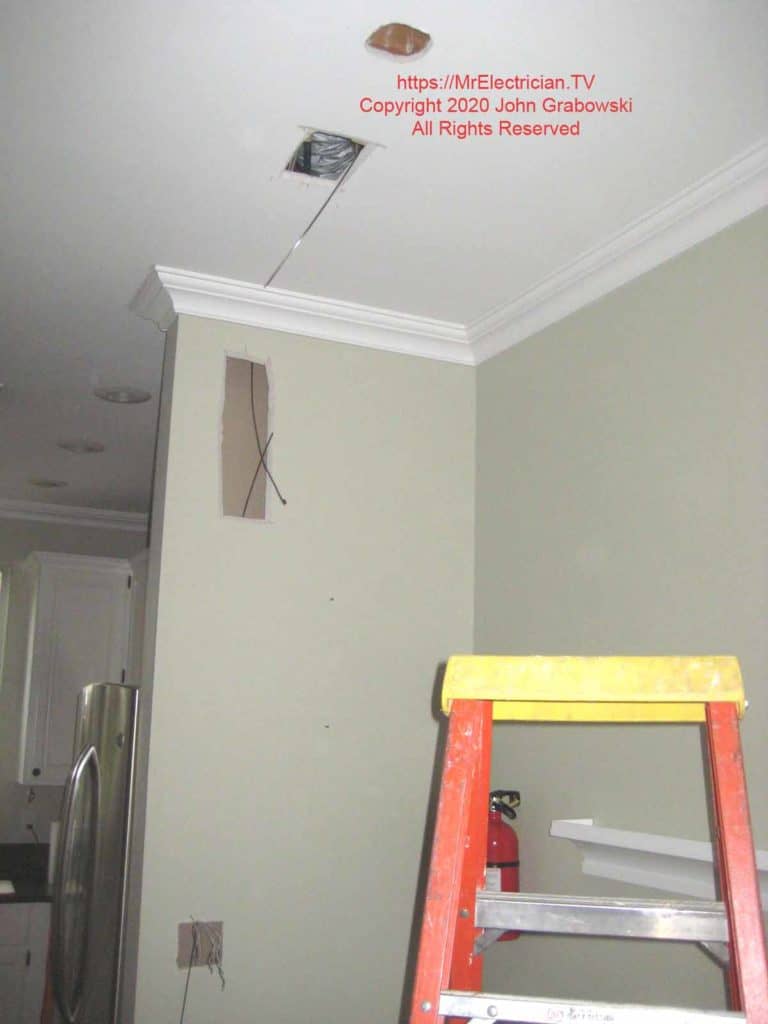
Sometimes, working with two or more short fish tapes is more accessible than one long one.
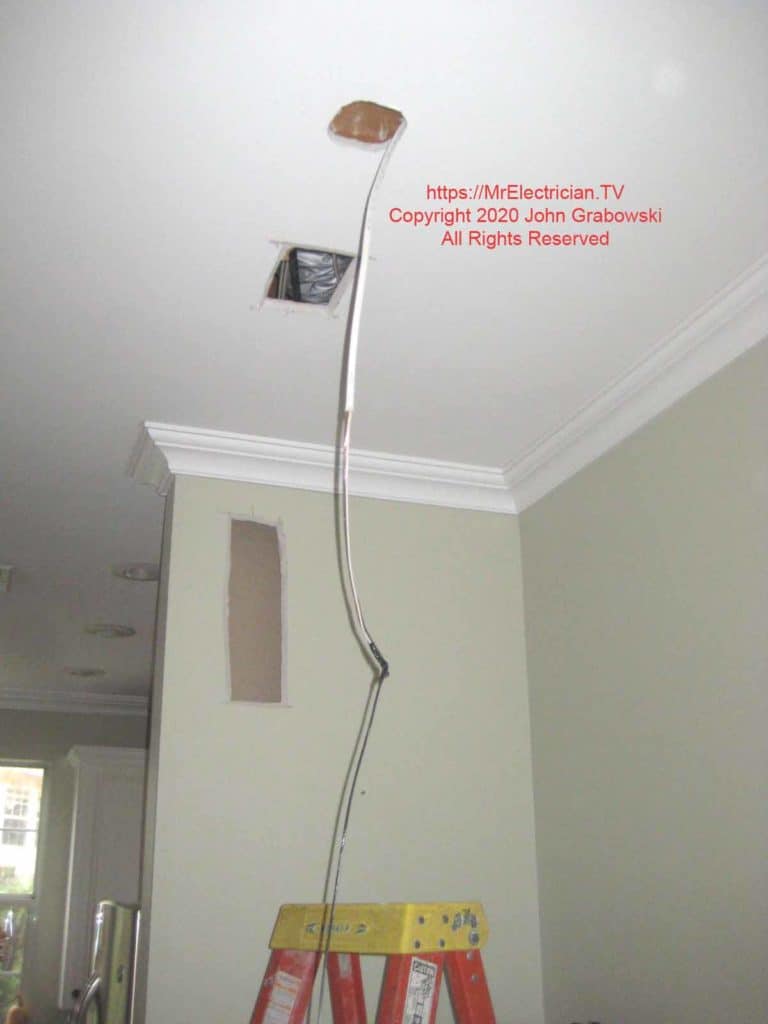
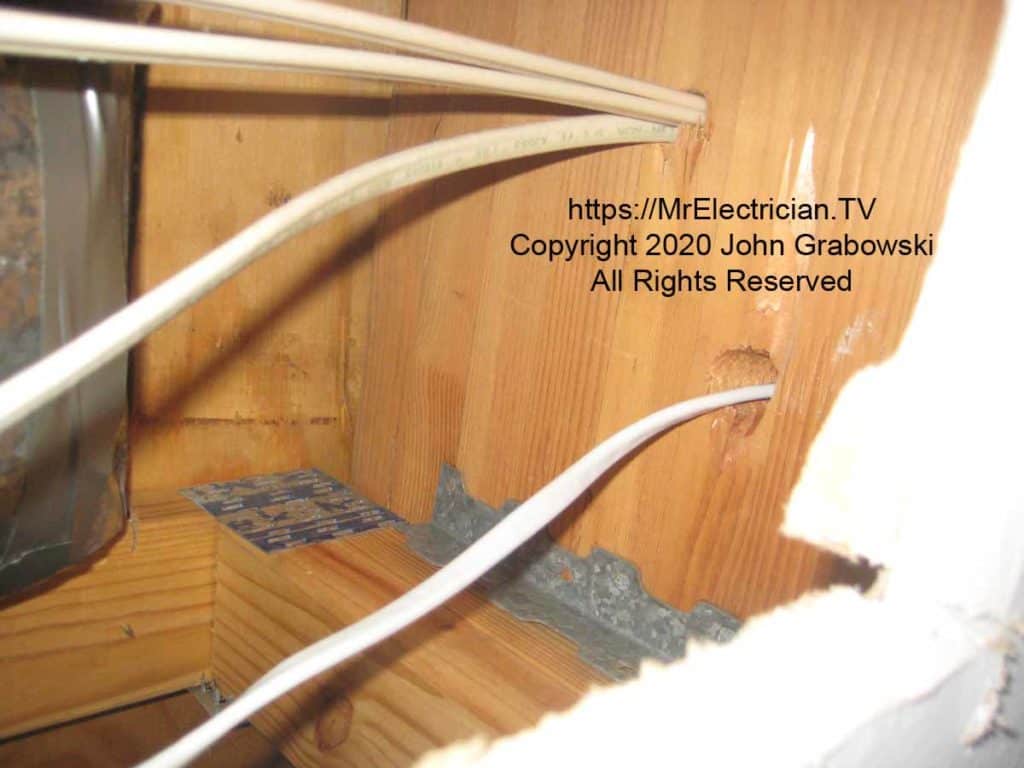
When I cut open the ceiling to fish the wire in the above photo, I was delighted to see that a hole in the laminated beam had already been drilled.
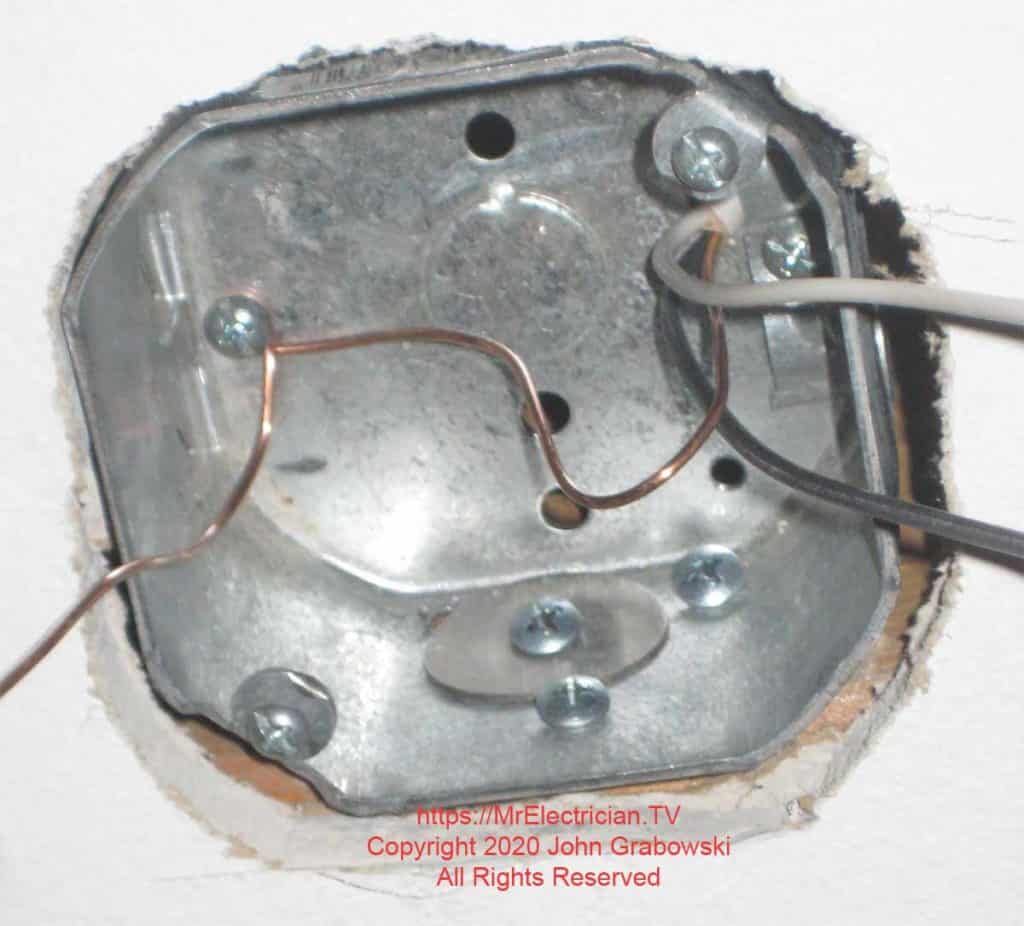
The fender washer allows a slight adjustment to position the box correctly. The other screws lock it in place. Note the copper ground wire attached with a 10/32 screw. I had planned to install an adjustable retrofit fan brace and box, but the joists were too close together to fit it in.
In most cases, I would have used a fan-rated ceiling box and installed a 14/3 cable for future fan use. However, this light fixture installation was in a small nook beside the dining room. It was not likely that a ceiling fan would ever be wanted there.
HANGING A NEW CEILING LIGHT FIXTURE
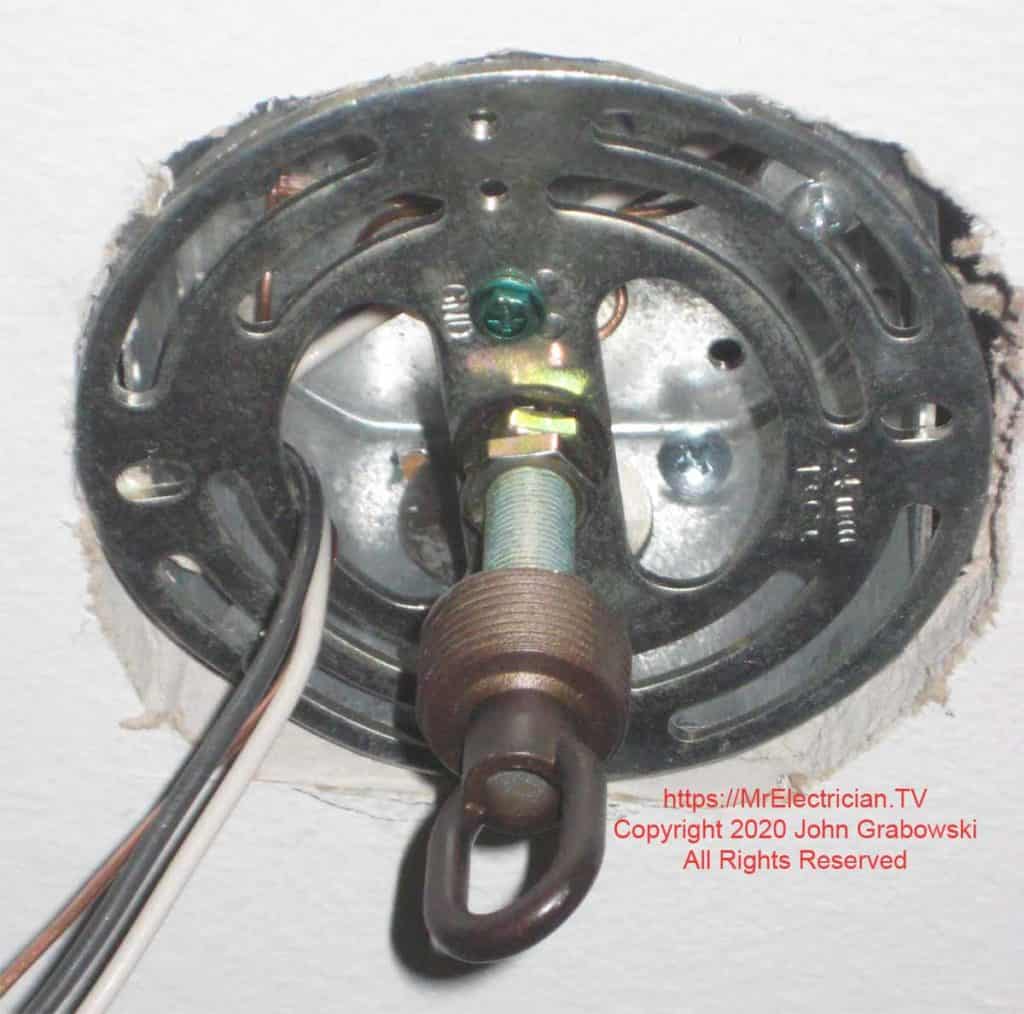
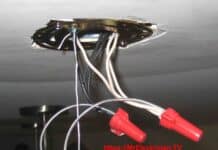
Everything metal must be grounded. Because I used a metal box and grounded it, the round fixture mounting bracket is grounded by being physically attached to the ceiling box. If the ceiling box were plastic, it would have been necessary to install a ground wire onto the green screw on the mounting bracket. The light fixture ground wire will connect to the ground wire in the ceiling electrical box.
My blog post about how to ground outlets and switches might be helpful to you.
