This is Page 2 of Generator Sub-Panel Installation. Click for Page 1
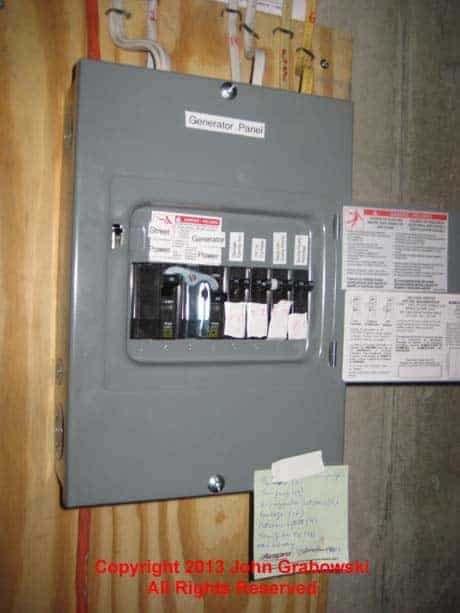
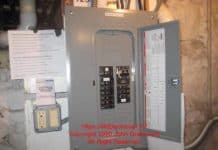
All circuits must be labeled to pass inspection. I use a Brother P-Touch label maker.
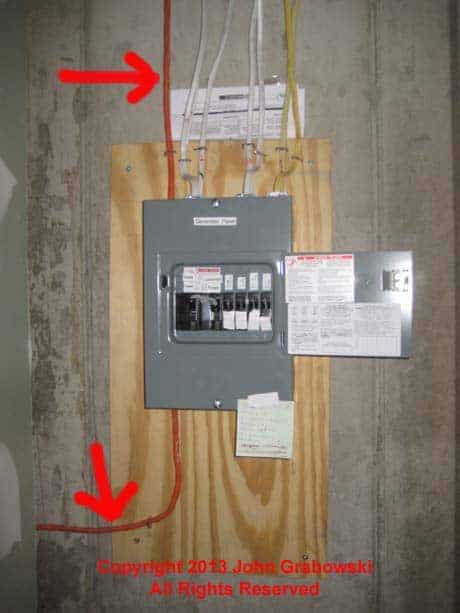
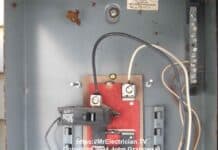
In the above photo, the upper arrow points to the 10/3 Romex cable from the generator inlet mounted outside, which will supply power to the generator sub-panel when needed. The lower arrow points to the 10/3 Romex cable from the main panel to feed the Square D generator sub-panel on utility company power.
Electrical cables must be fastened within 12″ of the box.
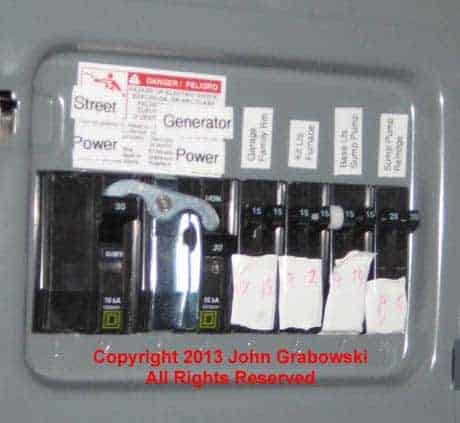
Note the twin circuit breakers above for the branch circuits. The generator panel is approved for twin circuit breakers. Notice that the Square D twin circuit breakers for the furnace and basement lights are connected with a handle tie. This is required by article 210.4(B) of the National Electrical Code because these circuits are multi-wire branch circuits. I forgot to remove my temporary white tape labels before taking this picture.
In this particular installation, the furnace and the basement lights were wired originally by the builder using a multi-wire installation method. This is where a 14/3 cable is used to carry two separate circuits on the red and black conductors, and the one white neutral conductor is used for the return current on both. The original installer probably did this to save labor on installing two separate cables, but it can be problematic for GFCI and AFCI-protected circuits.
The electrical code requires that a multi-wire circuit must be disconnected at the same time. Usually, a two-pole circuit breaker can do this. However, in the generator sub-panel depicted here, there was little room for a two-pole circuit breaker. Instead, a Square D #QOTHT handle tie was used with tandem (Twin) circuit breakers.
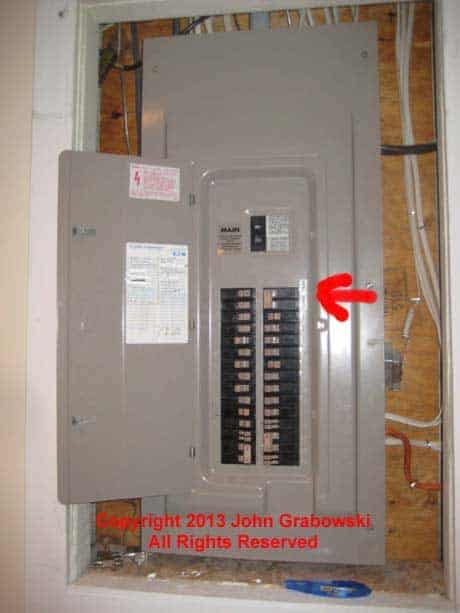
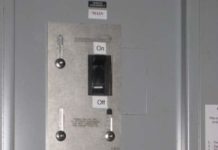
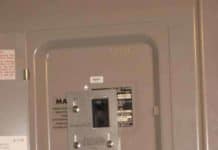
A two pole 30 amp circuit breaker was installed in the existing Cutler Hammer main electrical panel to provide power to the new generator sub-panel. The generator circuit breaker must be labeled to pass inspection.
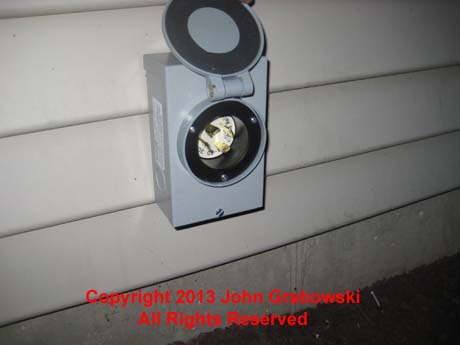
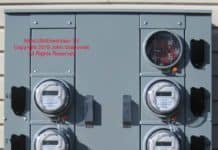
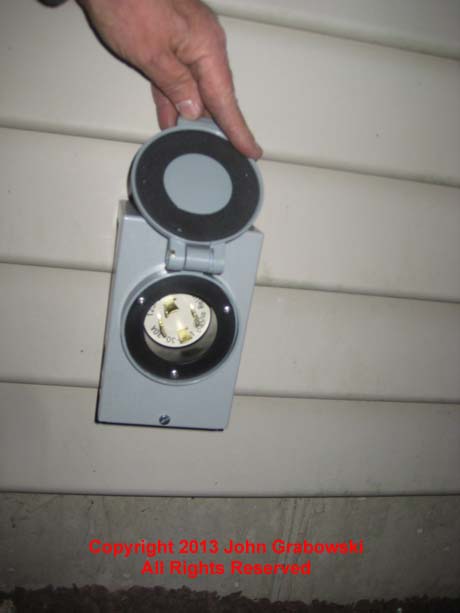
A Reliance PB30 generator inlet was installed to plug into using a four-wire L14-30 generator cord with a twist lock plug and receptacle. This inlet was installed outside near the electric meter. It was very close to the generator sub-panel mounted inside of the basement. I used 10/3 Romex cable to enter into the rear of the generator inlet.
My post about an interlock kit installation on an existing Cutler Hammer load center shows more details about a PB30 generator inlet installation.
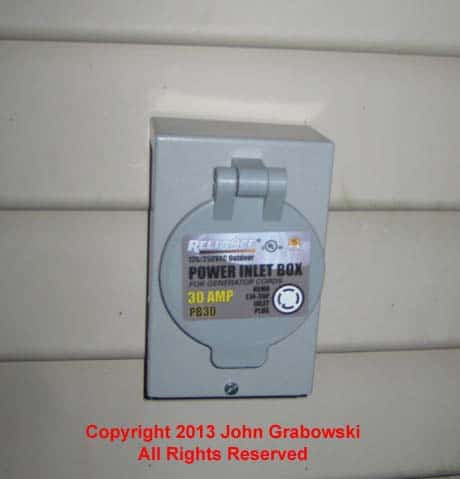
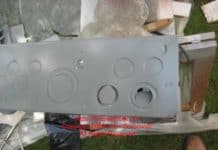
The generator inlet has a concentric knockout in the rear for a 1/2″ and 3/4″ cable or conduit connector. More details about a generator inlet installation are in my blog post here.
Click for my article about a different generator sub-panel installation where I wired a new electrical panel to be used as a generator panel.
To help keep this website FREE, please use this Amazon link for your purchases. As an Amazon Associate, I earn from qualifying purchases.
Click for a FREE copy of my book “Almost Everything You Need To Know To Repair a Bathroom Exhaust Fan In Your Home.”
Get your required “Emergency Disconnect, Service Disconnect” labels and stickers to satisfy the 2023 National Electrical Code requirements in article 230.85(E)(1) by going to my Redbubble Shop here.
Visit my Link Tree for social media, free electrical information, and unique products.
