Dear Mr. Electrician: How do I fix a broken outlet box screw hole?
Answer: To fix a broken outlet box screw hole, I usually replace the electrical box with an old work plastic electrical box. However, other options have come out that change the fixing method in some cases.
NOTE: Some links below go to applicable products on Amazon and eBay. As an Amazon Associate, I earn from qualifying purchases. Using my links helps to keep this website FREE.
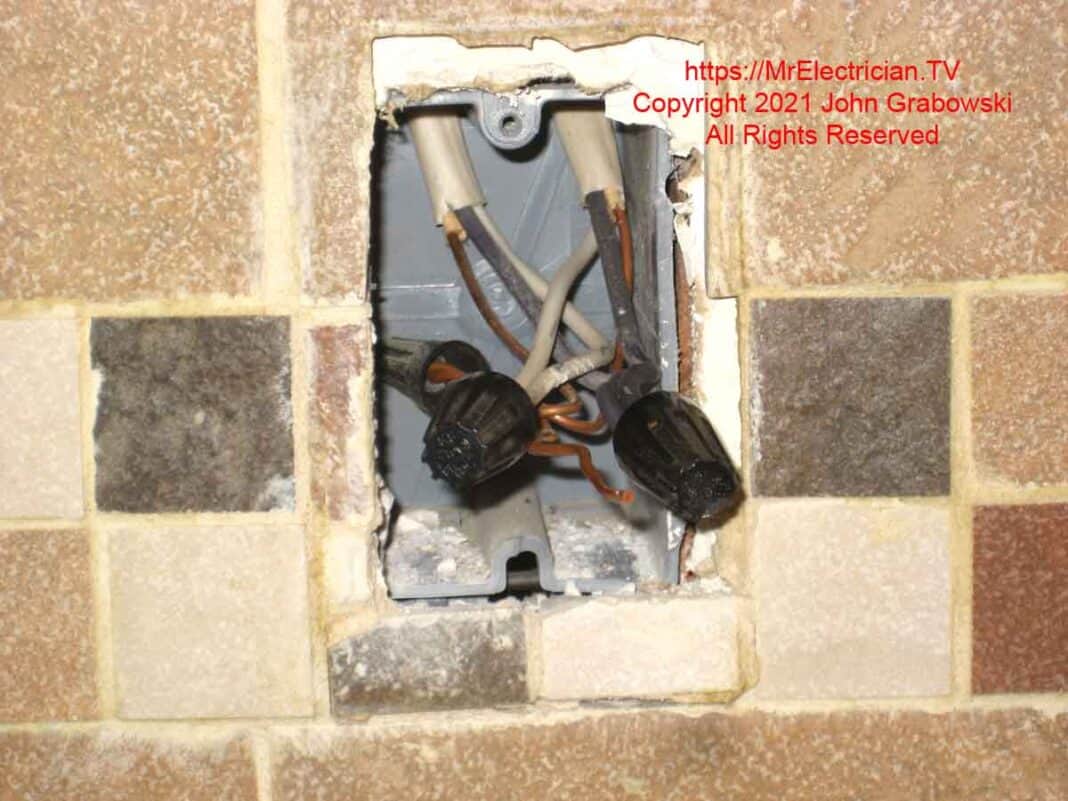
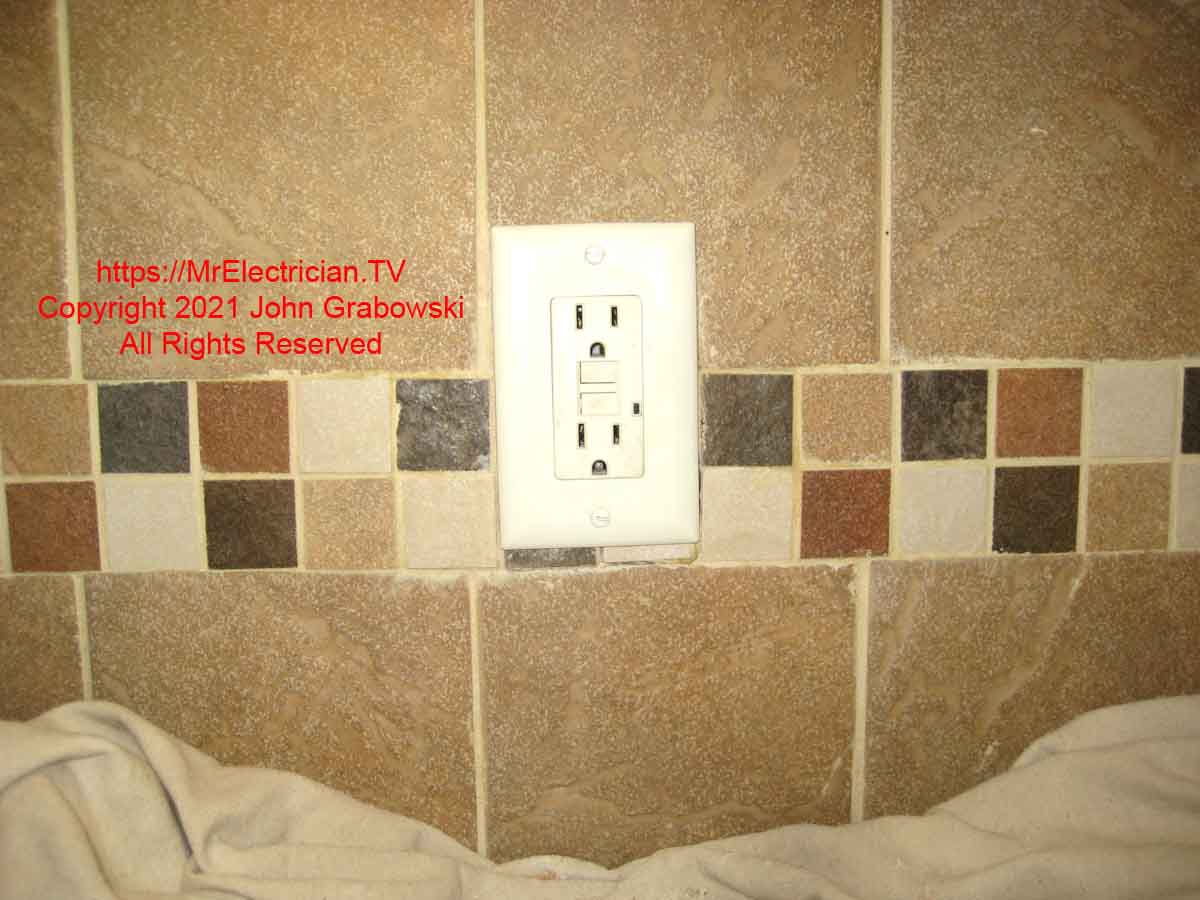
Below are photos and details of how I replaced an outlet box with a broken screw hole in a kitchen backsplash with ceramic tile.
BROKEN OUTLET BOX SCREW HOLE REPAIR
There is a product available that would have made the replacement of the existing electrical box unnecessary. I haven’t used it yet, but it is an easy fix to a broken screw hole. Look at the G-Clip for a simple plastic outlet box screw hole repair.
There are a few options for repairing a broken screw hole in a plastic electrical box. My standard choice was to replace the electrical box. The G-Clip gives me the option to repair it if possible. Sometimes the electrical box is broken more than just the screw hole, so it would need replacing.
REPLACE THE BROKEN OUTLET ELECTRICAL BOX
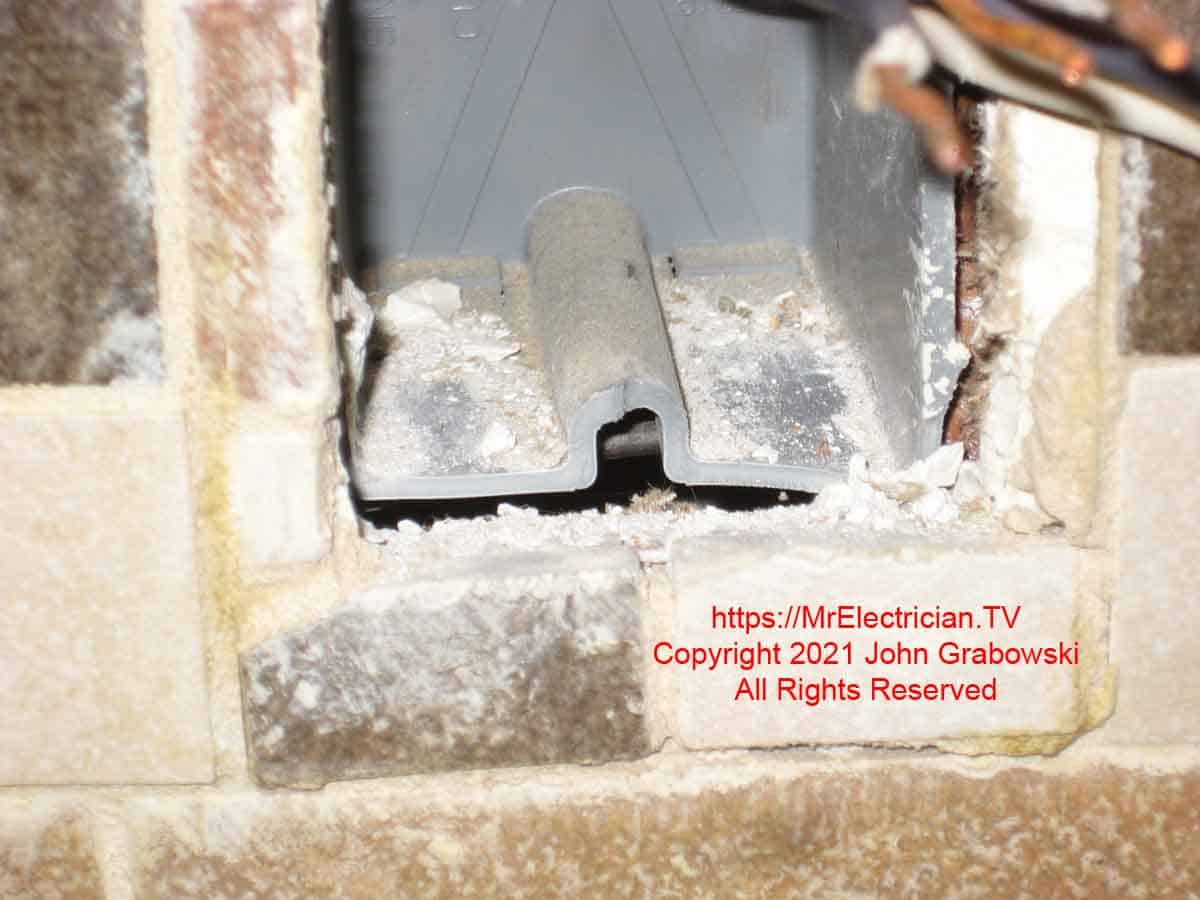
The bottom screw hole on the above outlet box is broken off. Because of how these plastic boxes are constructed, there isn’t any material left behind to screw into.
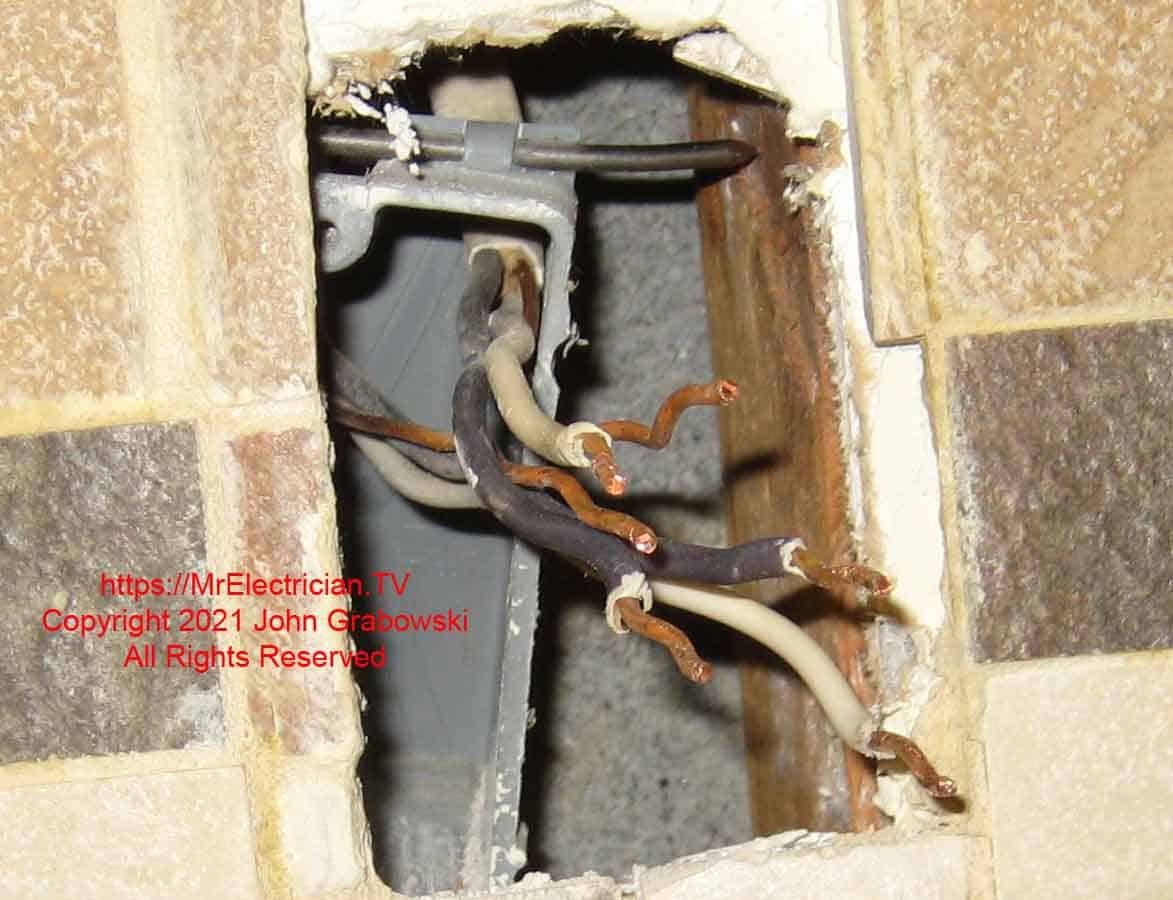
I use a large old flathead screwdriver to pry outlet boxes away from the wall stud. They tend to pop out easily.
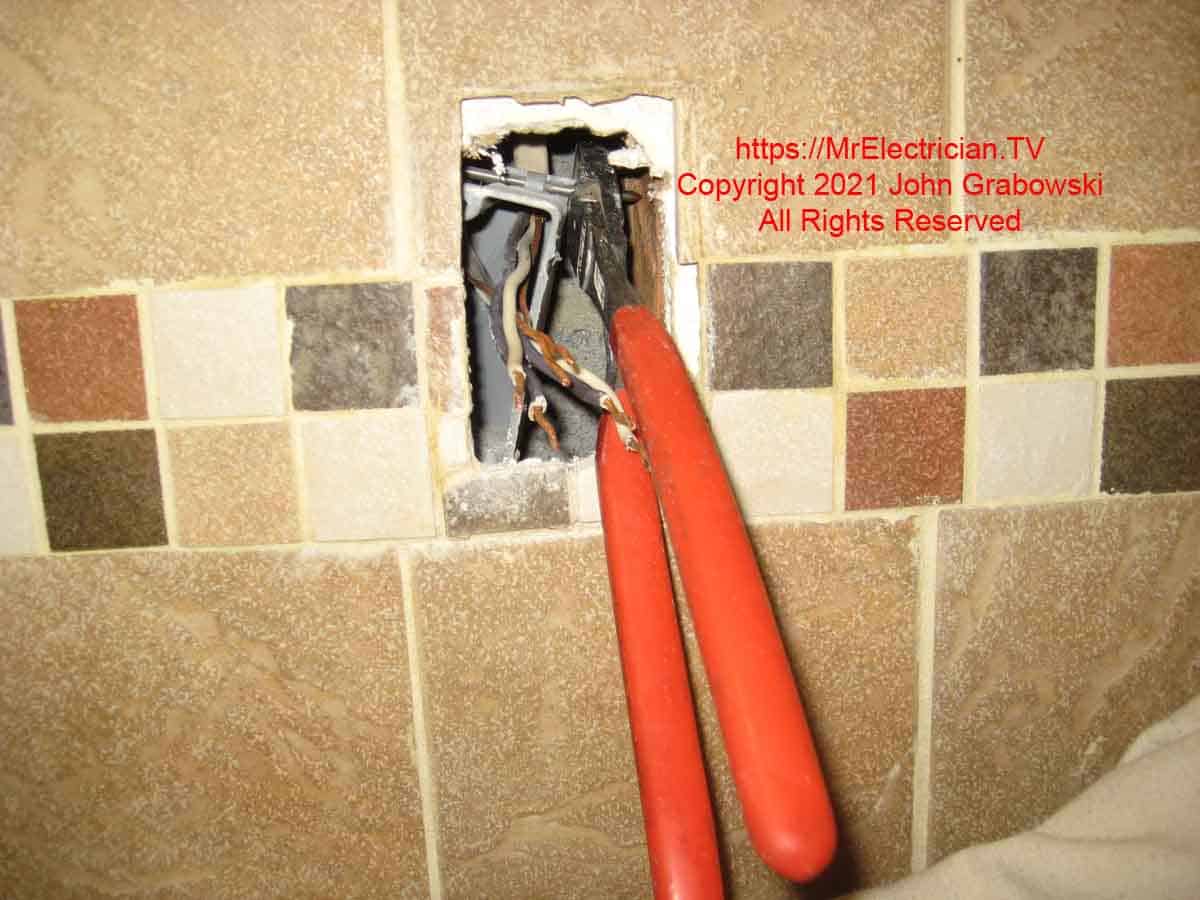
I use my Knipex High Leverage Diagonal Pliers to cut the screws on the outlet box in the wall.
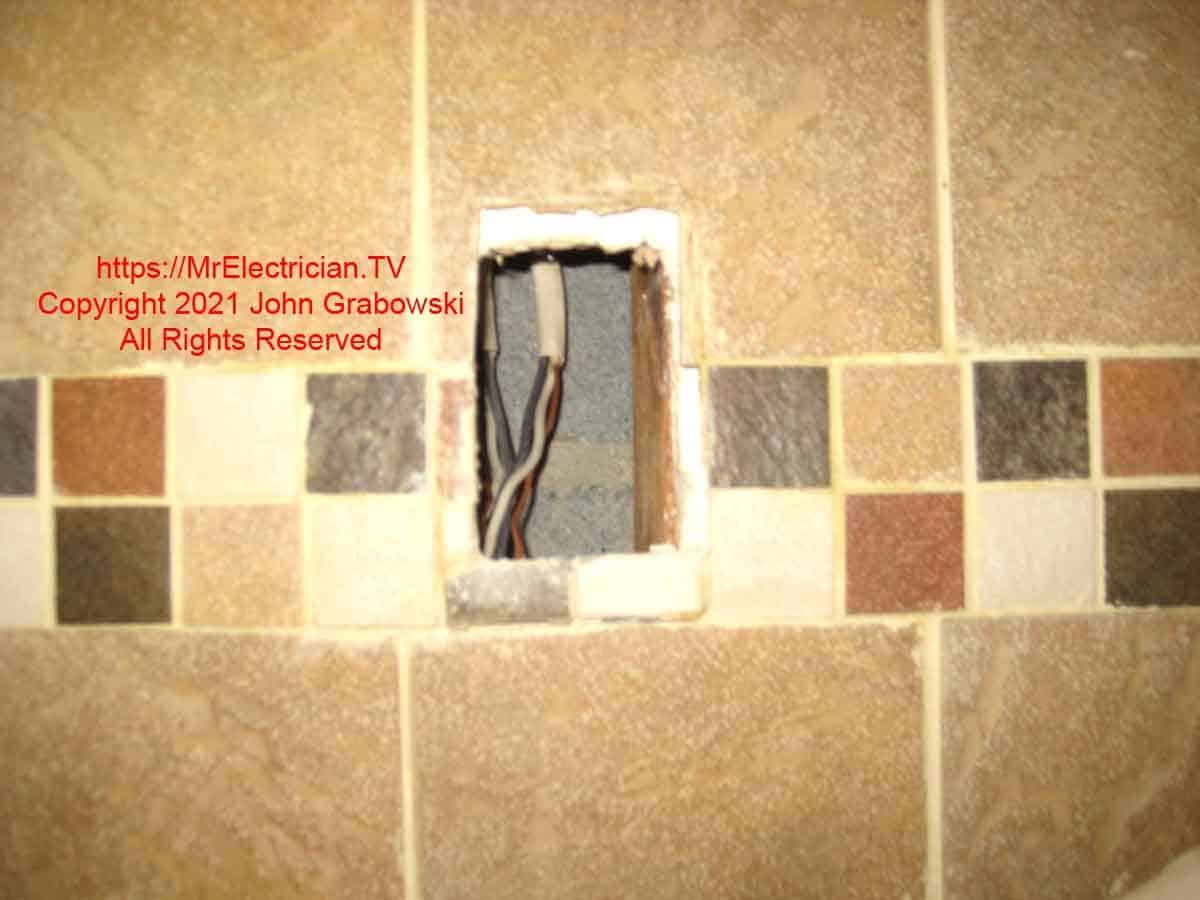
The existing opening in the wall was a little too small to remove the old broken outlet box, so I just let it drop inside the wall.
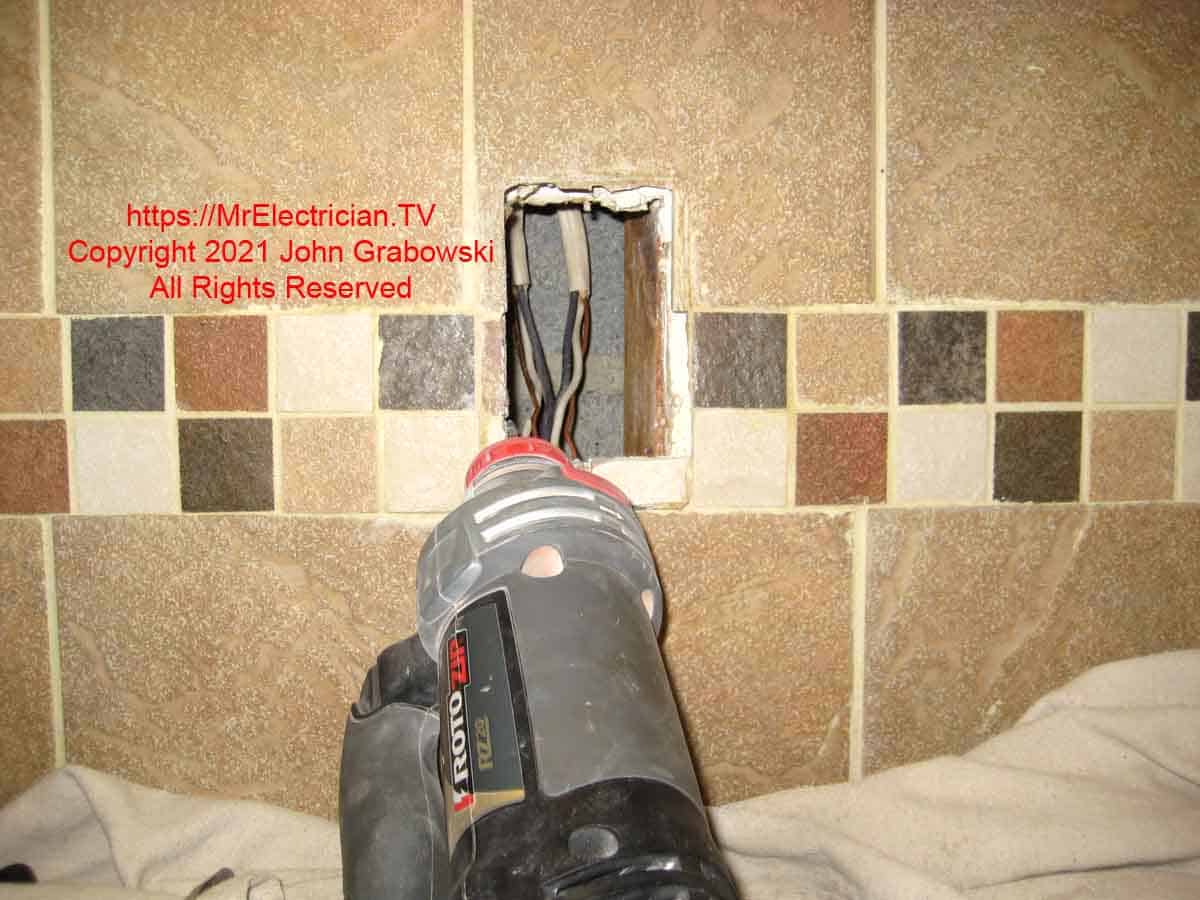
I used my RotoZip rotary power tool with a tile-cutting bit to enlarge the outlet box, opening enough for me to get the new outlet box in the wall. It was made more difficult because the wood stud in the wall was a little twisted.
I had to make the opening in the tile larger than I usually would have to squeeze the new outlet box into the wall. Fortunately, I have a collection of tile-cutting bits for jobs like this. My RotoZip also has a small circular saw attachment with the appropriate blade for cutting wood, metal, or tile.
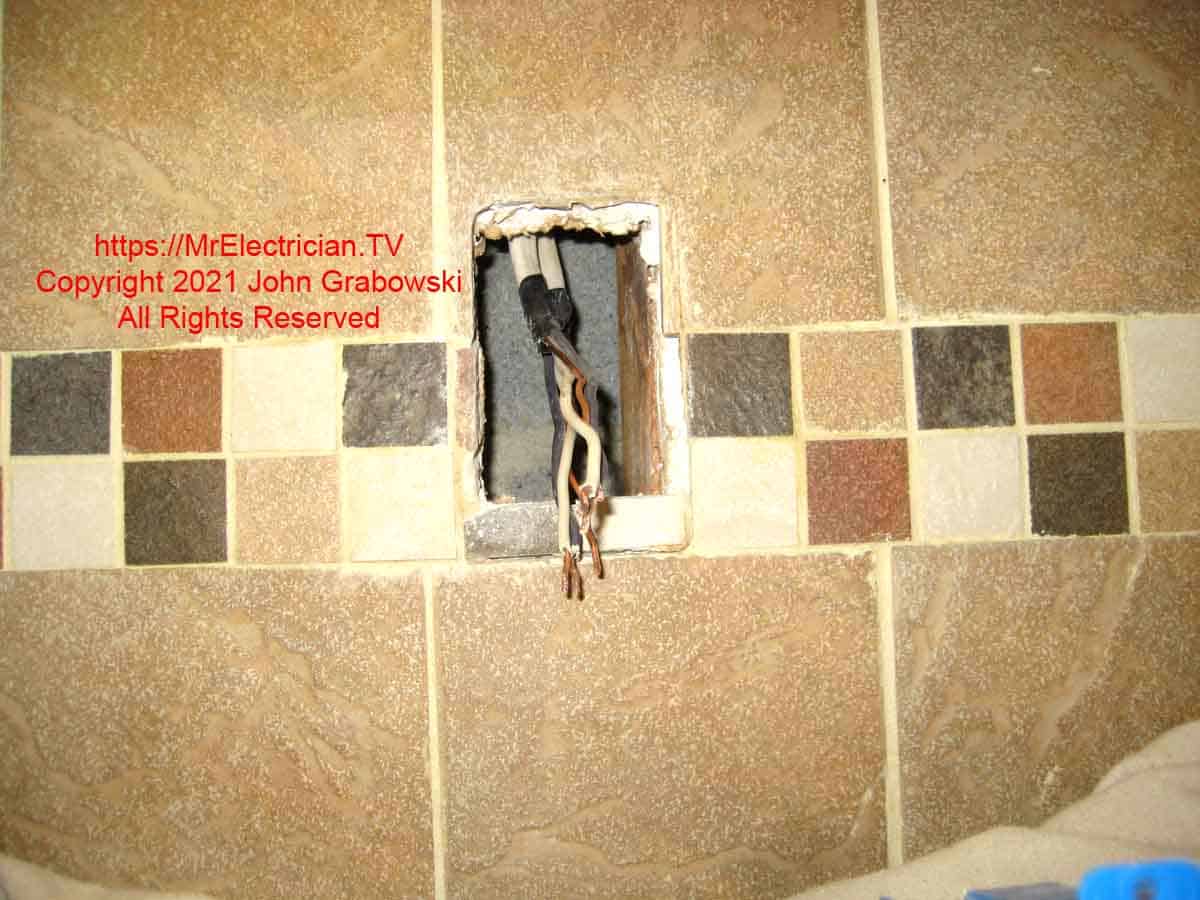
I put some electrical tape around the cable’s outer jacket in the wall because the wire clamps in the box would push against the wires.
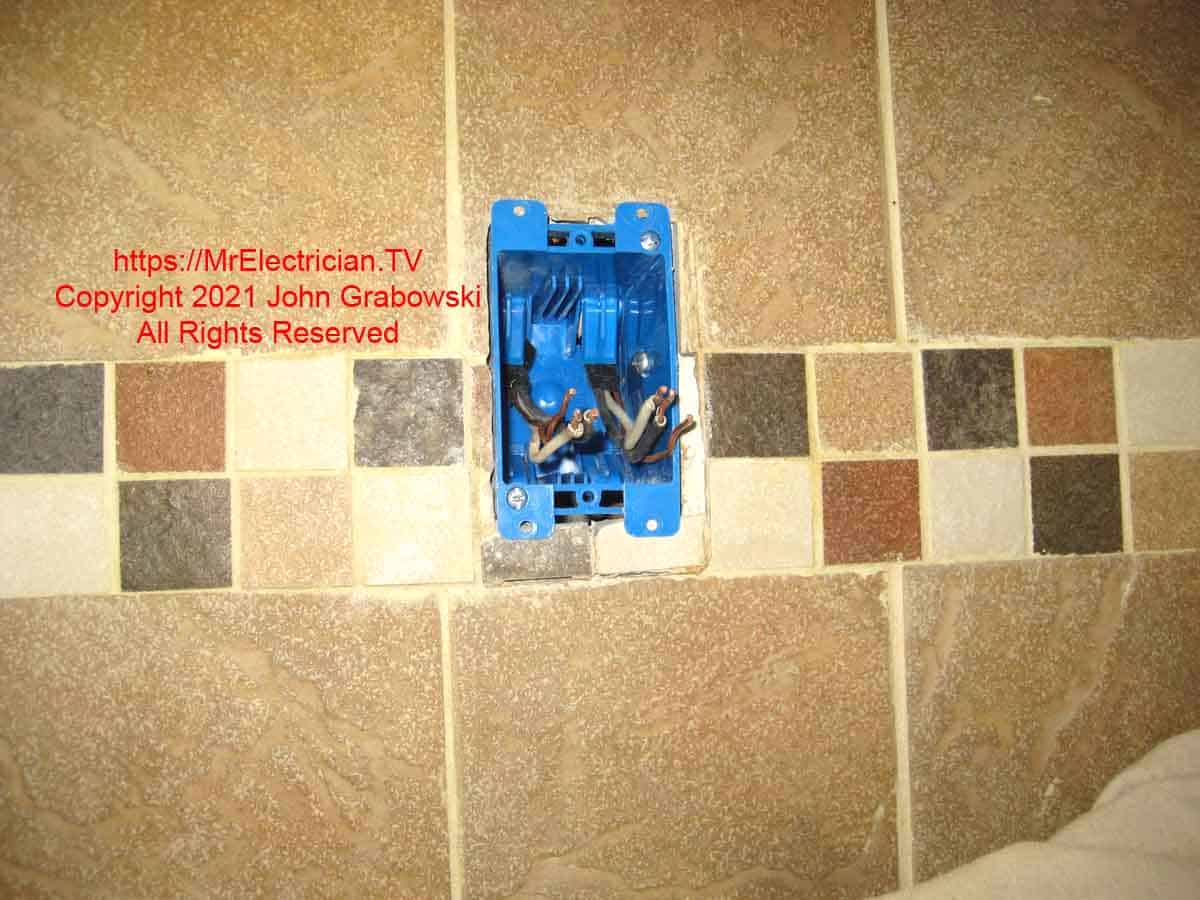
Above is the newly installed old work plastic outlet box that replaced a broken screw hole outlet box. The new old work outlet box is installed with the existing wiring, which is a little short.
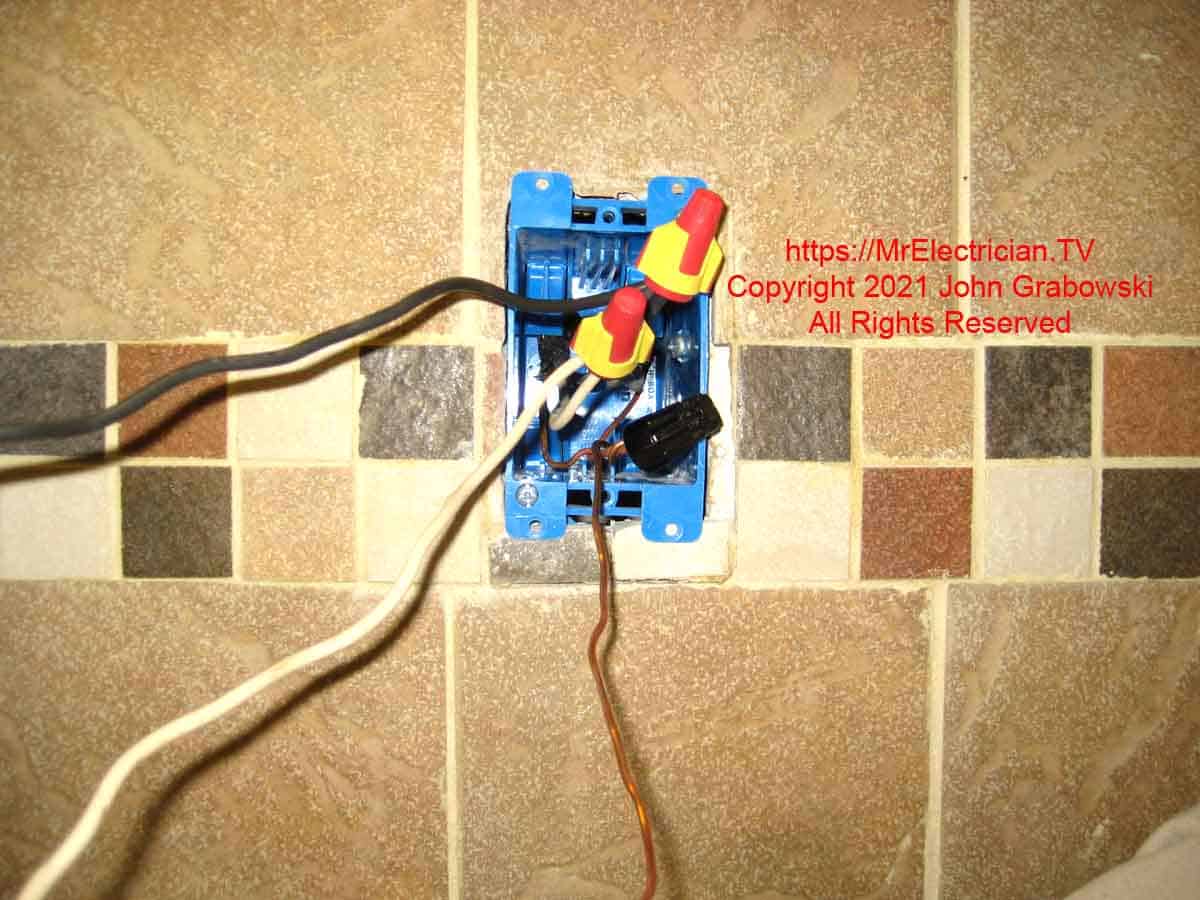
I twisted the wires together with my linesman pliers and twisted pigtails on the ends. A screwed-on wire connector finishes it.
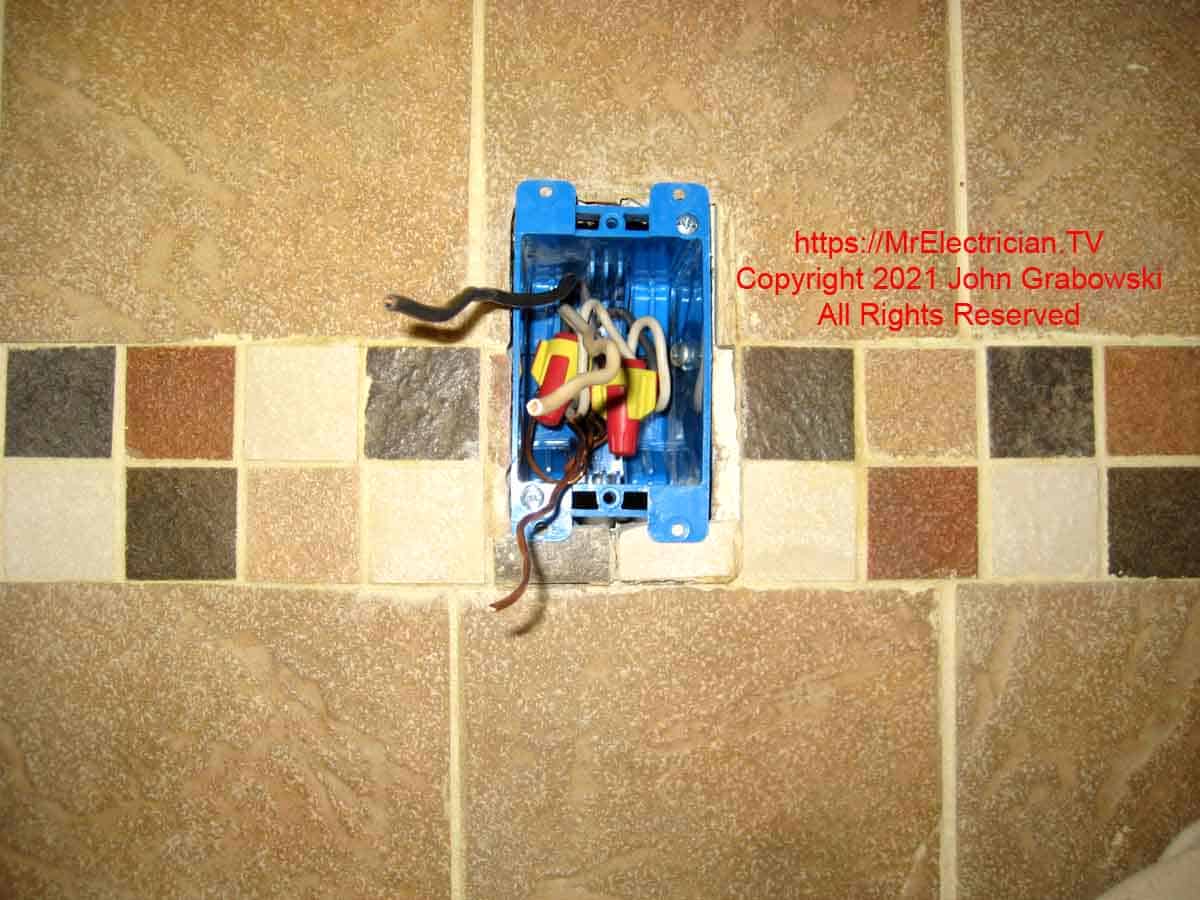
I folded the wires into the back of the old work outlet box and trimmed the pigtails for the new GFCI receptacle to be installed. Most electrical receptacles in a home must now be tamper-resistant.

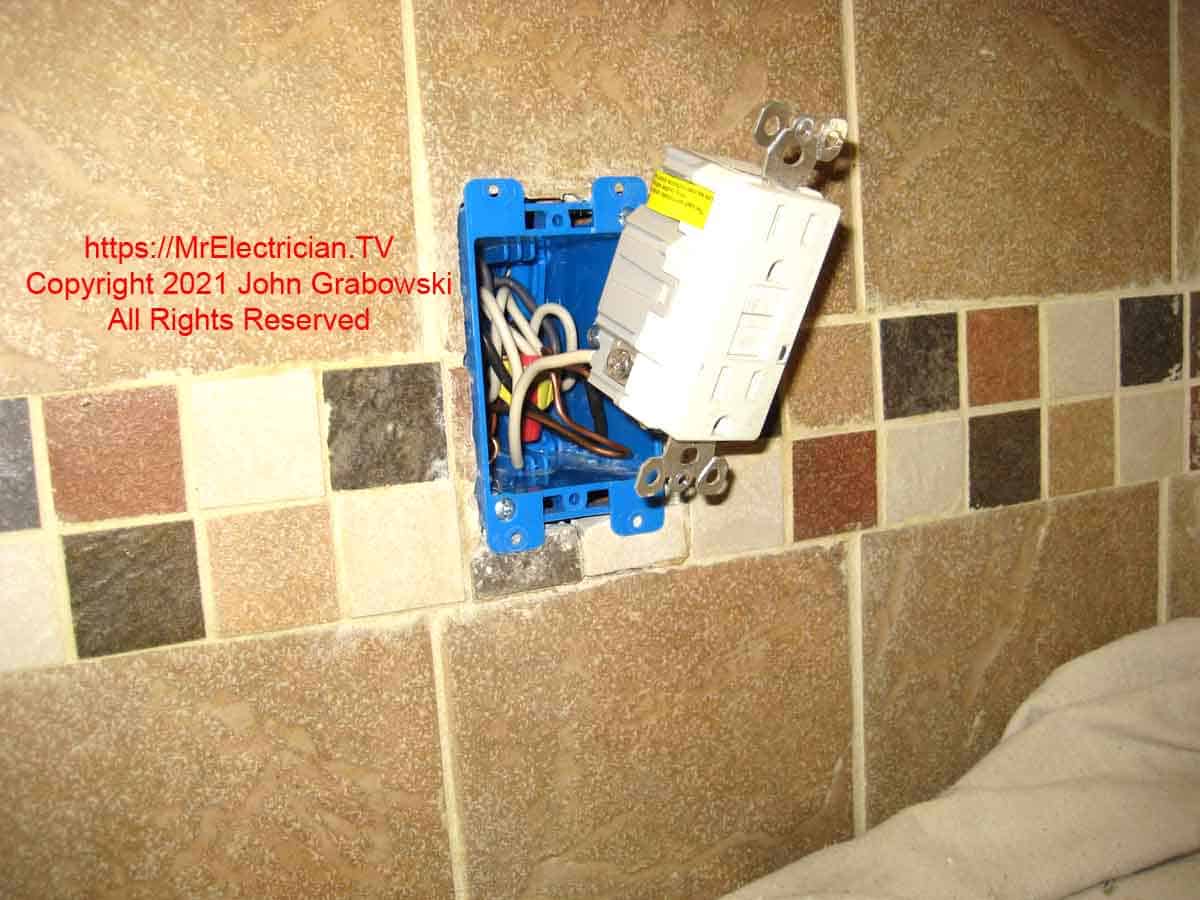
A new GFCI electrical receptacle is attached to the pigtails.
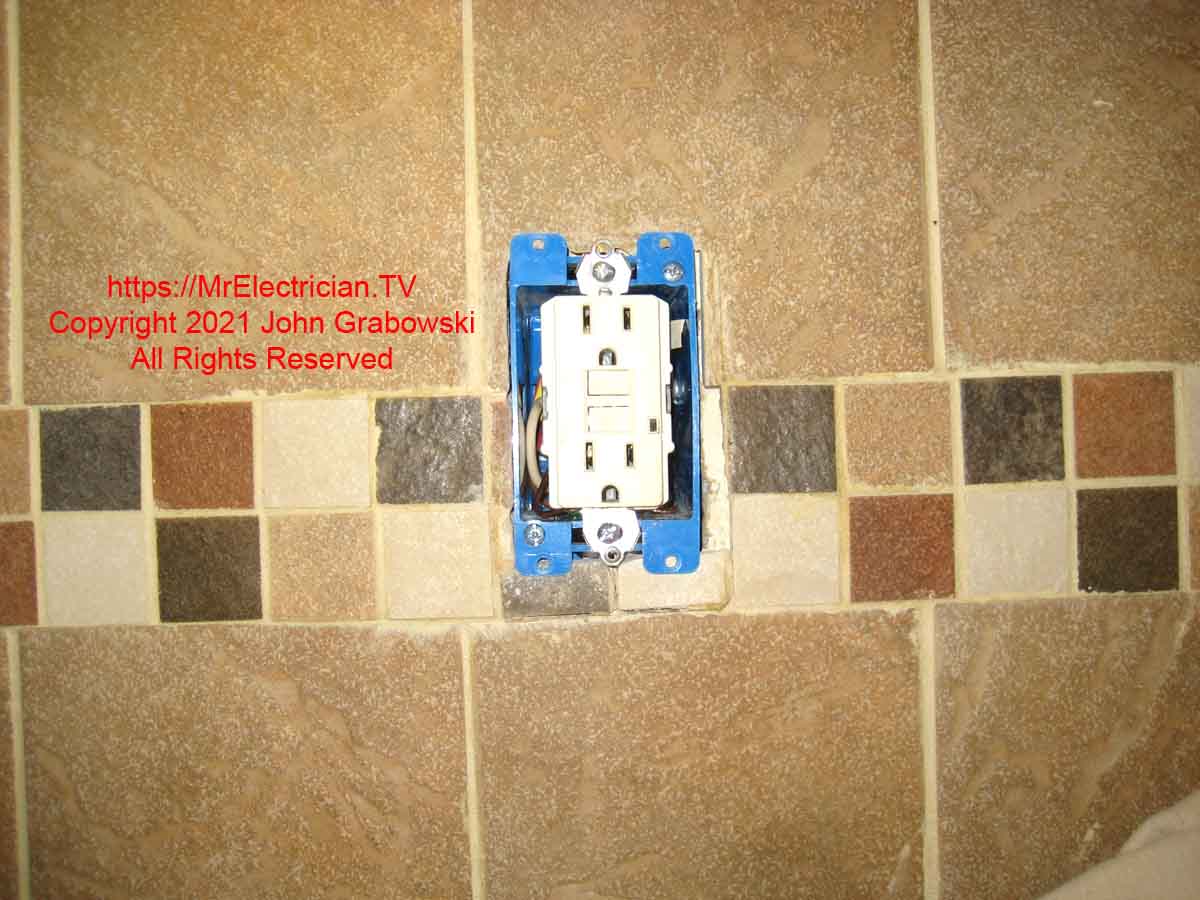
The ears on the GFCI electrical receptacle have been cut off so that the receptacle fits nicely into the notch on the old work outlet box.
My article about repairing a broken electrical box may be helpful to you.
Click here to see more articles of mine about switch and outlet boxes.
My blog post about grounding outlets and switches may interest you.
To help keep this website FREE, please use this Amazon link for your purchases. As an Amazon Associate, I earn from qualifying purchases.
Click for a FREE copy of my book “Almost Everything You Need To Know To Repair a Bathroom Exhaust Fan In Your Home.”
Get your required “Emergency Disconnect, Service Disconnect” labels and stickers to satisfy the 2023 National Electrical Code requirements in article 230.85(E)(1) and (2) by going to my Redbubble Shop here.
Visit my Link Tree home page for my social media connections and other links.
