Dear Mr. Electrician: How does one install a microwave oven over stove? I want to remove the hood over my stove and install an over-the-stove microwave oven.
Answer: If you already have a hood with a fan and light mounted on the cabinet’s underside, you may be able to use that circuit to power your new microwave oven over the stove. You should determine first what circuit is powering the hood.
Table of Contents:
- Is A Microwave Oven Installation Possible?
- Removing The Existing Hood
- Installing An Electrical Outlet
- How to Mount The Microwave
- Another Microwave Oven Installation
NOTE: Some text links below go to applicable products on Amazon. As an Amazon Associate, I earn from qualifying purchases. Using my links helps to keep this website FREE.
DETERMINING IF A MICROWAVE OVEN OVER STOVE IS POSSIBLE
Turn the hood fan and light on, then flip off each circuit breaker to see which powers the hood.
With the hood circuit breaker off, note what else is off in the kitchen and the rest of the home. If you see that the kitchen lights or outlets in other rooms are off, you should not use that circuit to power the microwave.
If only some of the electrical receptacle outlets on the kitchen countertop are off and it is a 20 amp circuit, then you can probably use that circuit for the needed outlet in the cabinet above the stove. Be advised that not every home is wired the same, and what works in one home does not make it okay in another.
Several makes and models of microwave ovens mount under the cabinet that is located above a stove. The instructions for mounting the microwave are standard and explained in the manual with a new microwave oven.
You should read the installation instructions before purchasing an over-the-range microwave oven, but basically, you mount the wall bracket and drill some holes in the cabinet above. The instructions will tell you the minimum distance from the microwave oven’s bottom to the stove’s top.
If the kitchen cabinet above the stove is too low, you cannot install a microwave oven over your stove.
Below are two examples of microwave oven installations I did a few years ago. A chart of adjustable electrical boxes is at the bottom of this post.
The tricky part is getting power to the microwave oven. This is accomplished by installing an electrical receptacle inside the cabinet above the stove, which should be done before mounting the microwave oven on the cabinet.
One tool that I have found to be very helpful for installing an outlet for a microwave oven over the stove is the Oscillating Multifunction Tool. It seems to be the perfect tool for cutting clean, precise holes in woodwork. This is a tool that I always kept on my truck because it came in handy often.
REMOVE THE OLD HOOD FROM OVER THE STOVE
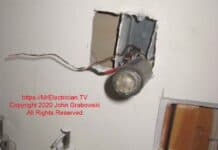
Make sure that the circuit breaker for the hood is off. Remove the small cover underneath the hood that contains the electrical connections. Using a non-contact voltage tester, check to ensure the power is off. Disconnect the wires sticking out of the wall from the wires on the hood. Do not cut the wires.
Tape the bare ends of the wires coming out of the wall with electrical tape. Take note of the type of connector used to clamp the cable coming into the back of the hood. If it has a locknut, remove it by unscrewing it counterclockwise. If the cable connector is blue plastic, you can cut it using diagonal pliers. Be careful not to cut the cable or wires in the cable.
Once the cable in the wall is free from the hood, you can remove the hood. There are screws in the back, on the sides, and sometimes on the top under the hood that all must be removed to get the hood down.
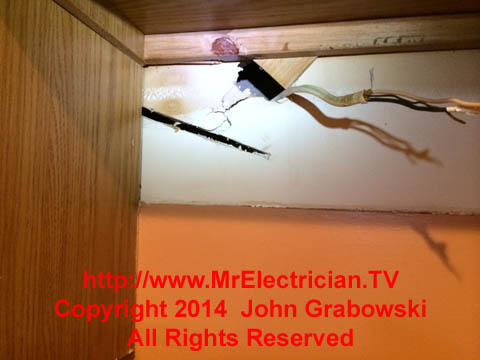
Be careful when removing the old hood. That same wire that is feeding the hood will be used to power an electrical receptacle outlet for the new microwave oven. Do not cut the wire. The new microwave must be a minimum height distance from the top of the stove. Before purchasing the microwave oven, look up the installation manual online at the manufacturer’s website to get the installation details.
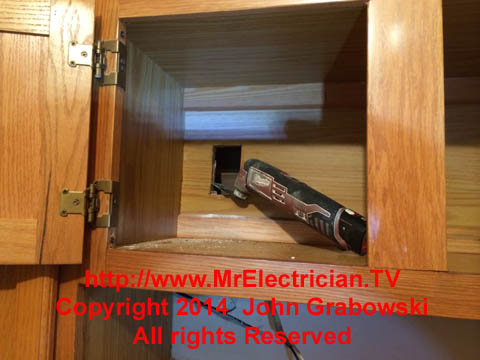
ELECTRICAL OUTLET FOR MICROWAVE OVEN OVER STOVE
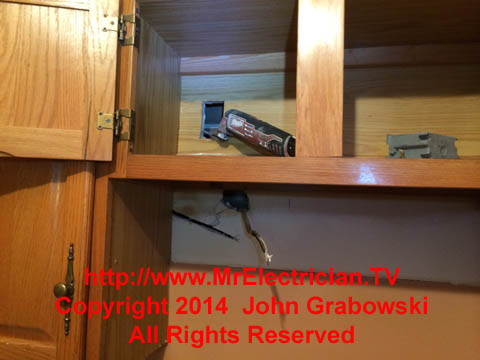
An electrical receptacle outlet must be installed in the cabinet above the stove to power the new microwave oven. The power cord from the microwave oven will come through a hole that you make for it in the bottom of the cabinet and plug into that outlet.
Using the old hood electrical feed to power the new microwave oven may not always be possible. The existing wiring might not be a 20 amp appliance circuit. The wire may be too short to relocate where it is needed. In some cases, a new 15 or 20-amp, 120-volt circuit would need to be installed if specified by the manufacturer. You should read Article 210.52 in the National Electrical Code for more guidance.
Some microwave oven manufacturers require a dedicated circuit for their microwave. Read the installation instructions before purchasing an over-the-range microwave oven. They can be found on the manufacturer’s website.
The easiest way to install an electrical outlet using the existing cable from the hood is to bring the cable up inside the wall and through a homemade hole in the back of the cabinet above the stove. Then you can bring the cable into the back knockout of a 4″ square electrical box and just mount it on the surface of the back of the cabinet. You may have to remove a cable staple or two in the wall to get the length of wire needed.
A larger hole may have to be cut in the wall to free the cable to get enough length to move it further up. Cut the drywall with a compass saw held at a 45-degree angle inward to make it easier to patch. You can see this example in another one of my posts here.
I usually mount the electrical receptacle outlet recessed in the wall to give it a neater appearance. You must cut a hole in the back of the cabinet for this. My post on installing an outlet box in an existing wall may be helpful to you.
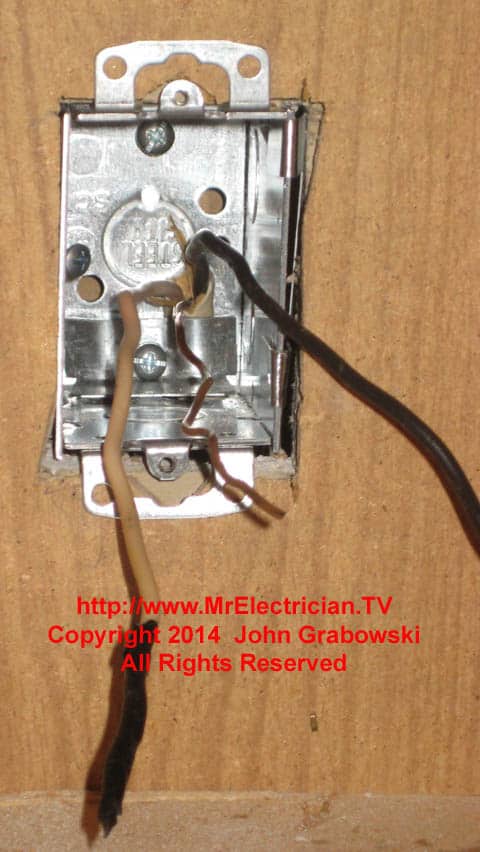
In the photo above, a wall stud is against the left side of the box, making it ideal to attach the box. The metal box must be grounded by attaching a copper pigtail wire using a 10/32 machine screw. The pigtail gets spliced with the grounding conductor in the feed cable and an additional pigtail to connect to the outlet.
See my article about grounding outlets and switches for more grounding information.
MOUNTING THE MICROWAVE OVEN OVER STOVE
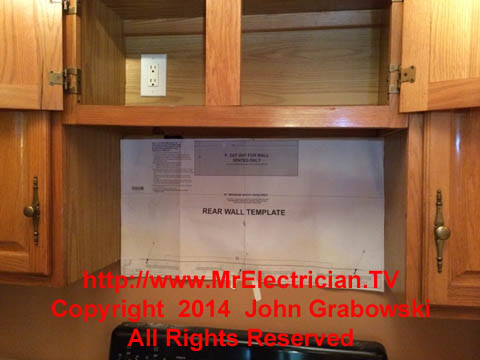
Every over-the-stove microwave oven has a mounting bracket that gets attached to the wall. Some holes need to be drilled in the bottom of the cabinet for the power cord and for screws to hold the microwave oven up.
The mounting bracket and the screw hole pattern differ in each microwave oven. Therefore it is essential to follow the instructions supplied with the microwave oven. Templates for holes are usually supplied with each microwave oven for over-the-stove use.

The wall bracket must be screwed into at least one solid wood stud in the wall as it carries most of the weight of the microwave oven. Having the bracket line up with the center line of the microwave oven is vital.
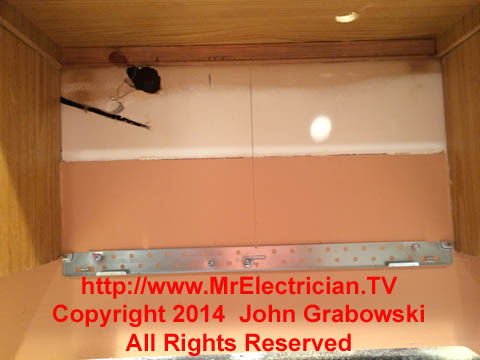
The big hole above was made using a slow-speed drill (400 RPMs) with an inch-and-a-half hole saw so that the microwave oven electrical cord could pass through to the new outlet above. Holes were also drilled in the bottom of the cabinet for two support screws that will keep the microwave oven level.
I have installed microwave ovens over the stove by myself, but it was always a challenge. I would put my 4′ ladder under the cabinet and put a folded furniture pad on top of the ladder. Then I would muscle the microwave oven onto the top of the ladder with the furniture pad under the oven.
From there, I would lift the oven onto the wall bracket and then try and catch one of the top screws that come through the cabinet. It is much easier to install the microwave oven with two people.
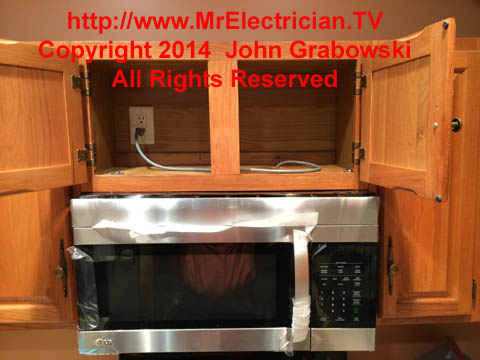
If an air duct was connected to the above microwave oven, the work would be a little more complex and require the skills and tools of another trade. Read the manufacturer’s installation instructions before commencing with this work. There are height restrictions concerning the distance from the top of the stove.
I recommend that you read any appliance’s installation instructions before buying it. Many manufacturers have the instructions downloadable online.
ANOTHER EXAMPLE OF A MICROWAVE OVEN OVER STOVE OUTLET INSTALLATION
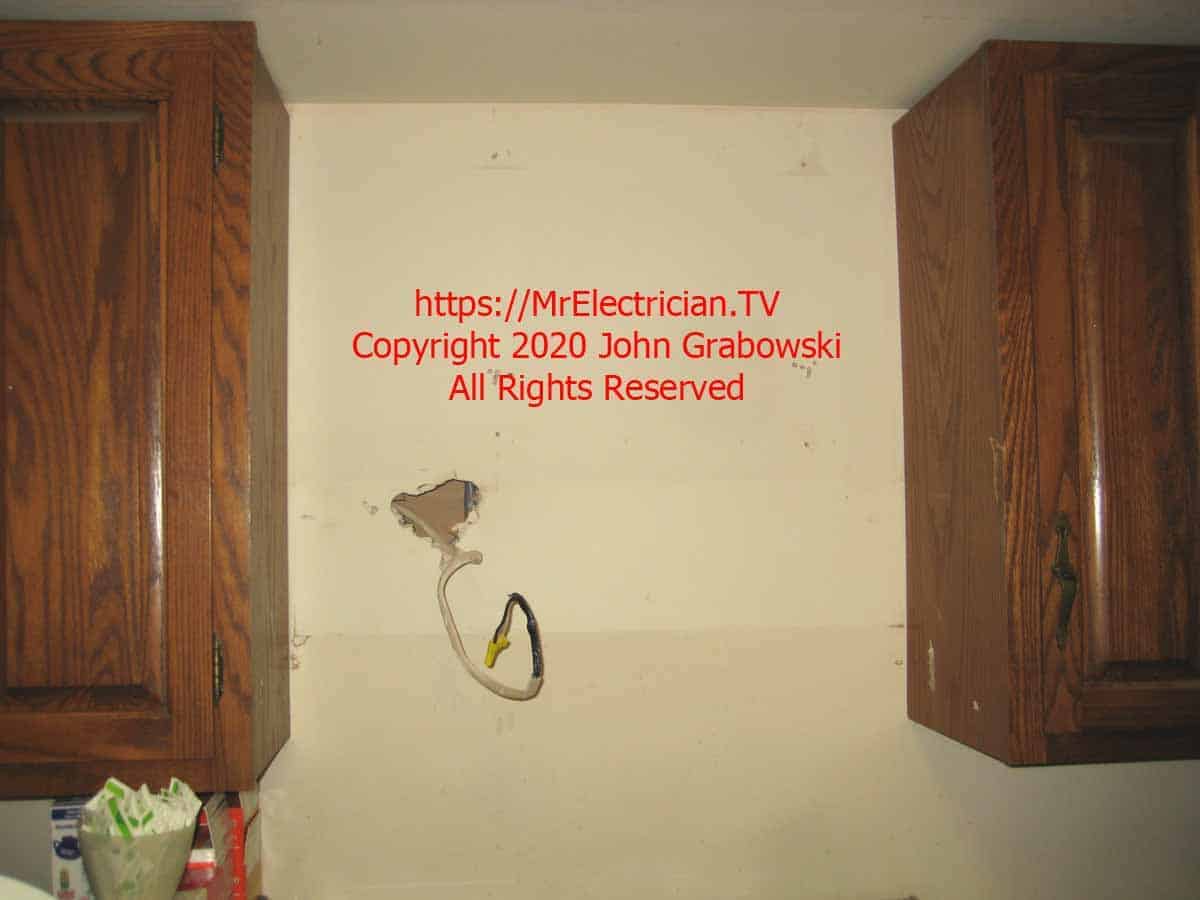
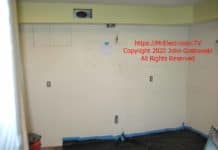
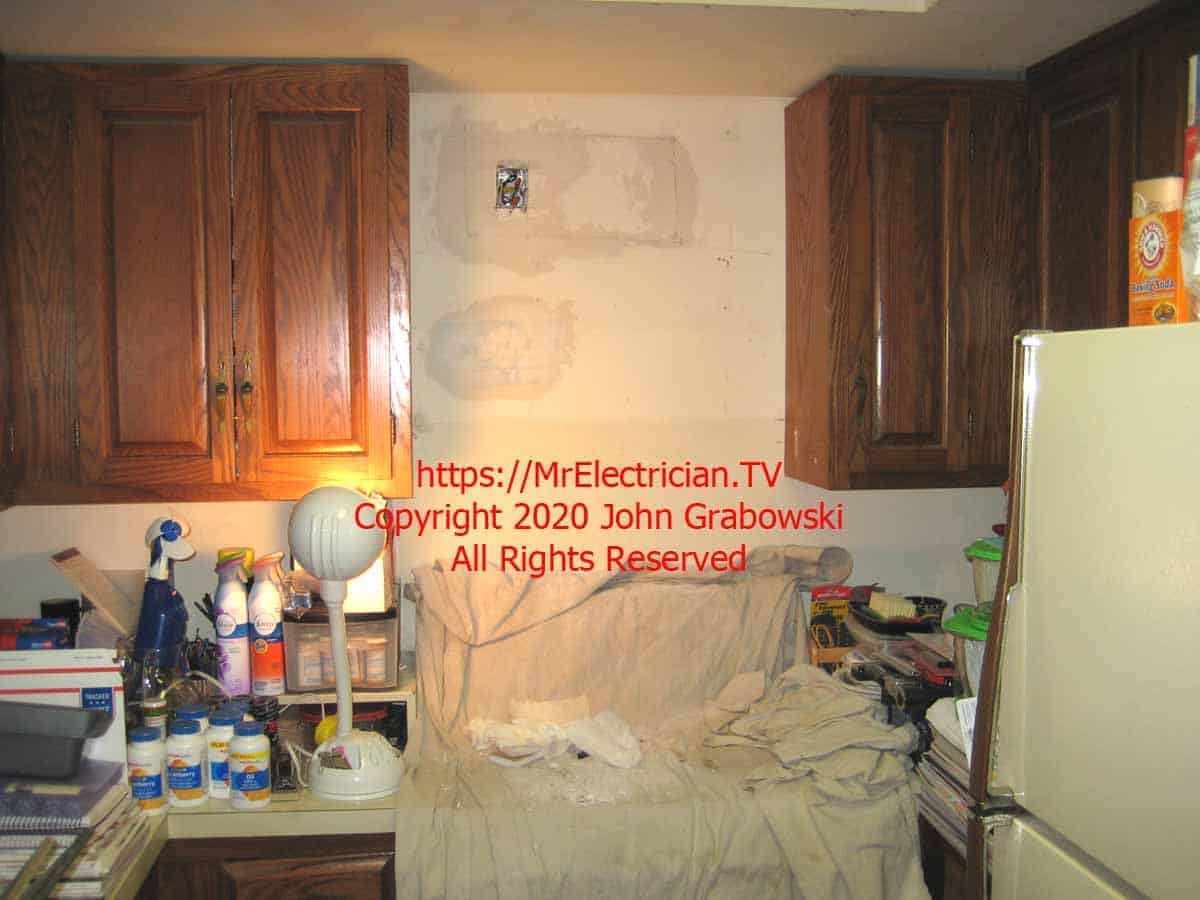
On the job that the above photo was taken, the client wanted a microwave oven installed over her stove. However, the existing kitchen cabinet with the attached hood over the stove was too low. The microwave oven would have been much lower over the stove than the manufacturer’s specifications would permit.
Fortunately, the homeowner had a friend who was a cabinet maker. I removed the old kitchen hood, and then he came and removed the cabinet and took it to his wood shop to cut it down to size. It was a multi-step and multi-trade job installing this particular microwave oven.
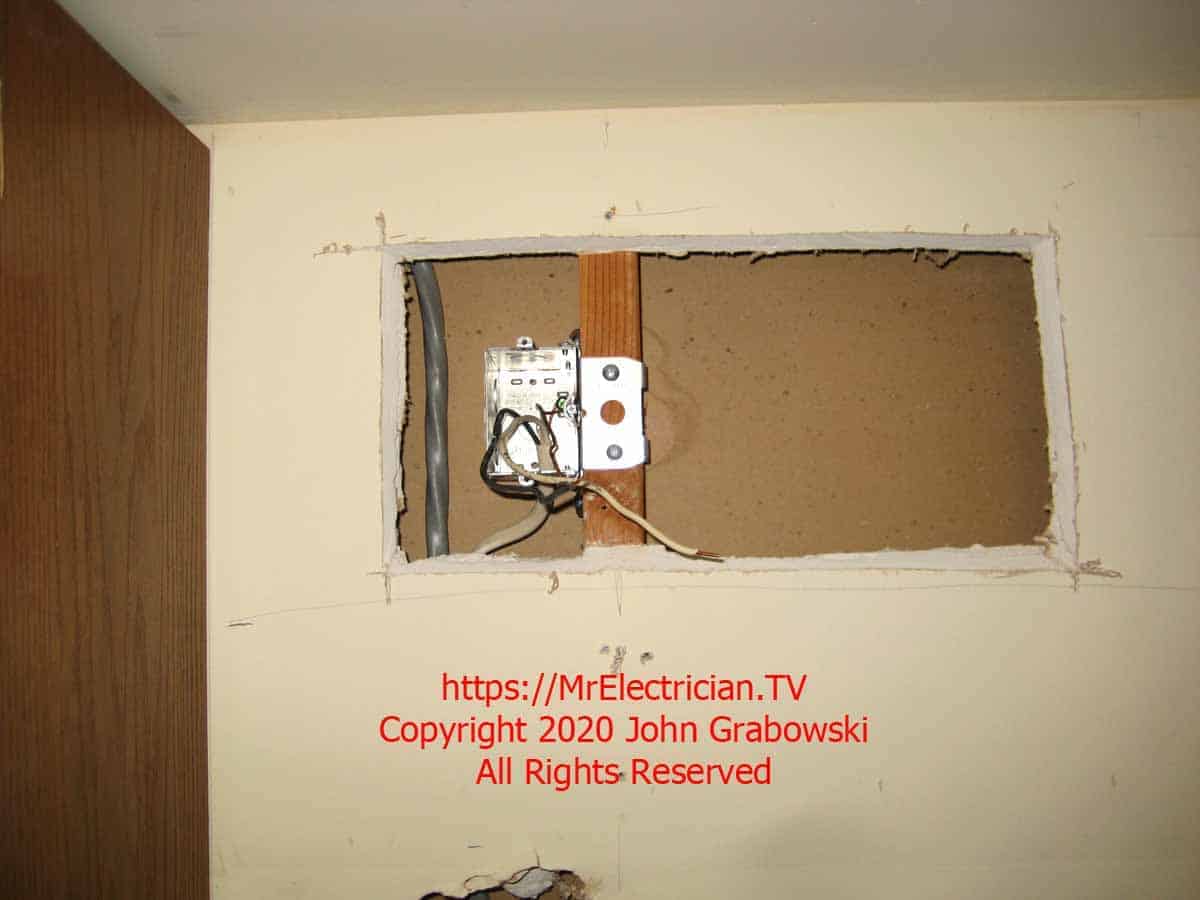
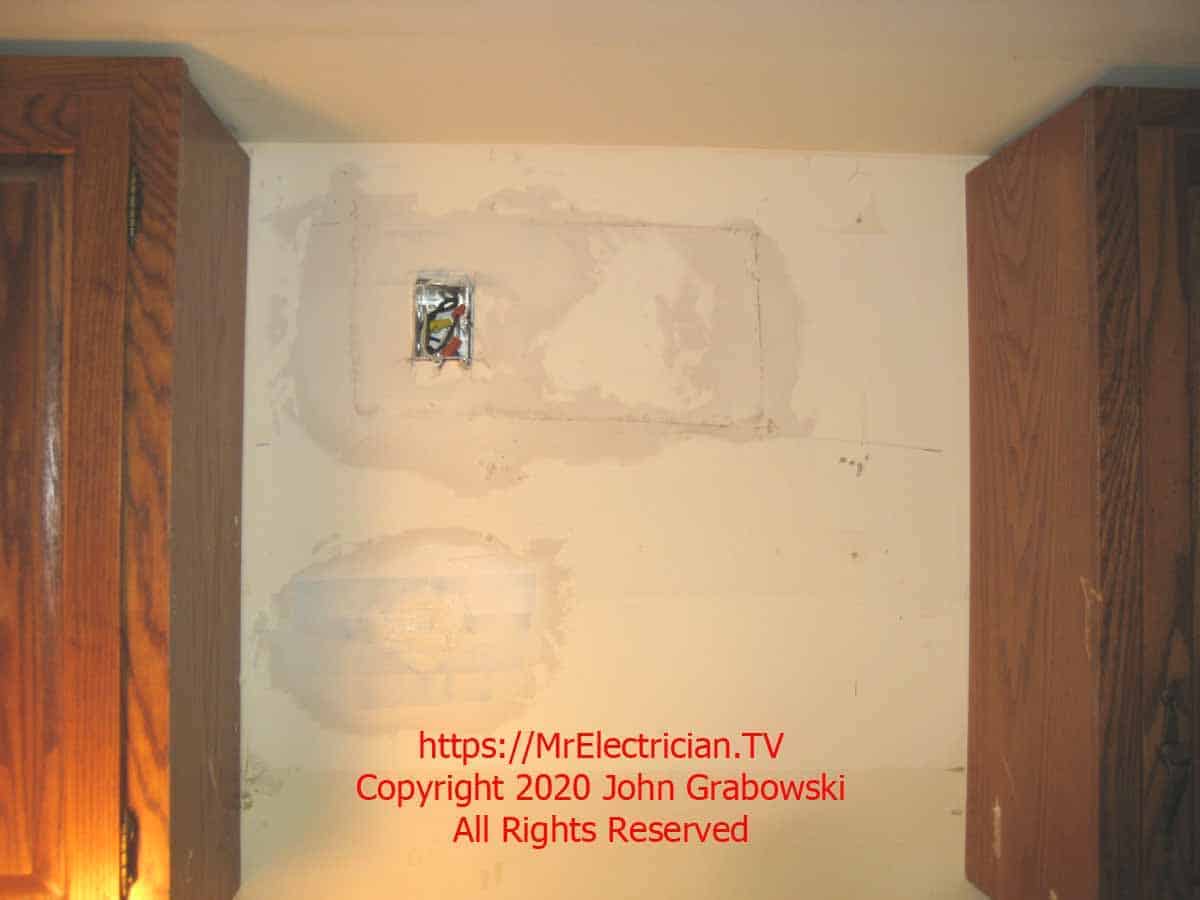
While the cabinet was gone, I could cut in a new electrical outlet using the existing appliance circuit connected to the old hood. I cut the hole in the drywall while holding my compass saw at a 45-degree angle inward. Putting it back gives me an angled edge to secure the cut piece of drywall.
The larger grey cable in the wall is going down to supply power to the range receptacle.
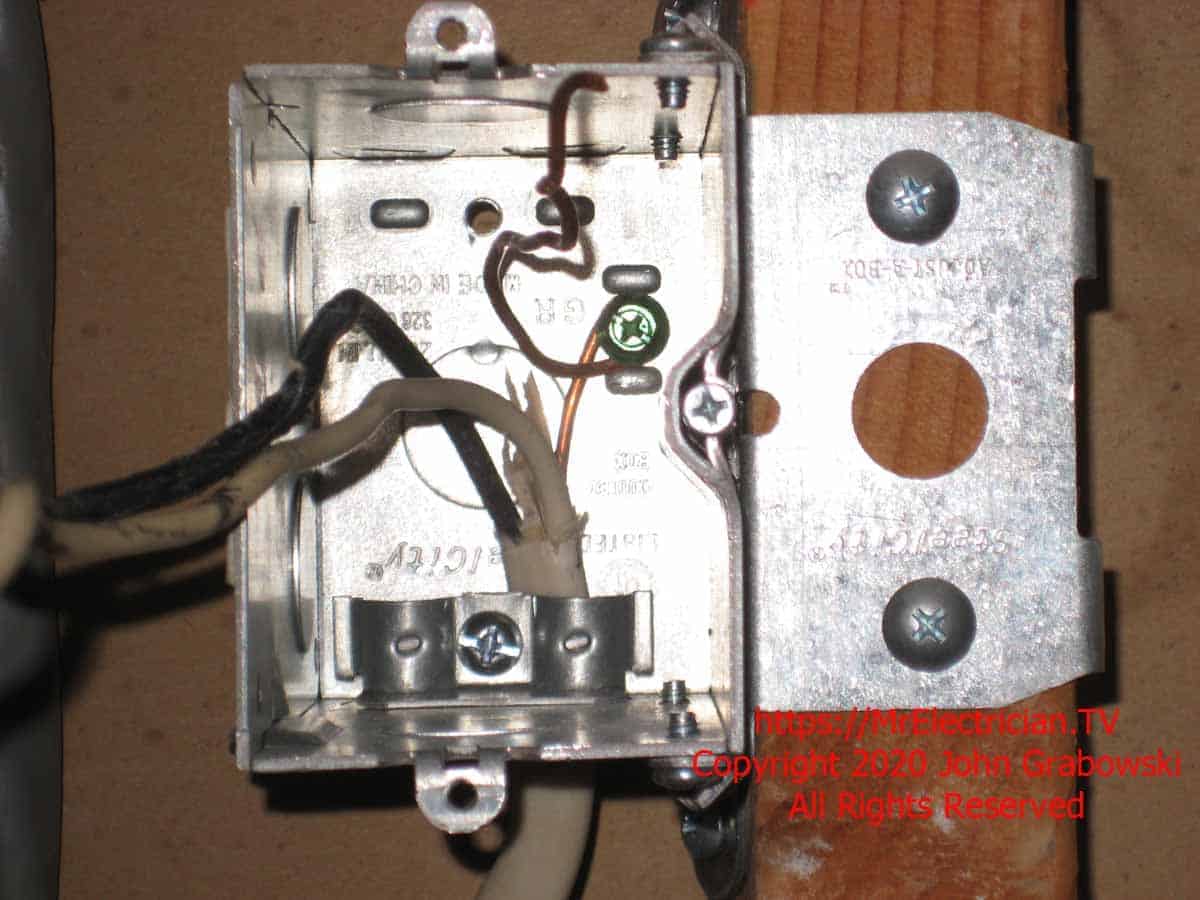
The ground wire above is tightly screwed to the back of the Steel City #MB120ADJ one-gang adjustable metal electrical box.
CLICK HERE Here to See Adjustable Electrical Boxes on Amazon
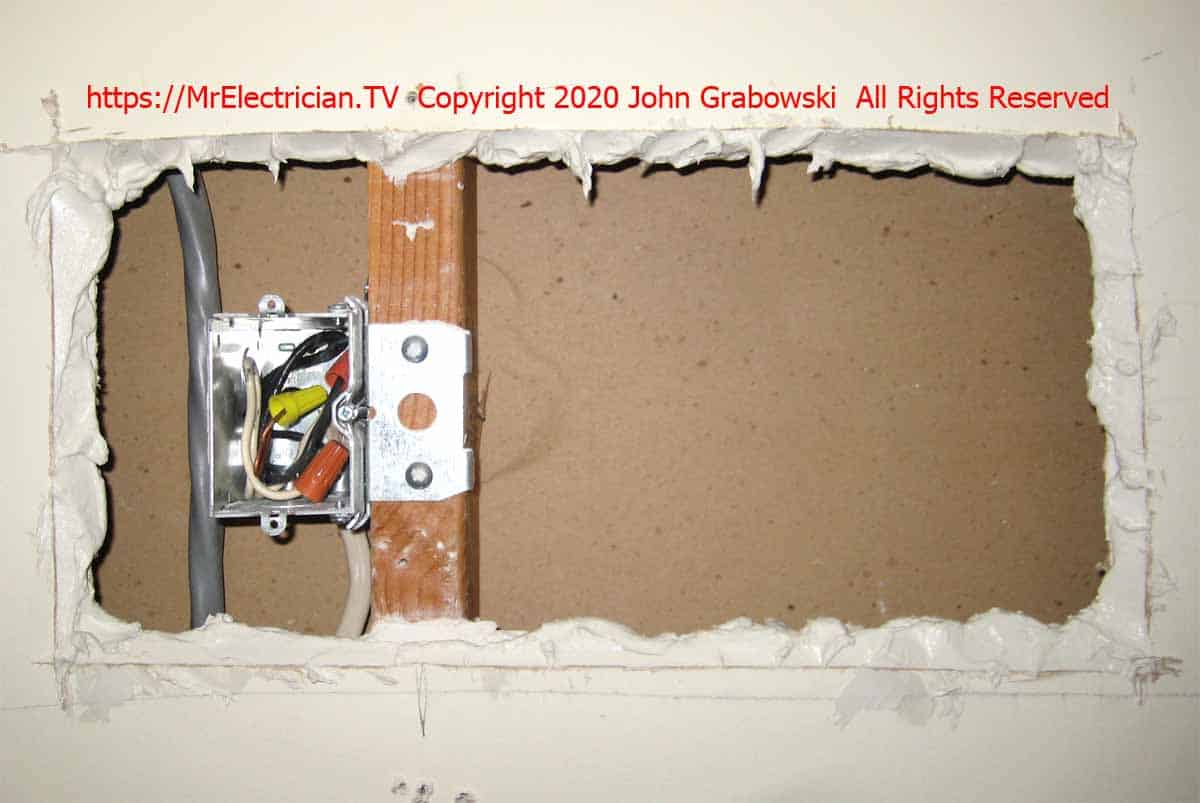
The edges of the hole and the cutout piece are buttered with Joint Compound for walls, and then the piece of drywall is pushed into place.
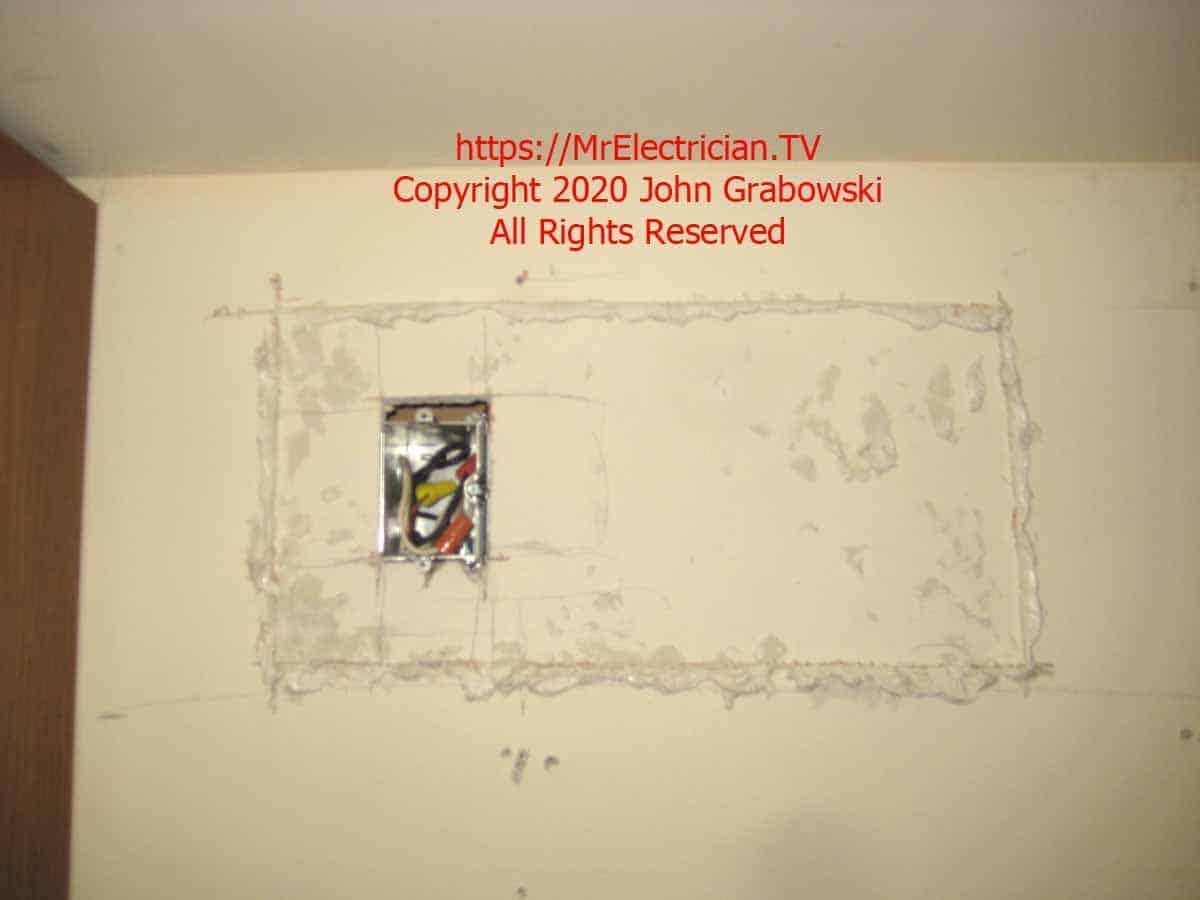
The joint compound oozes out from the edges. I push the piece in just enough so that it is even with the wall, then smooth it over.
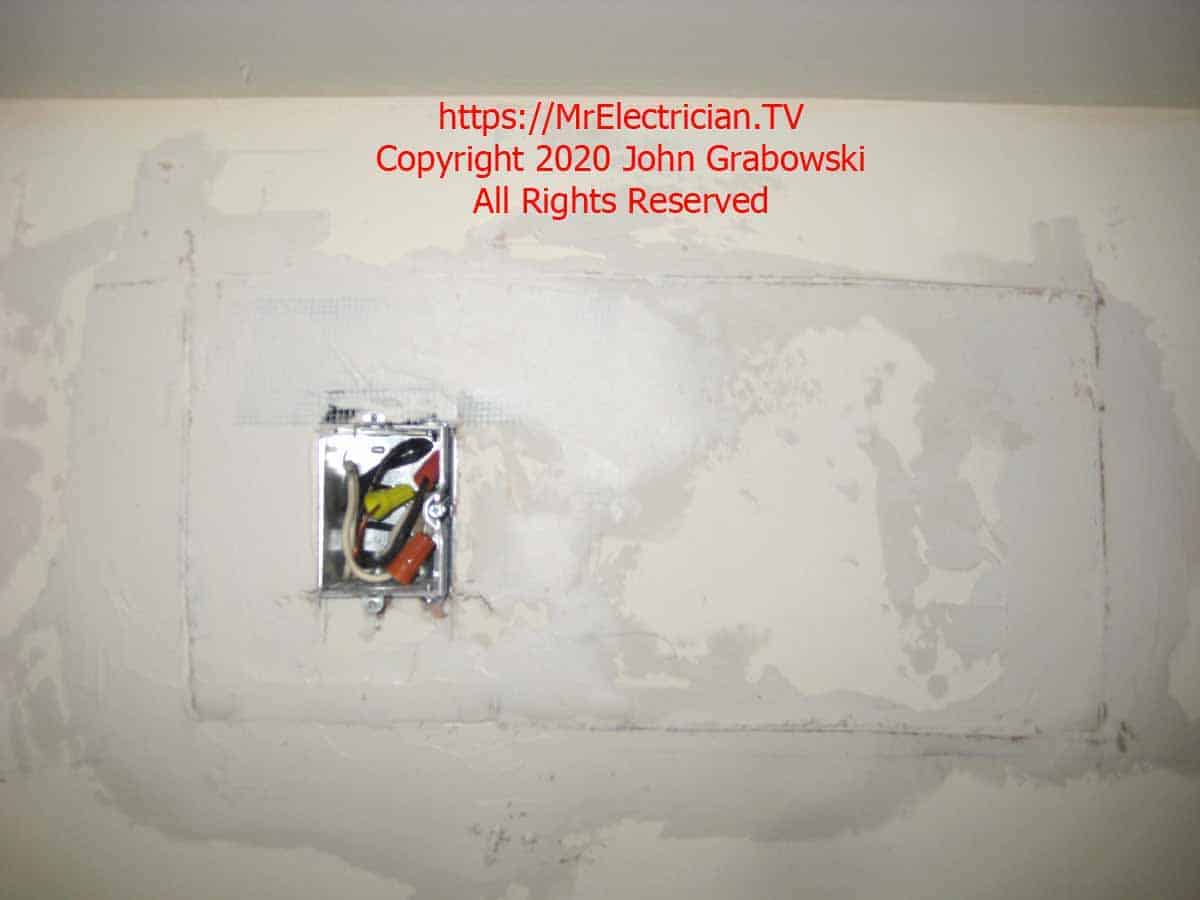
The Joint Compound must dry overnight before a second coat can be applied. After it dries it can be sanded and painted.
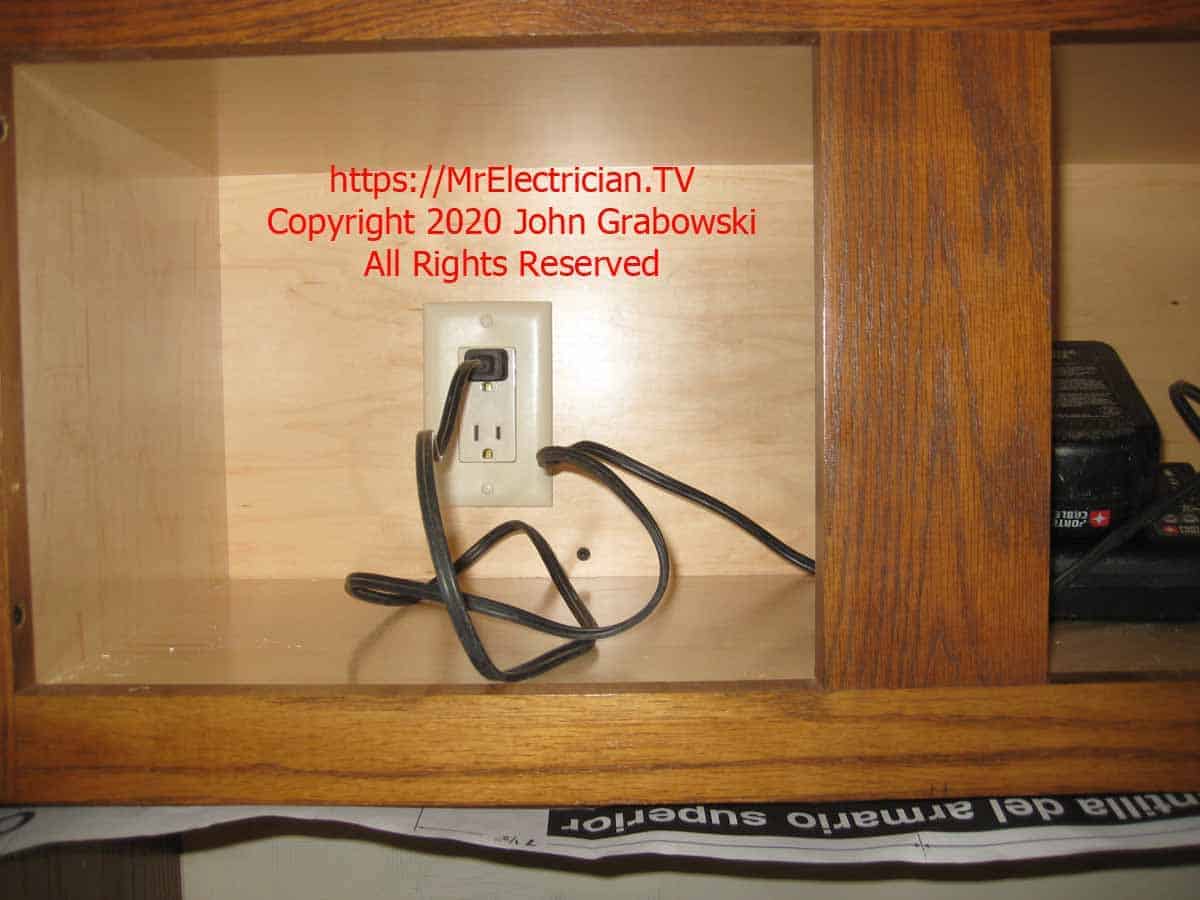
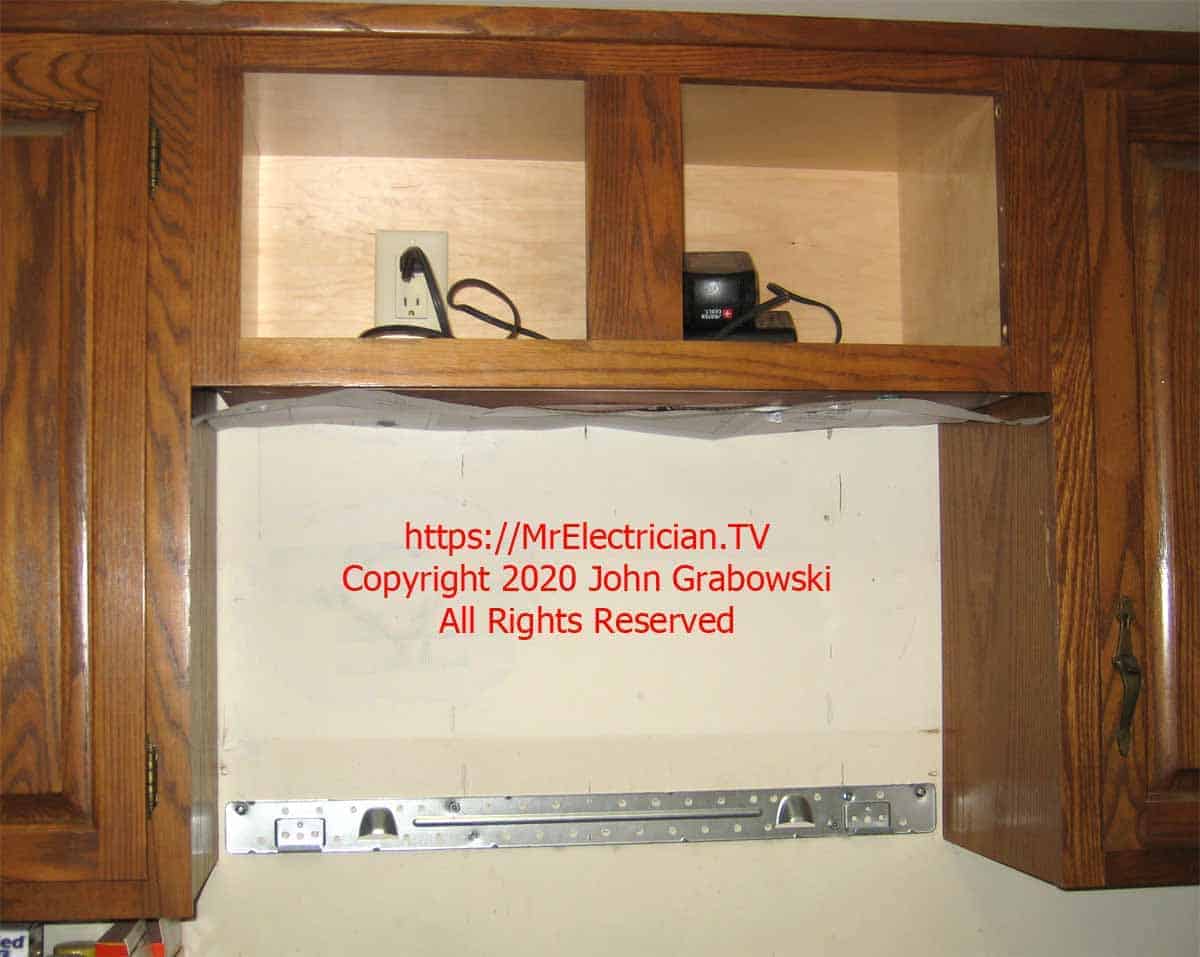
It is difficult to see in the above picture, but a paper template is furnished with the microwave oven taped to the underside bottom of the cabinet. This is for marking where to drill holes for the power cord and the mounting screws. It is very important to attach the template correctly to ensure that all drilled holes line up with the microwave oven.
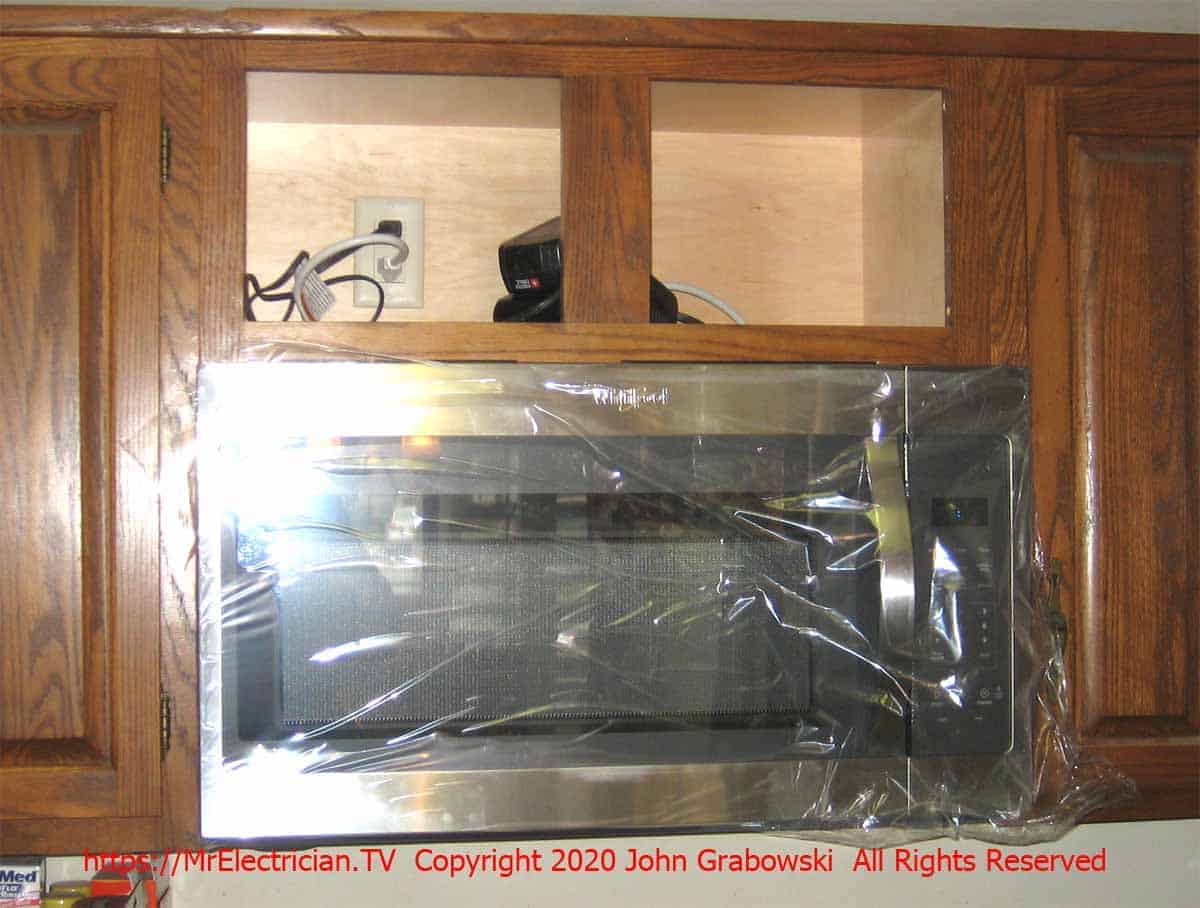
It is a little bulky, but I can usually muscle the microwave oven over the stove into place by myself. I moved the stove and put a 4′ ladder under the cabinet with a folded furniture pad on top. I get the microwave on top of the ladder and, from there, lift it onto the wall bracket.
With it hanging on the wall bracket, I can push the oven up enough to catch one of the screws through the cabinet. I have to do this while pushing the power cord through the drilled hole in the bottom of the cabinet. Much easier with two people.
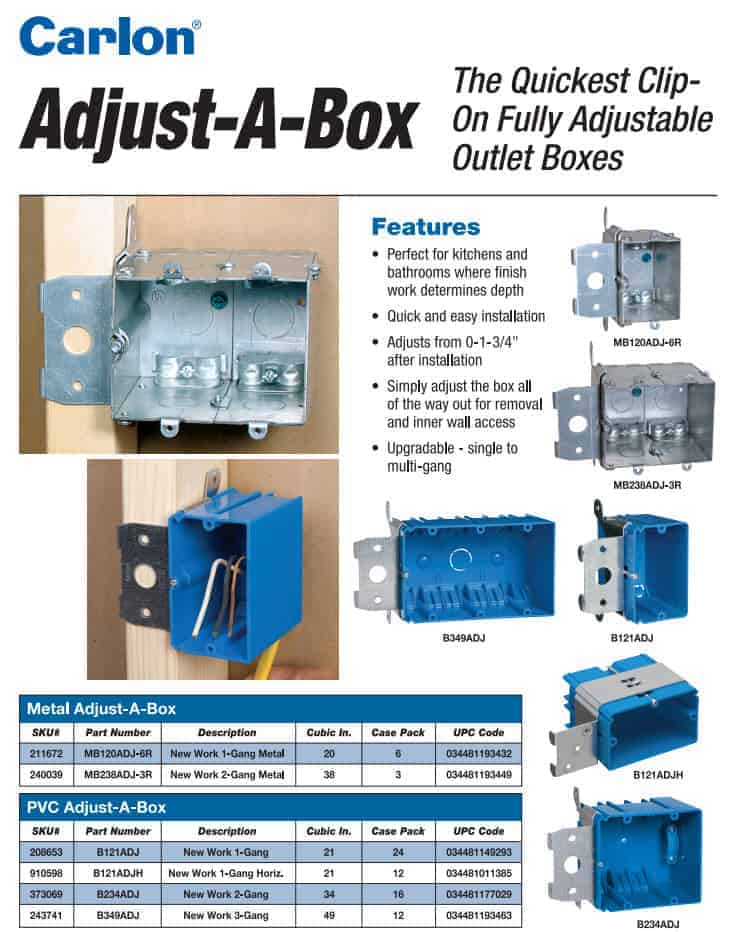
The above chart lists the PVC and metal adjustable electrical boxes originally made by Carlon and Steel City, both of which were bought by Thomas and Betts, which ABB then bought.
The product names may confuse search engines, so you should use the part numbers when looking for these products. The metal adjustable boxes are gangable.
When shopping for electrical boxes or other electrical materials, it is best to have the manufacturer’s part numbers of the specific products you are looking for. I have often searched online databases of electrical supply companies, searching for specific products by name with poor results. When I punch in the part number, I find exactly what I want.
Click here for more photos of an outlet box installed using Madison Bars.
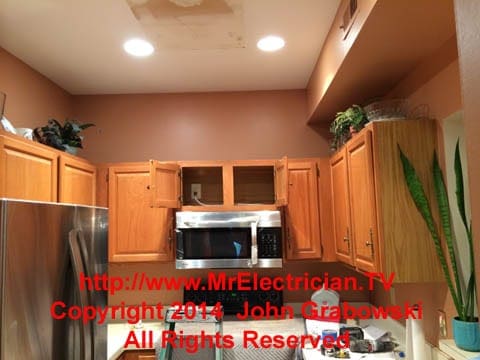
I also installed recessed lighting in the kitchen on the top of this page. Click here to see the work involved.
Click here to see a kitchen hood replacement.
All of my articles about kitchens can be seen by clicking here.
To help keep this website free, please use this Amazon link for your purchases. As an Amazon Associate, I earn from qualifying purchases.
Click here for a FREE copy of my book “Almost Everything You Need To Know To Repair a Bathroom Exhaust Fan In Your Home.”
Get your required “Emergency Disconnect, Service Disconnect” labels and stickers to satisfy the 2023 National Electrical Code requirements in article 230.85(E)(1) and (2) by going to my Redbubble Shop here.
Visit my Link Tree for my social media connections and links to merchandise in my Redbubble Shop.
