Dear Mr. Electrician: How do I convert a switched outlet to hot at all times? I want to use the switch to control a ceiling fan.
Answer: Usually, to convert switched outlet to hot all of the time a few simple wiring connection changes at the outlet box need to be made.
NOTE: Some text links below go to applicable products on Amazon. As an Amazon Associate, I earn from qualifying purchases. Using my links helps to keep this website FREE.
The easiest thing for a novice to do to convert a switched outlet to hot at all times is to remove the wires from the wall switch. Using pliers, twist them together and cover them with a wire connector. You can install a blank wall plate to cover the unused switchbox.
However, continue reading if you will use the wall switch to control a light fixture or ceiling fan.
Photos below are of a job I did for a client, installing two wall switches and a ceiling fan using the existing switch location. As part of the task, I needed to convert a switched outlet to hot to supply power to the new fan.
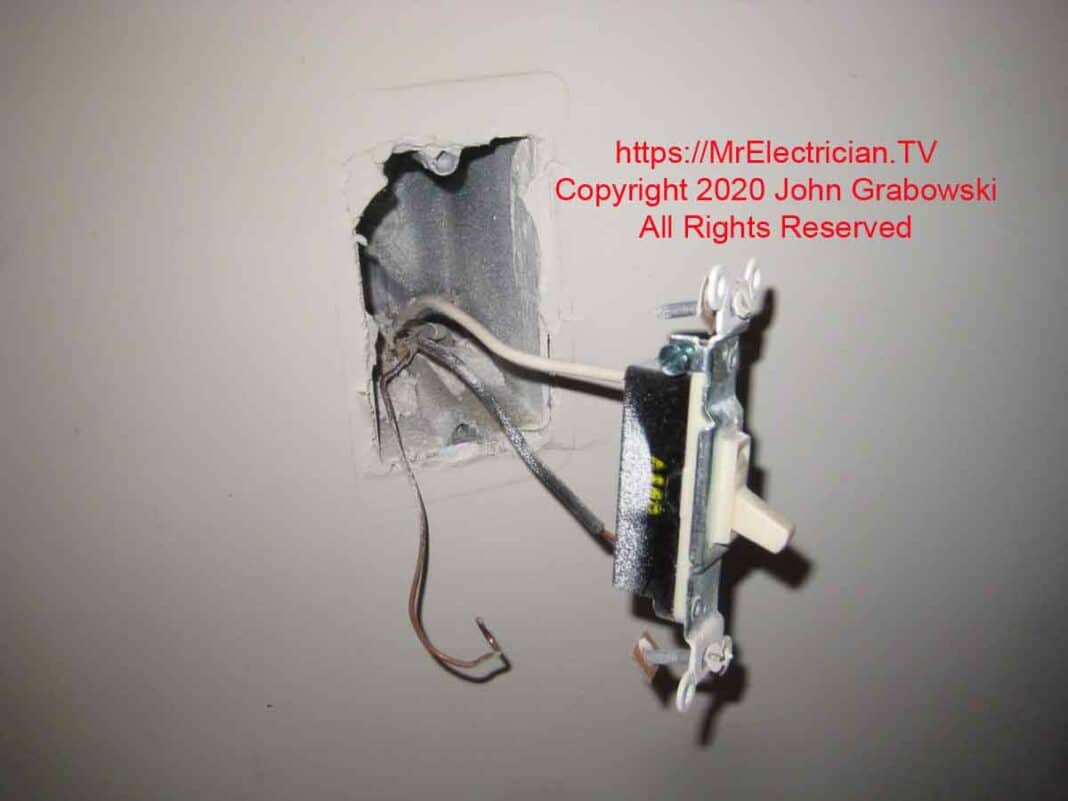
In the photo at the top of this post, you can see that the switch box did not have a neutral conductor in it. The white wire on the switch was used as the LINE (Hot) wire, and the black went to the split switched outlet pictured below.
According to the National Electrical Code, a white wire used as a hot must be changed to a different color. It is not unusual to see the white wire as the hot conductor on a switch, but it must still be re-identified with a different color.
If you are working on a white wire that will remain as the LINE (Hot), take the time to re-identify it with another color of electrical tape. Do not use green or gray. You can also use a permanent ink marker to colorize the wire.
The switch-to-hot conversion job depicted below was done using plastic electrical boxes. If you are more interested in converting a one-gang metal electrical box to two-gang or more, visit this blog post of mine.
I submitted the electrical permit application for the job below a few weeks before starting the work. The inspector did not require a rough inspection because it was a small job. After completing the work, I only needed an inspection from the town electrical inspector.
In my permit application, I included a one-page typewritten detailed scope of work describing what I would be doing. It helps the inspector have a better understanding of what’s going on.
CONVERT SWITCHED OUTLET TO HOT
The first thing is to shut off the power at the circuit breaker. Test the wires with a volt meter, pigtail light bulb, or a non-contact voltage detector to ensure they are dead. Next, disconnect the existing switch and tape the ends of the wire separately. Do not connect the switch wires together.
Even with the circuit breaker turned off and the wires checked for no power, you should still treat each wire as if it were hot. Tape the bare ends of each wire with electrical tape and wear work gloves when handling them.
Go to the outlet and remove the white wire from the group of LINE (Hot) wires. Connect that white wire to the other white neutral wires in the outlet box. You can do this directly on the outlet or by splicing them together and adding a pigtail.
Push a small nail, paperclip, or tiny screwdriver into the slots on the back of the receptacle outlet to free the wires if they are not looped around the screws.
Connect all black hot wires to the hot side of the receptacle or use a pigtail.
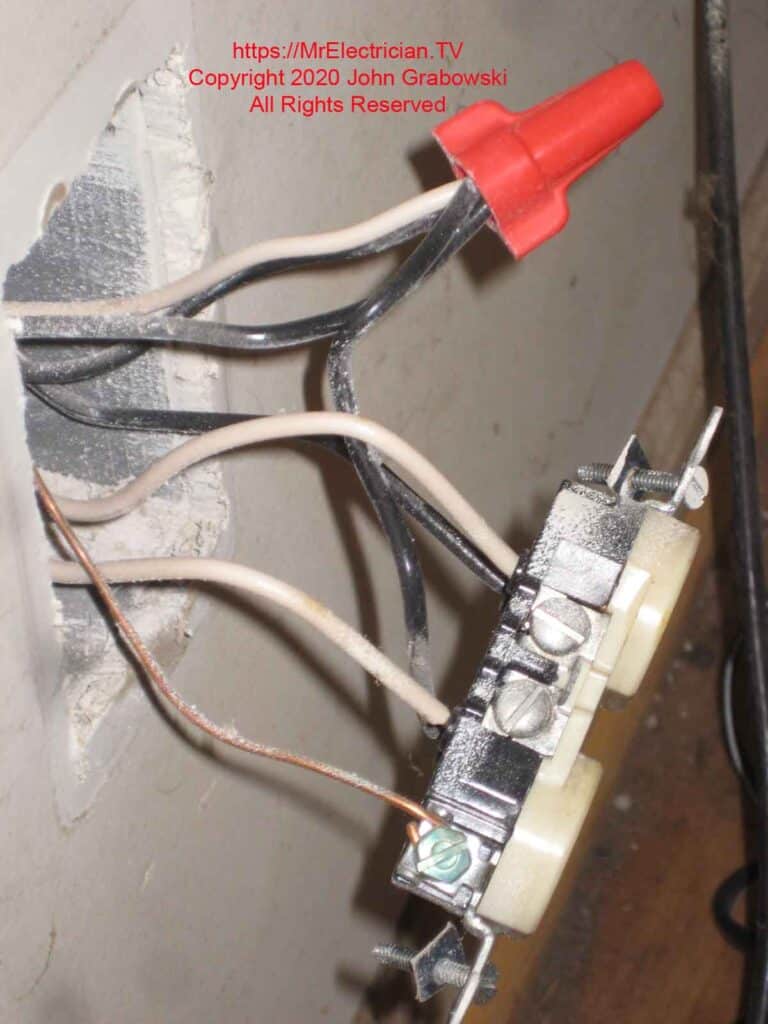
If the receptacle outlet is split as above, you will need to replace it.
Below is the same outlet location with the hot wires spliced together and the white neutrals under the same wire connector. Pigtails were used to keep the full LOAD of the outlet circuit from passing through the receptacle.
See my blog post with switched outlet wiring diagrams for guidance.
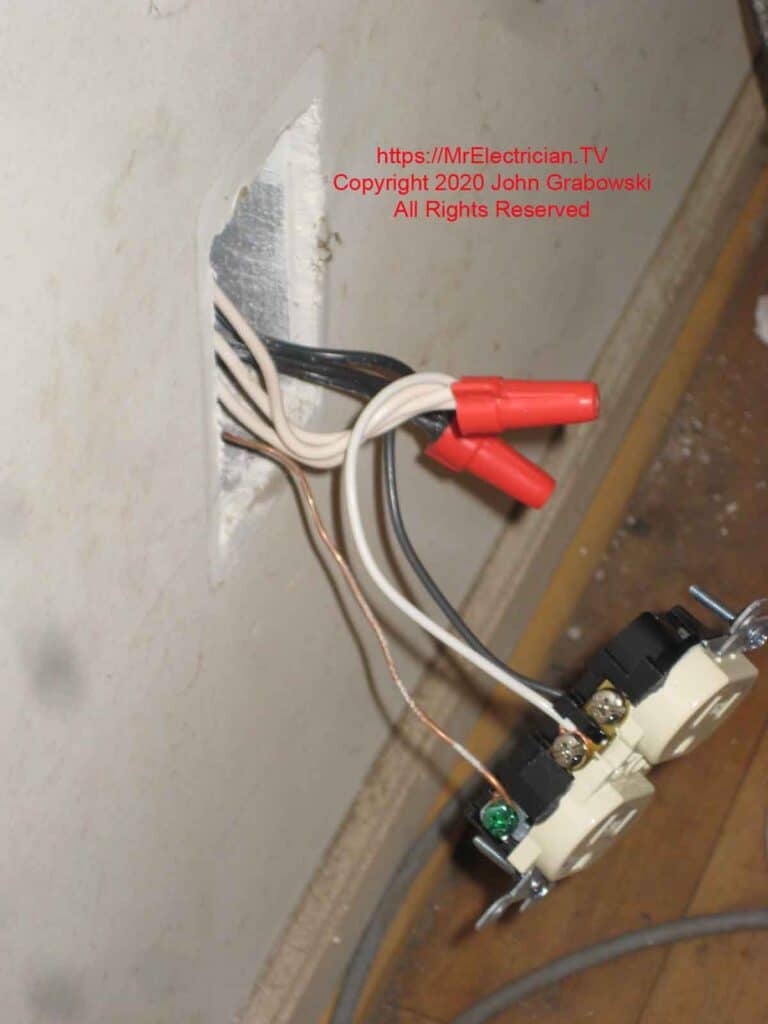
After converting the switched outlet to hot at all times, I then had a hot and a neutral at the existing switch location. I pulled a 14/3 Romex cable up to the new ceiling fan location from the switches so that I could have a switch for the fan and a separate switch for the light fixture attached to the fan.
My article on Ceiling Fan Wiring Diagrams will be helpful.
One thing not pictured in the above photo is the outlet extender that I used to fill the space between the recessed outlet box and the finished surface of the wall. You can see my blog post about the use of outlet box extenders here.
I cut the hole for the new two gang switch box while the old one was still in place. Having the bigger hole makes it easier to get the old box out.
A keyhole saw was used to cut the hole for the new two-gang switch box. I held the face of the new two-gang old work box against the existing switch and drew a line around it to guide me while cutting.
CHANGE ONE GANG TO 2 GANG SWITCH BOX
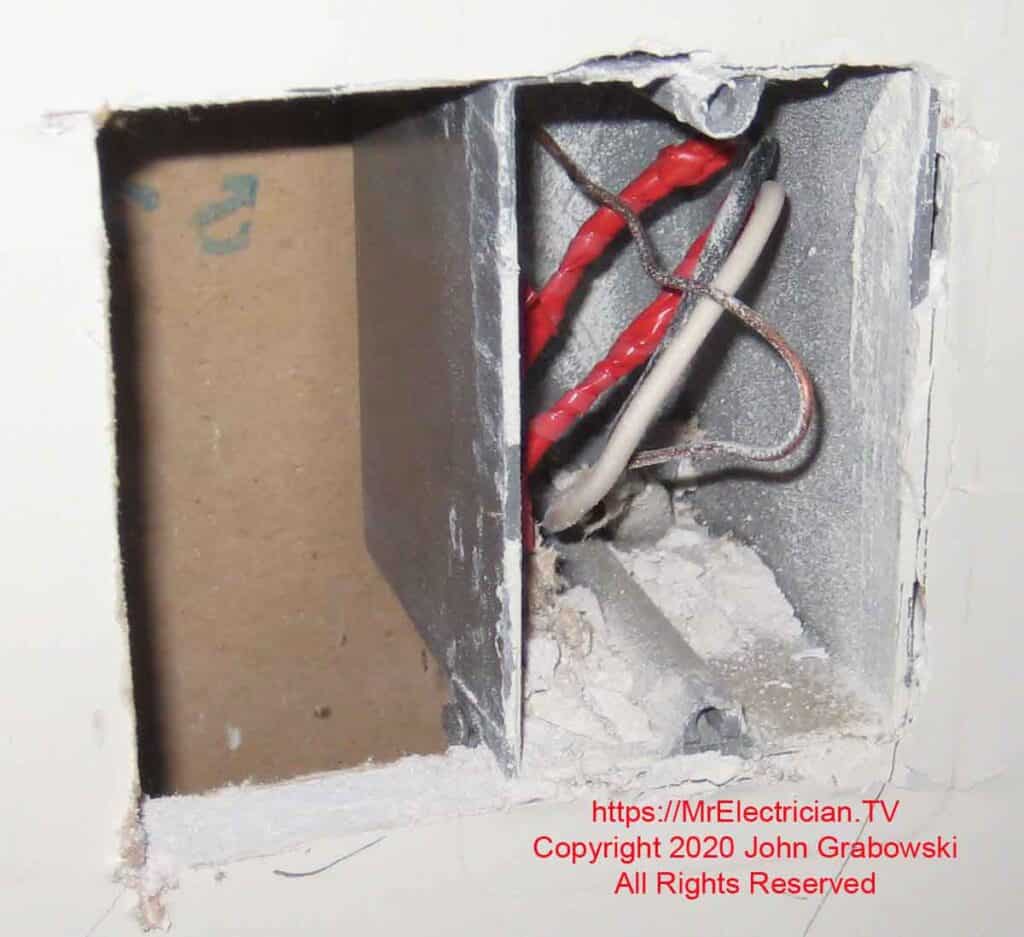
I taped the ends of the wire in the existing switch box before attempting to remove the box. Even though the power is off, I still treat the wires as if they are hot while I am working on them.
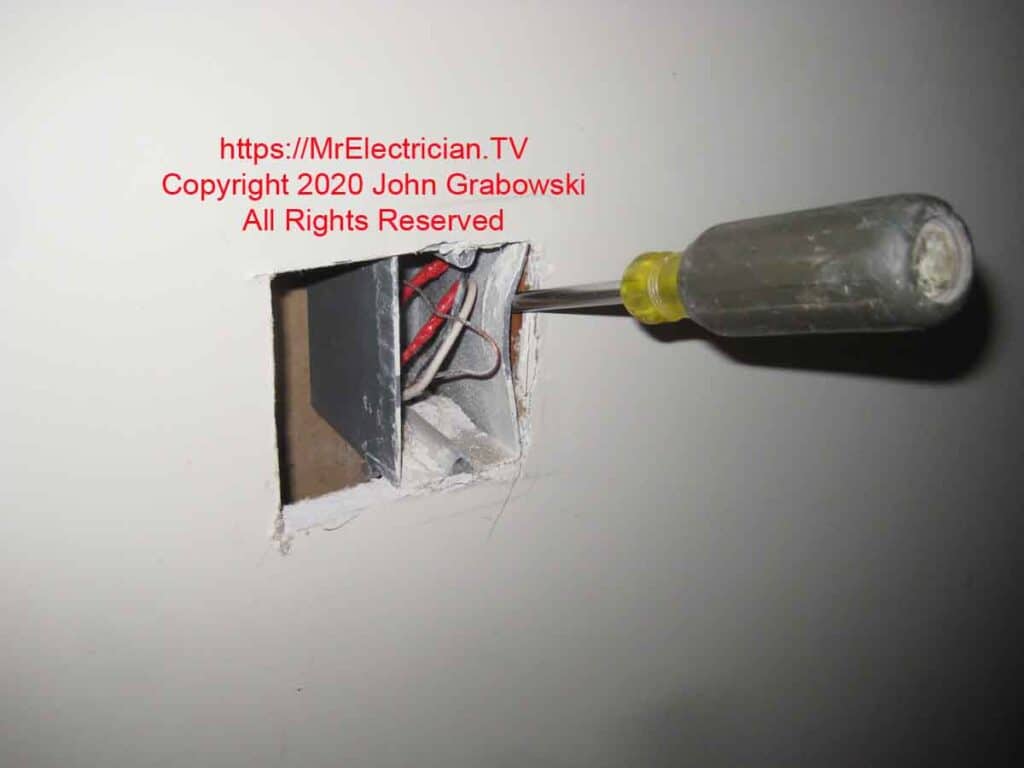
I keep a big old flathead screwdriver in my tool bag for situations where some prying is needed, but a pry bar is too big. Gentle nudging and moving the screwdriver close to the nails helps the box come off.
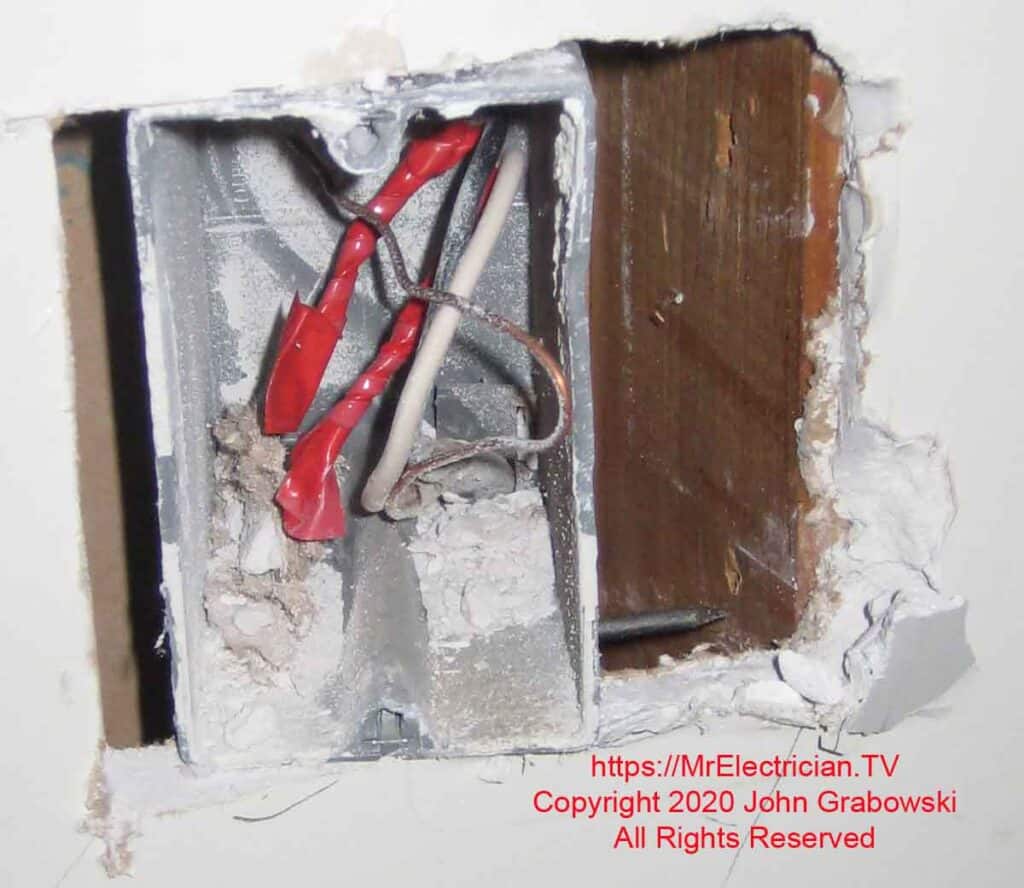
The existing switch box was originally installed during the construction of this dwelling. The plastic nail-on boxes are fast and cheap to install. Dust remains piled inside the switch box from the original construction because the installer didn’t take the time to clean the box.
While removing the old box, a chunk of hardened joint compound broke off and left a nick in the lower right corner. Fortunately, the homeowner was planning to paint after I finished.
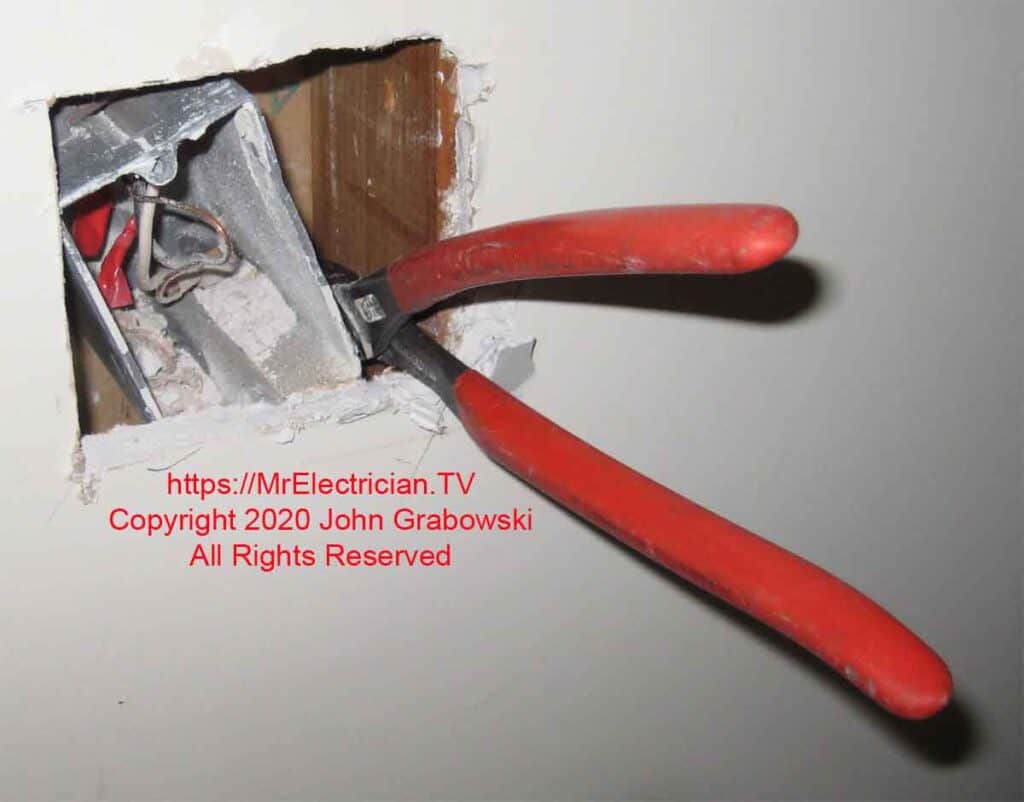
I love my Knipex 10″ high-leverage diagonal pliers. Never a problem cutting nails. Cutting the nails makes removing the switch box from the wall easy.
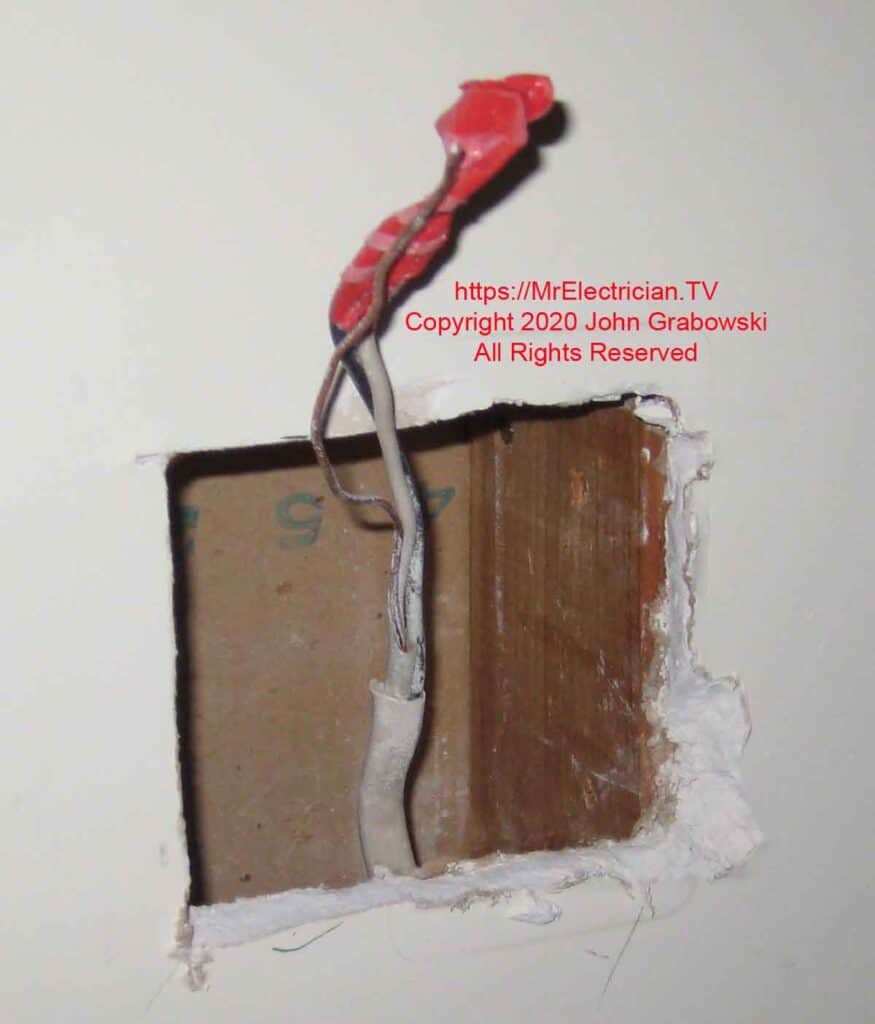
Once the old switch box was out, I had plenty of room to pull the new cable in for the ceiling fan installation.
Below you can see that I made two red pigtails from some excess wire on the 14/3 that I pulled. The pigtails feed the power to the new switches. The white neutral wires are spliced together. I usually use the black wire on the 14/3 to control the fan LOAD and the red wire to switch the lighting LOAD on and off.
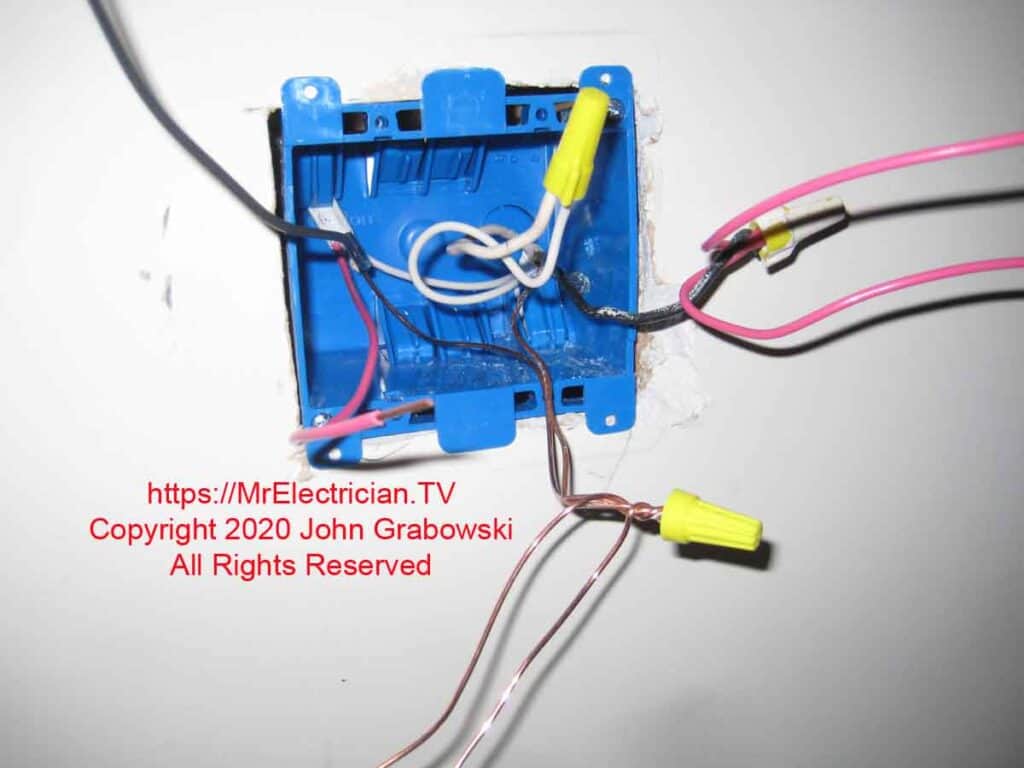
You cannot easily see in the photo above, but I drove one sheet metal screw through the right side of the box into the wood wall stud. I usually do this to make the box more secure. Be careful not to over-tighten and distort the box.
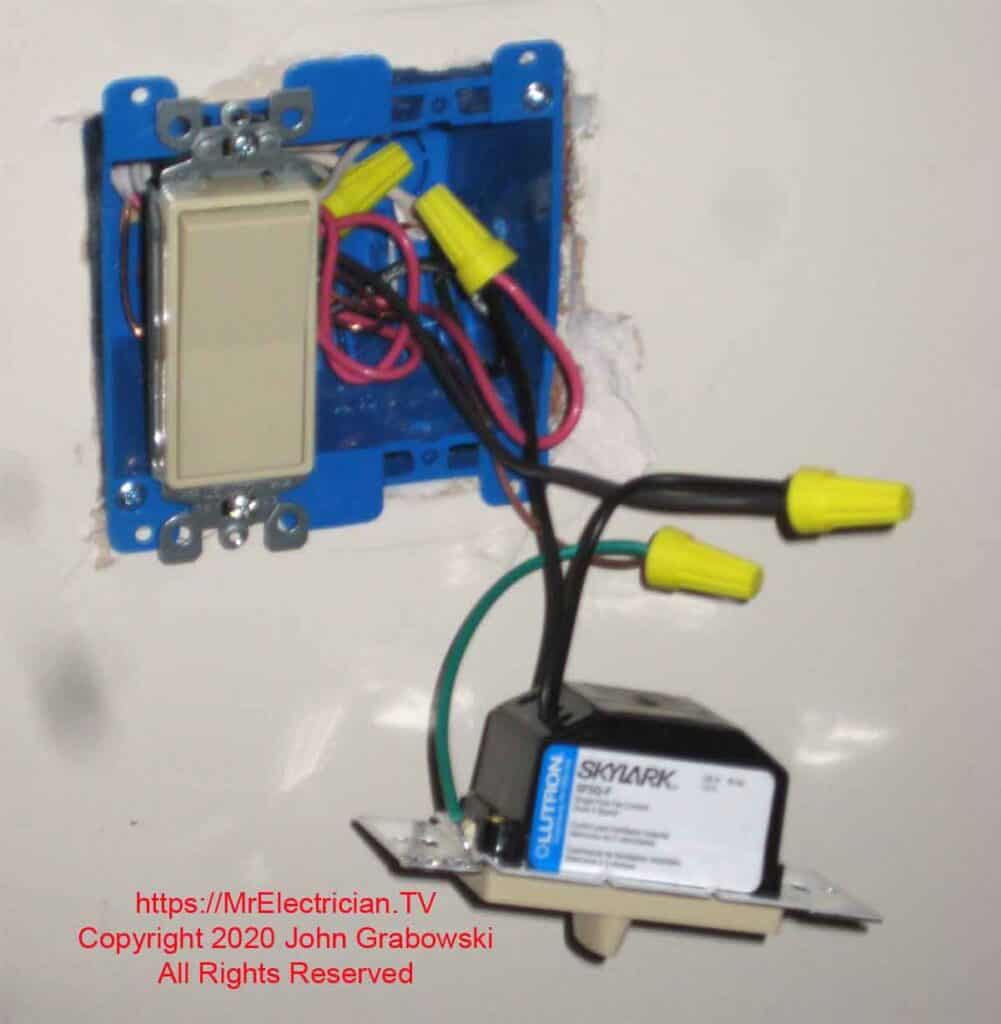
A dimmer switch was used to control the lights on the ceiling fan. A standard wall switch was used for the fan. A ceiling fan speed control could have been installed instead of a standard wall switch to operate the ceiling fan.
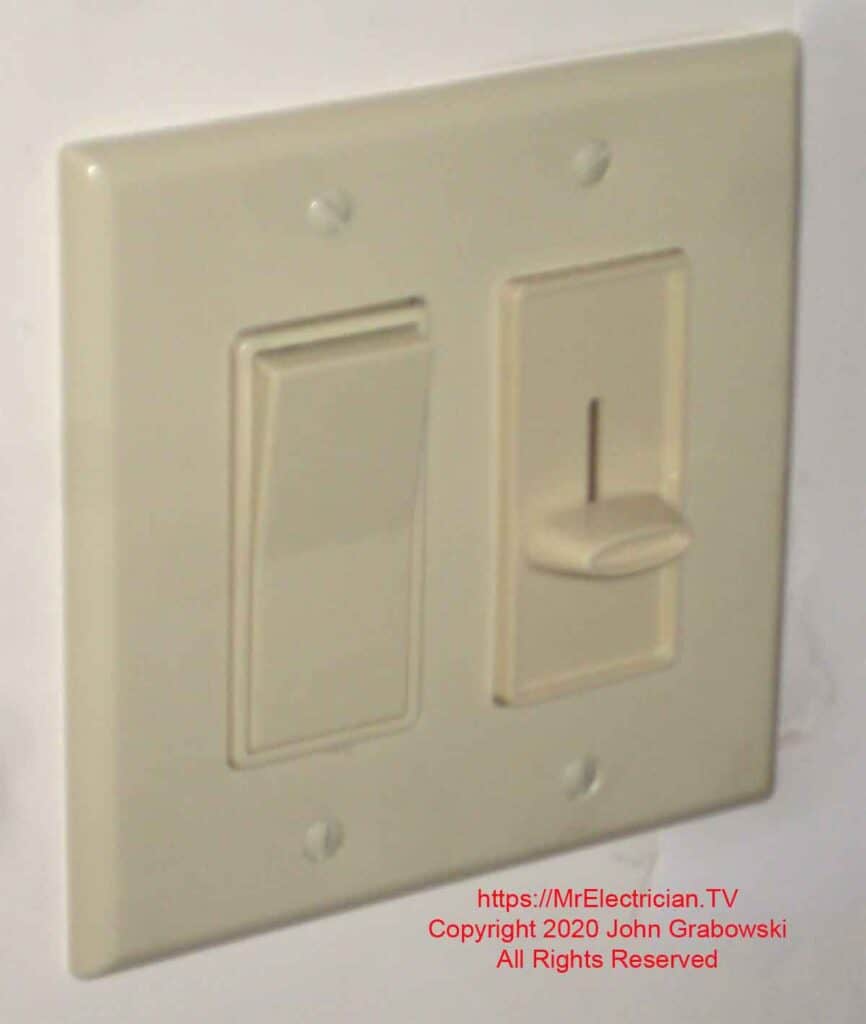
The new ceiling fan controls consist of a Leviton Decora wall switch for the fan and a Lutron Skylark dimmer for the fans’ lights.
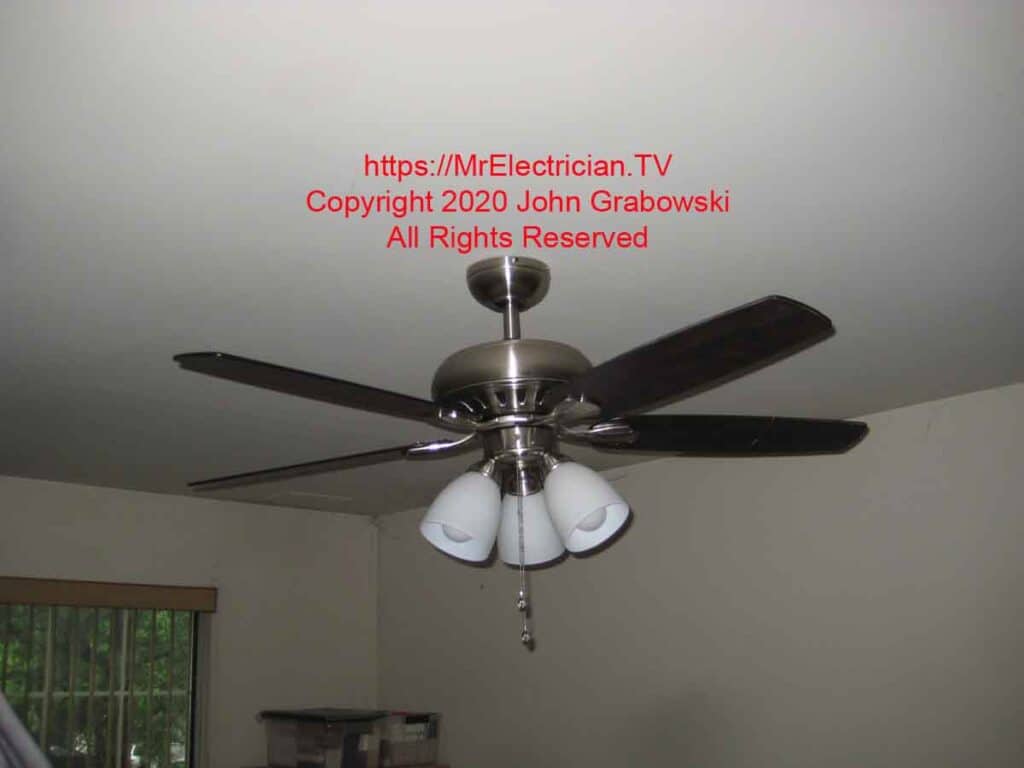
Click here for a switched outlet conversion to a ceiling fan using metal switch boxes.
Click to see all of my other articles about installing ceiling fans.
Click here to see the various methods of grounding an electrical outlet.
Click here for the Carlon Electrical Products catalog featuring two gang switch boxes.
To help keep this website FREE, please use this Amazon link for your purchases. As an Amazon Associate, I earn from qualifying purchases.
Click for a FREE copy of my book “Almost Everything You Need To Know To Repair a Bathroom Exhaust Fan In Your Home.”
Get your required “Emergency Disconnect, Service Disconnect” labels and stickers to satisfy the 2023 National Electrical Code requirements in article 230.85(E)(1) and (2) by going to my Redbubble Shop here.
Visit my Link Tree home page for my social media connections and other links.
